Use custom Nimbu Consent Variables in Google tagmanager
This guide explains how to integrate Nimbu Consent Manager with Google Tag Manager, allowing you to control tag activation based on user consent preferences.
Navigate to settings
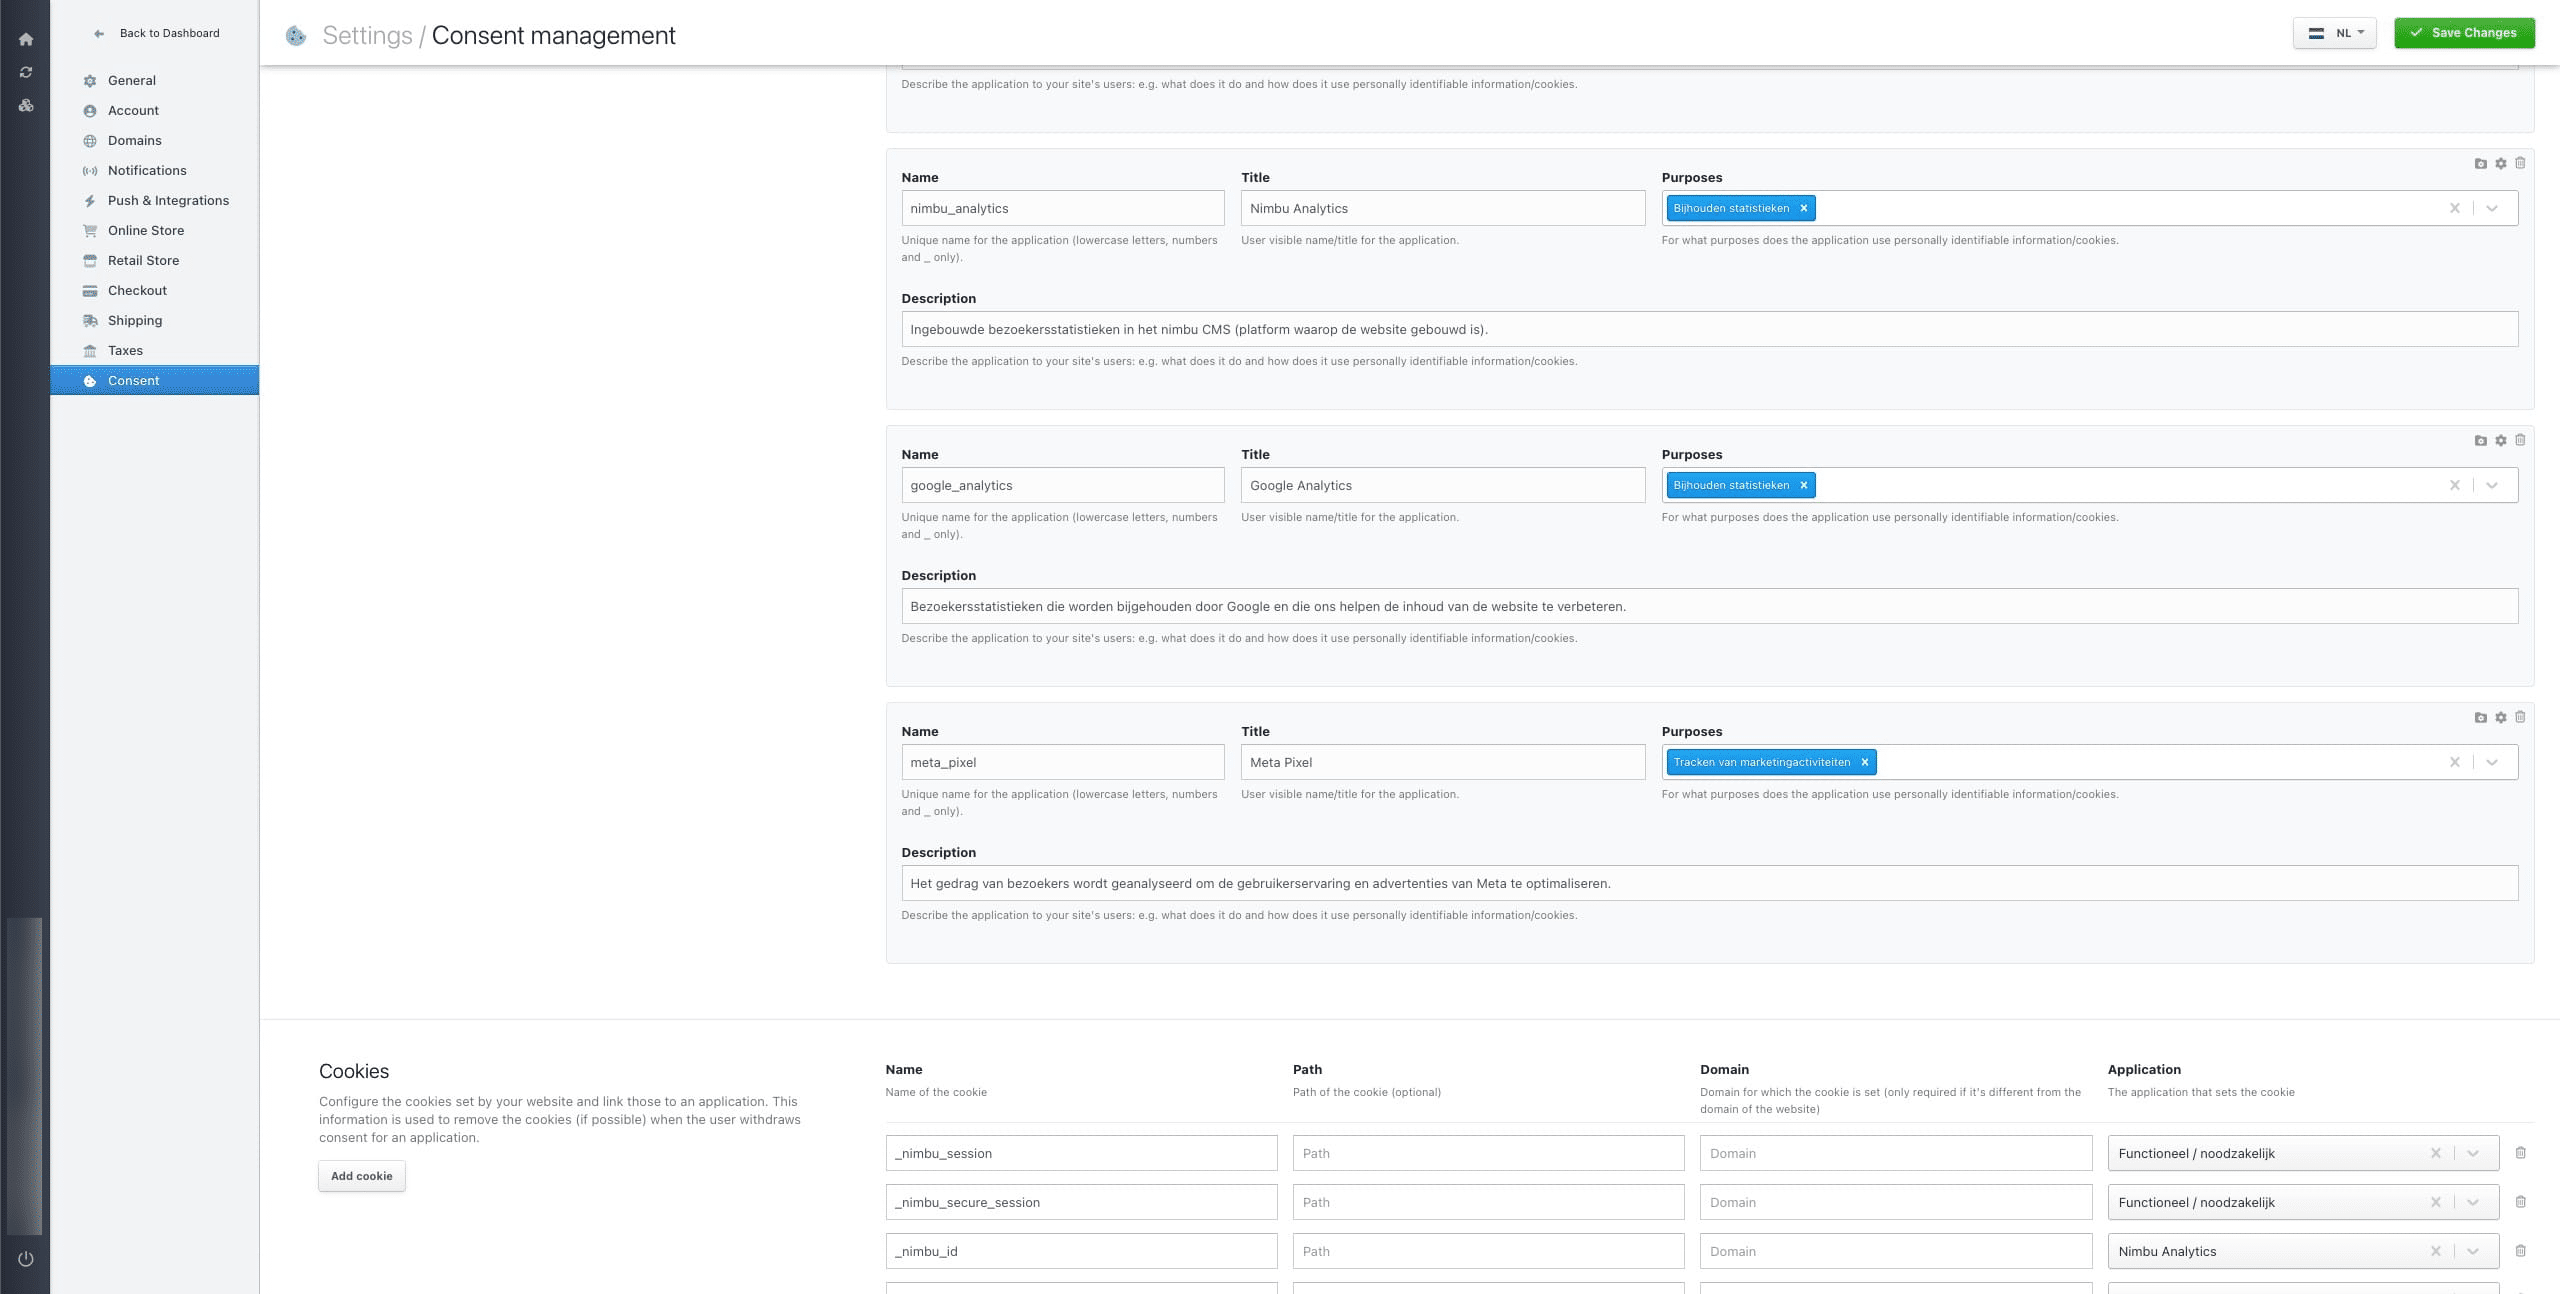
Click 'consent'.
Copy the name of the consent setting you intend to use within Tag Manager.
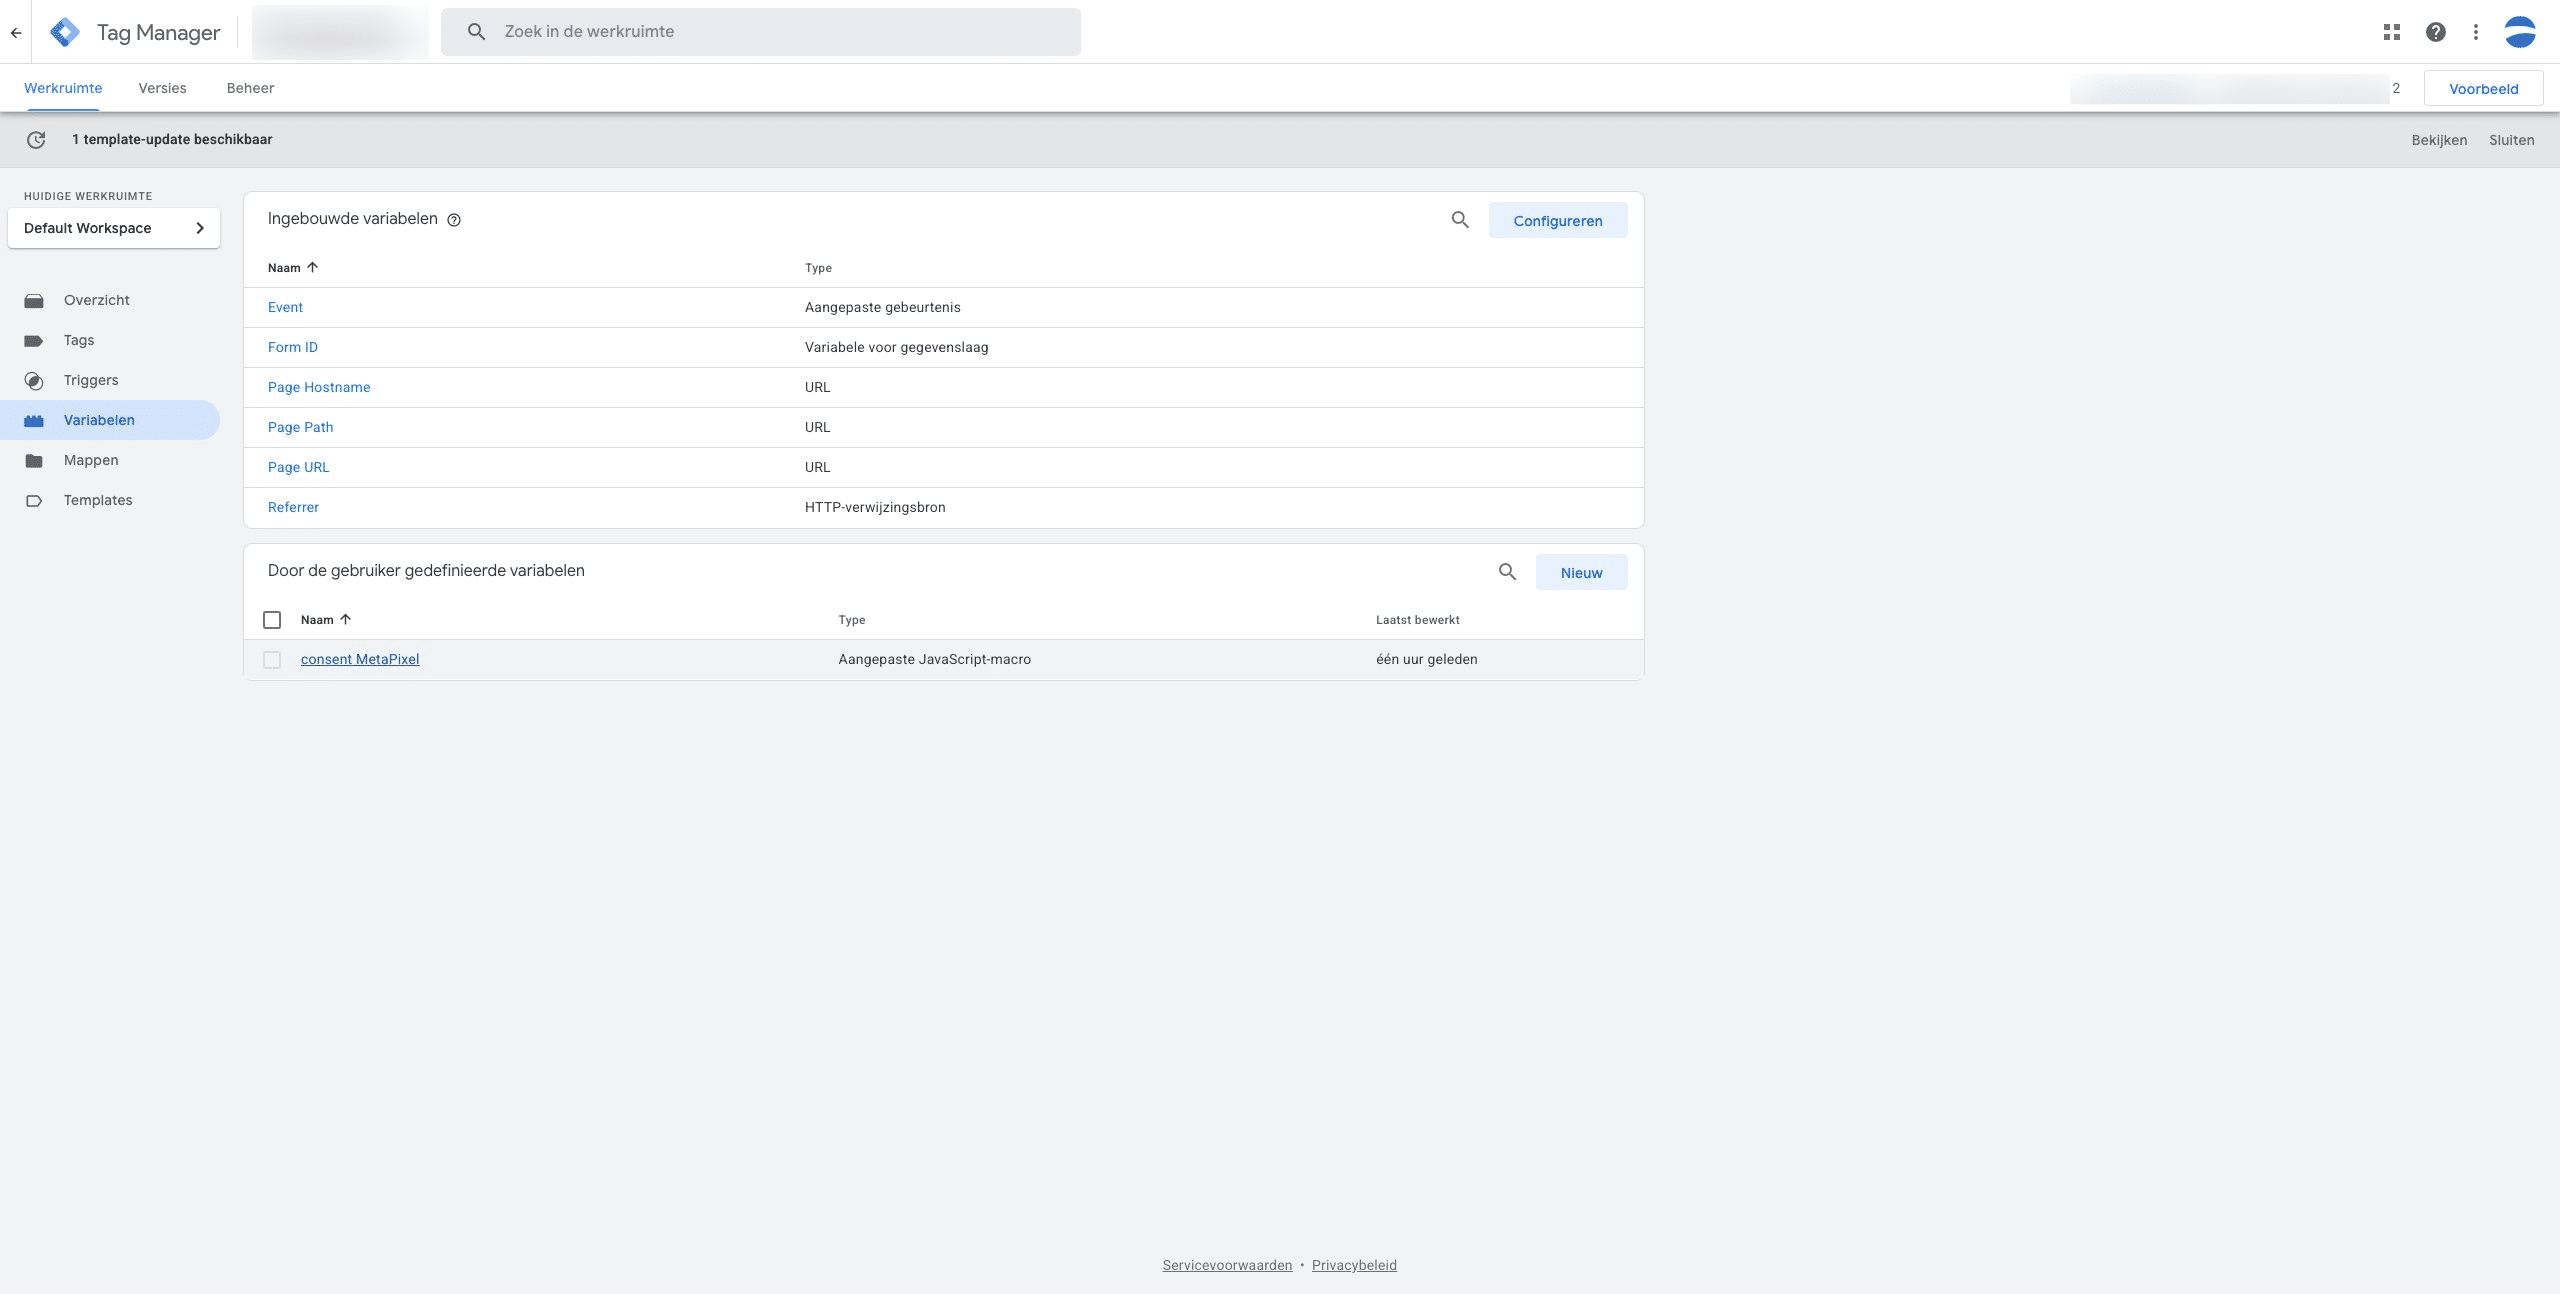
In Google Tag Manager, navigate to your project, and then go to the 'Variables' section.
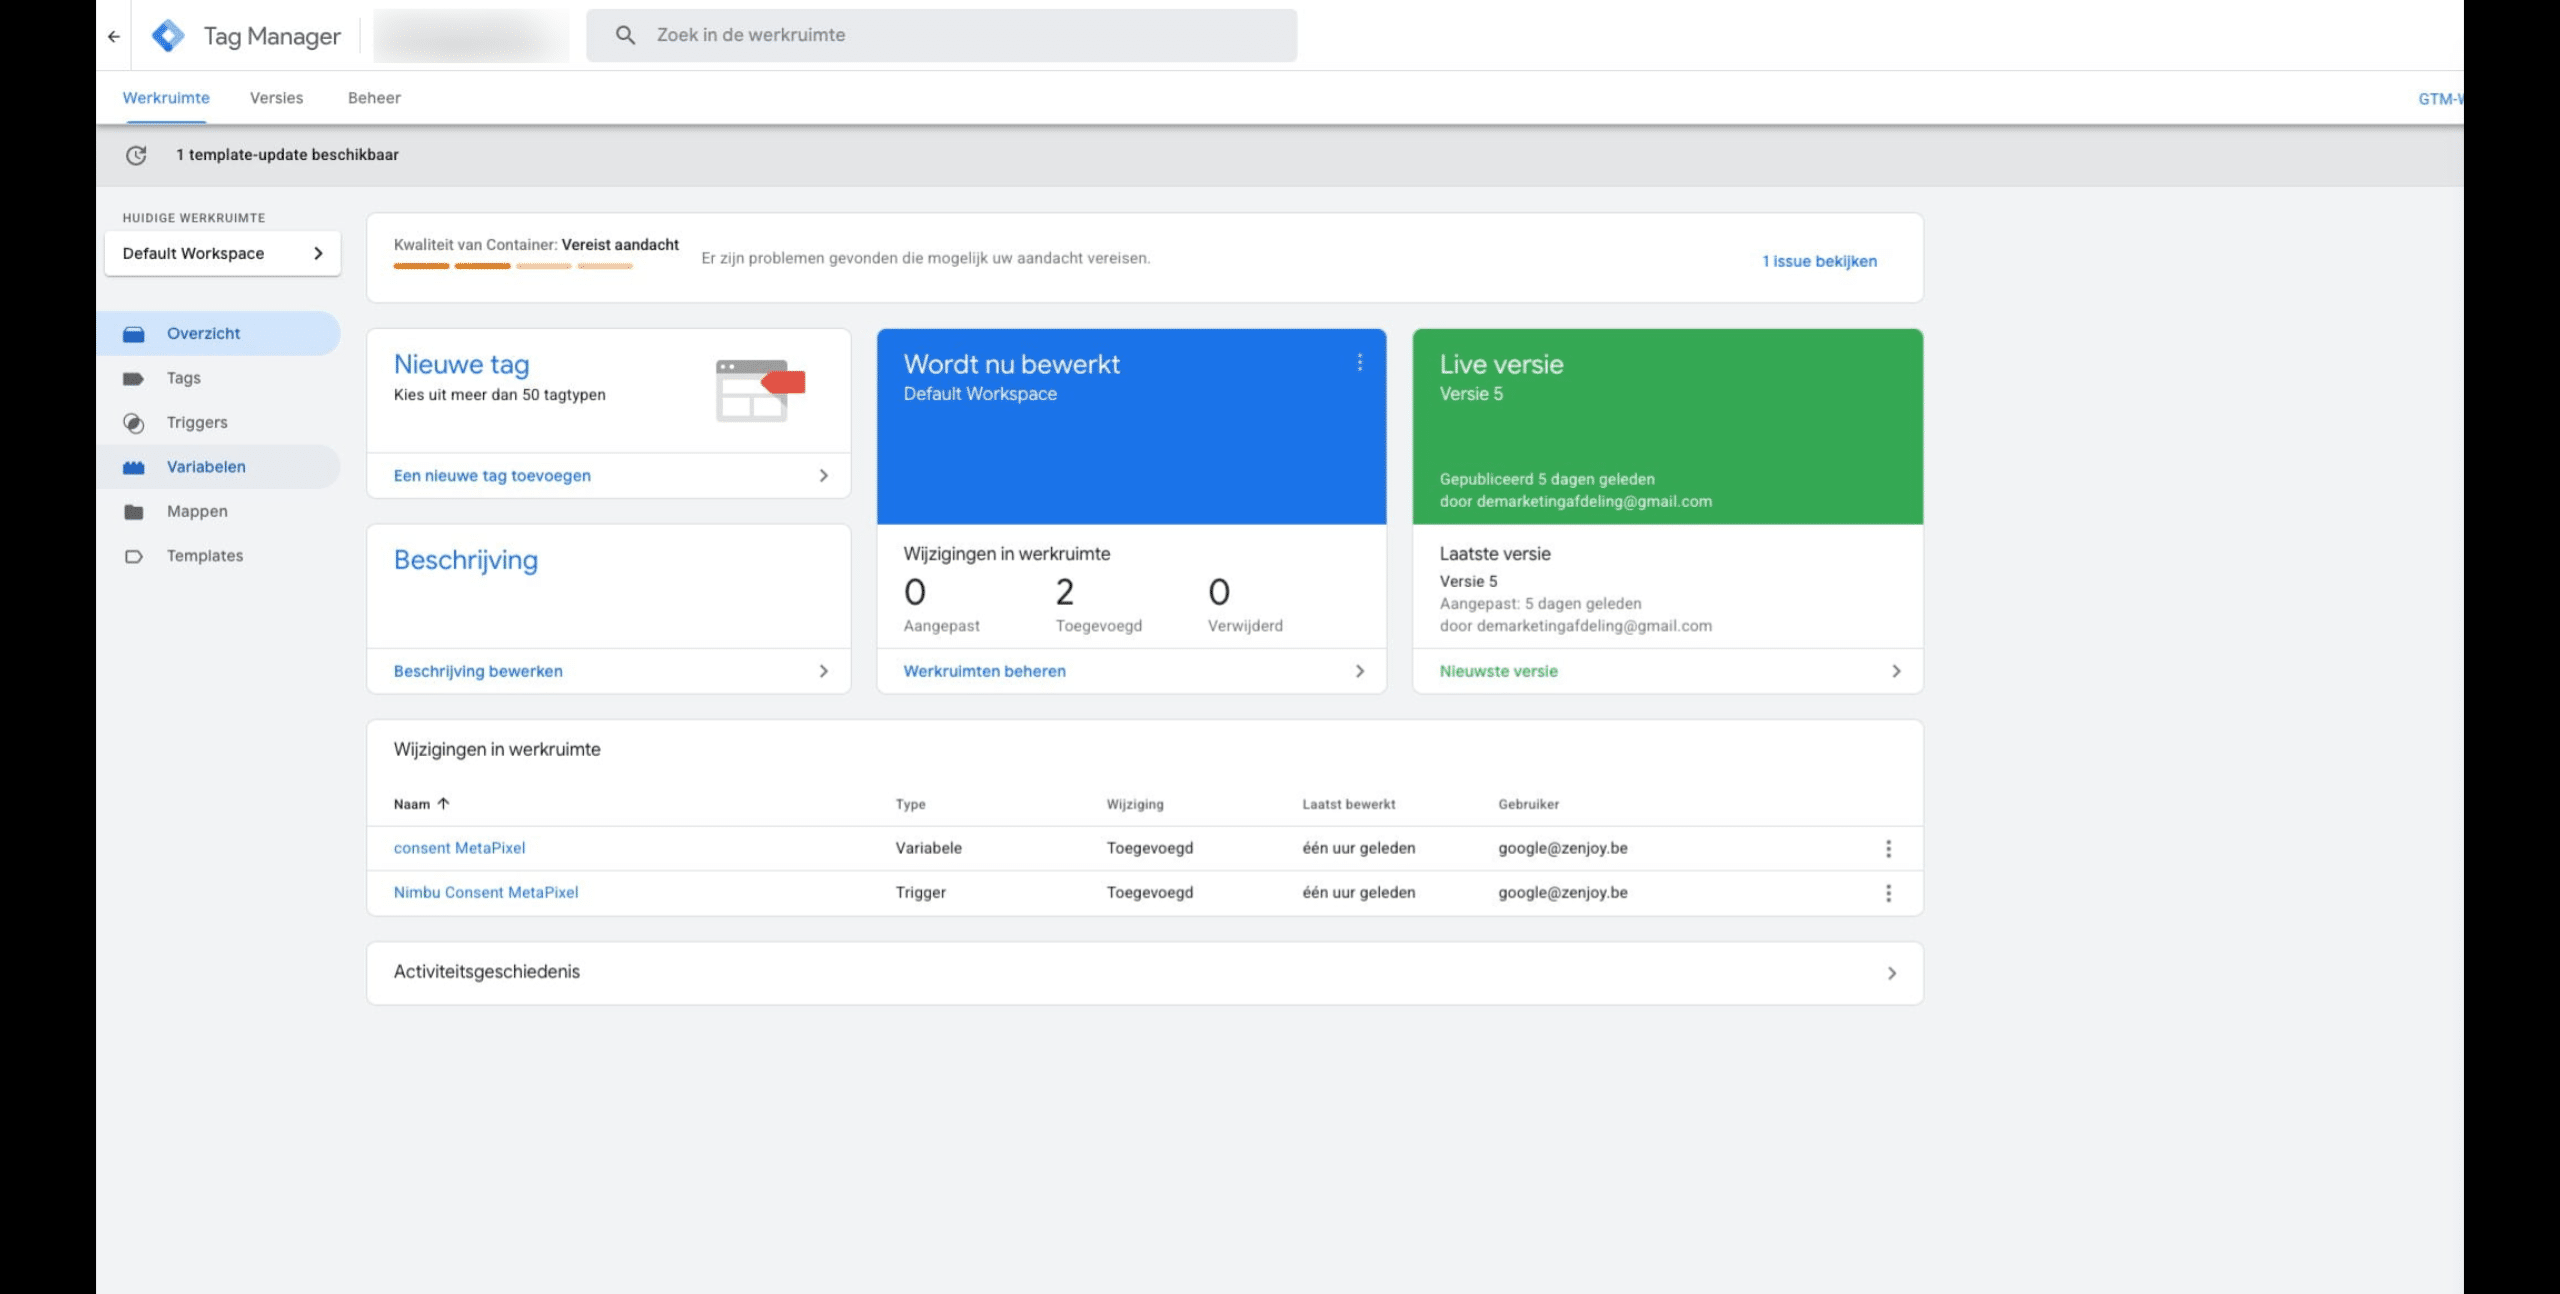
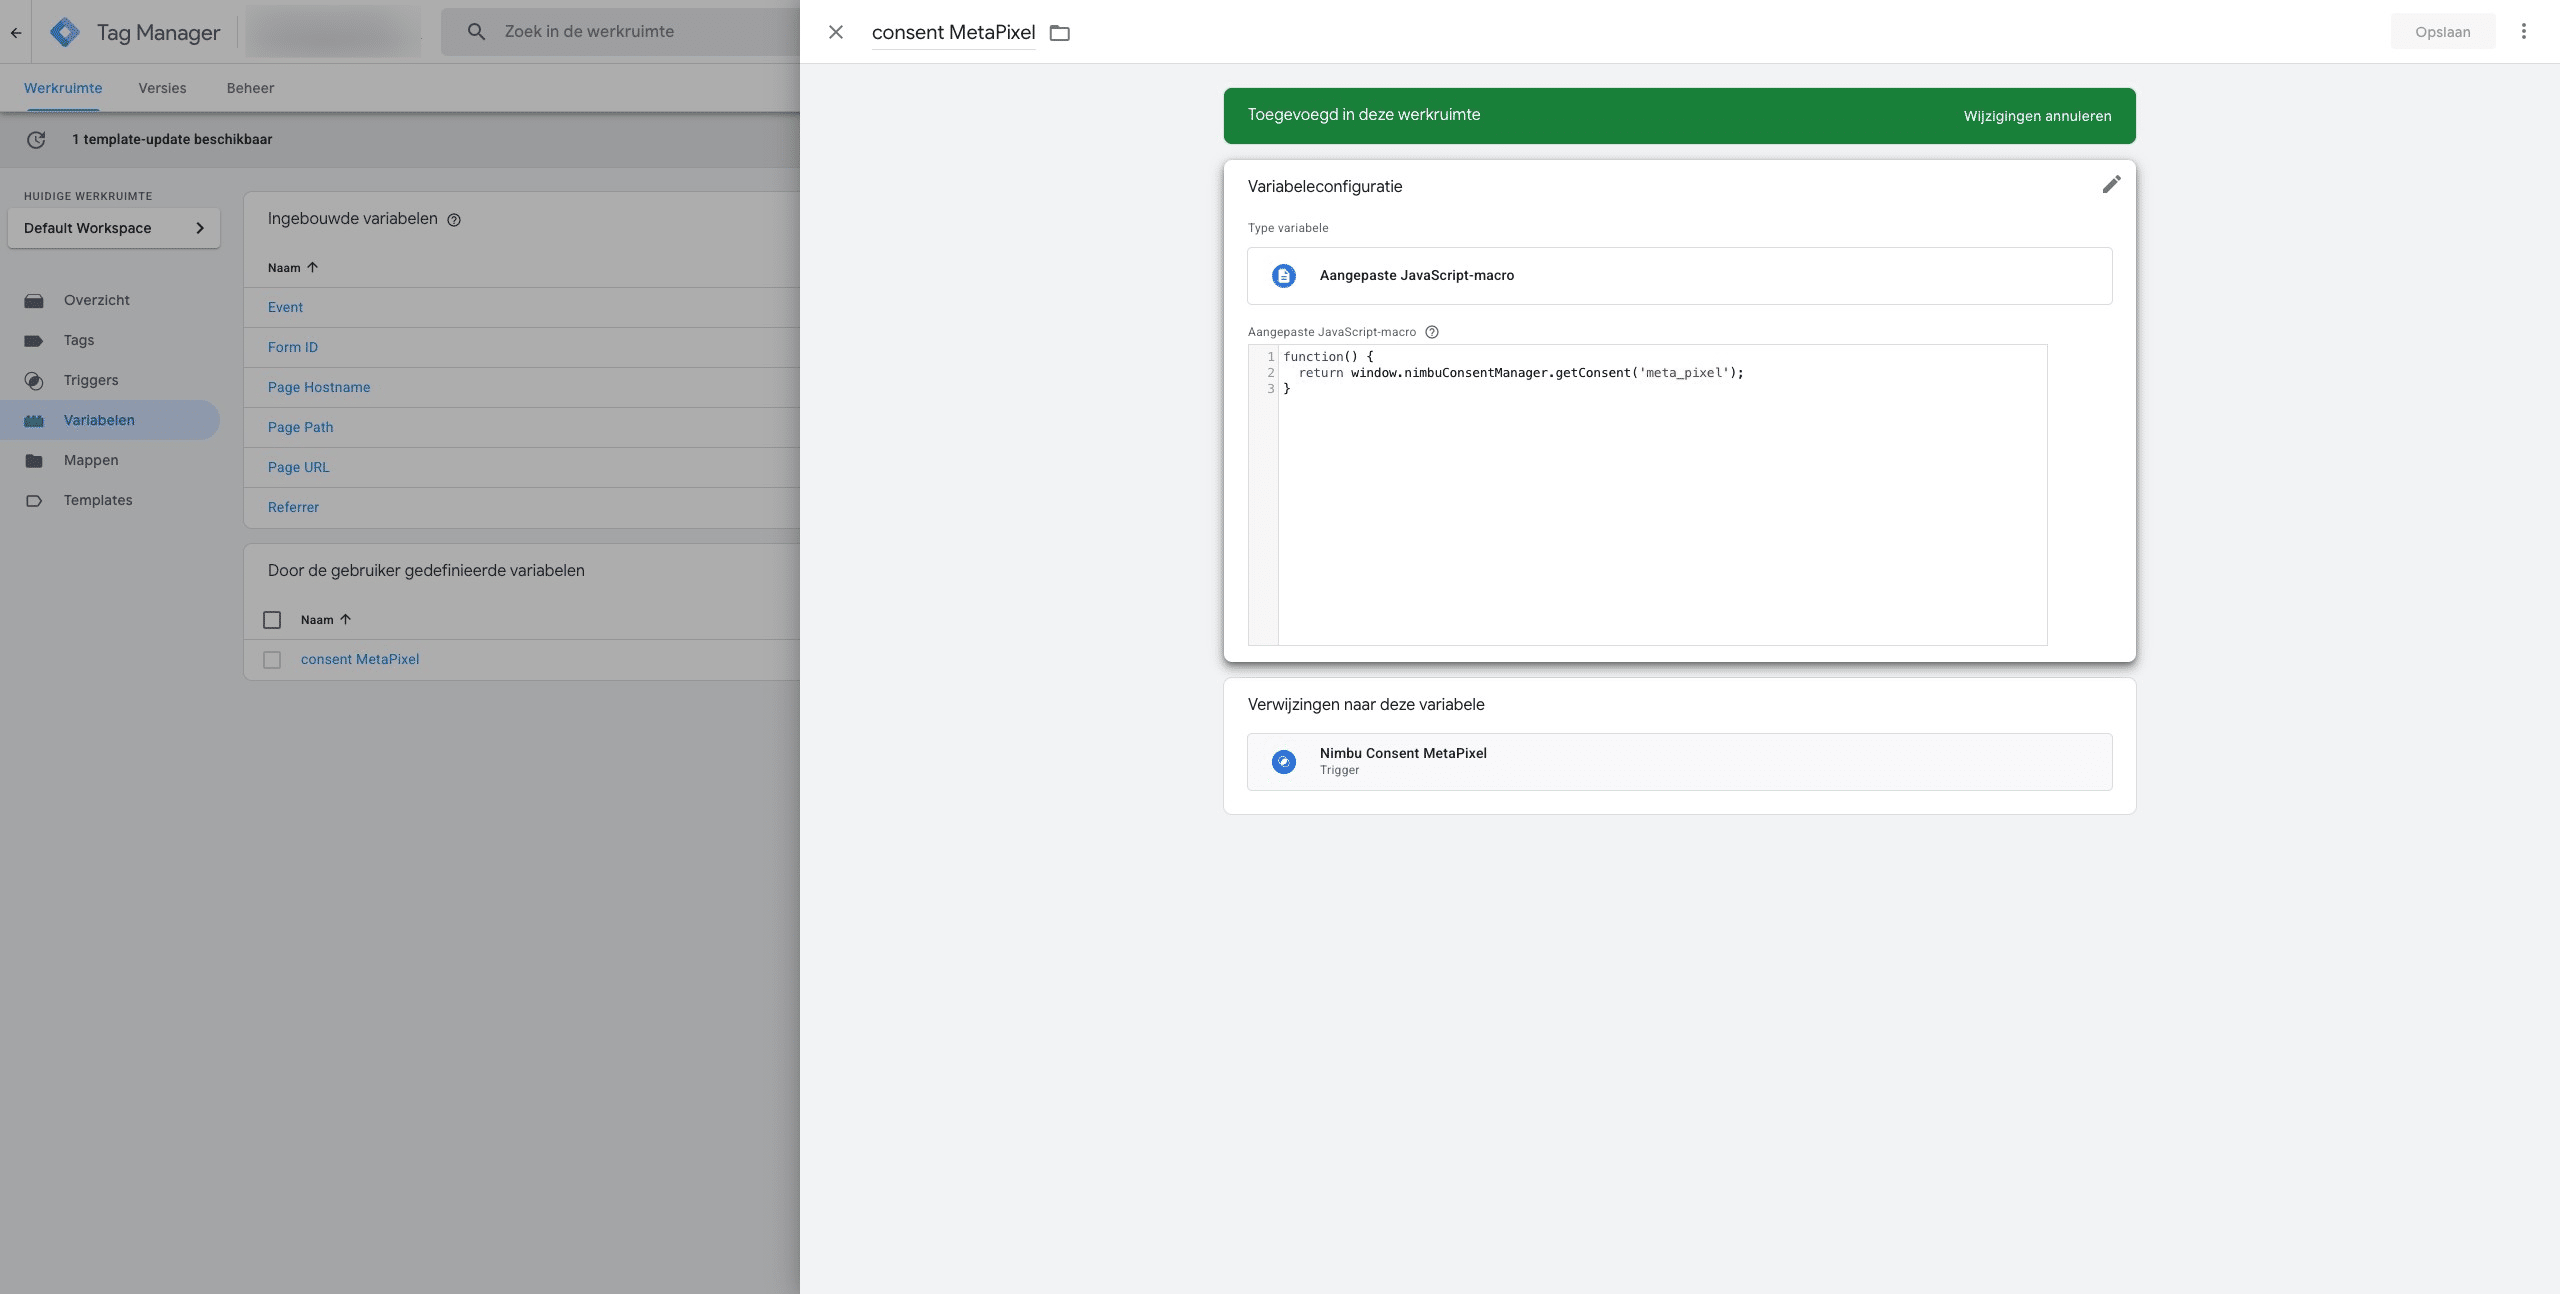
Create a new variable
Assign a meaningful name to the variable. Then, select 'custom JavaScript macro' and add the following code: function() { return window.nimbuConsentManager.getConsent('name__NimbuConsent'); }. Finally, replace 'name__NimbuConsent' with the actual name of your Nimbu consent.
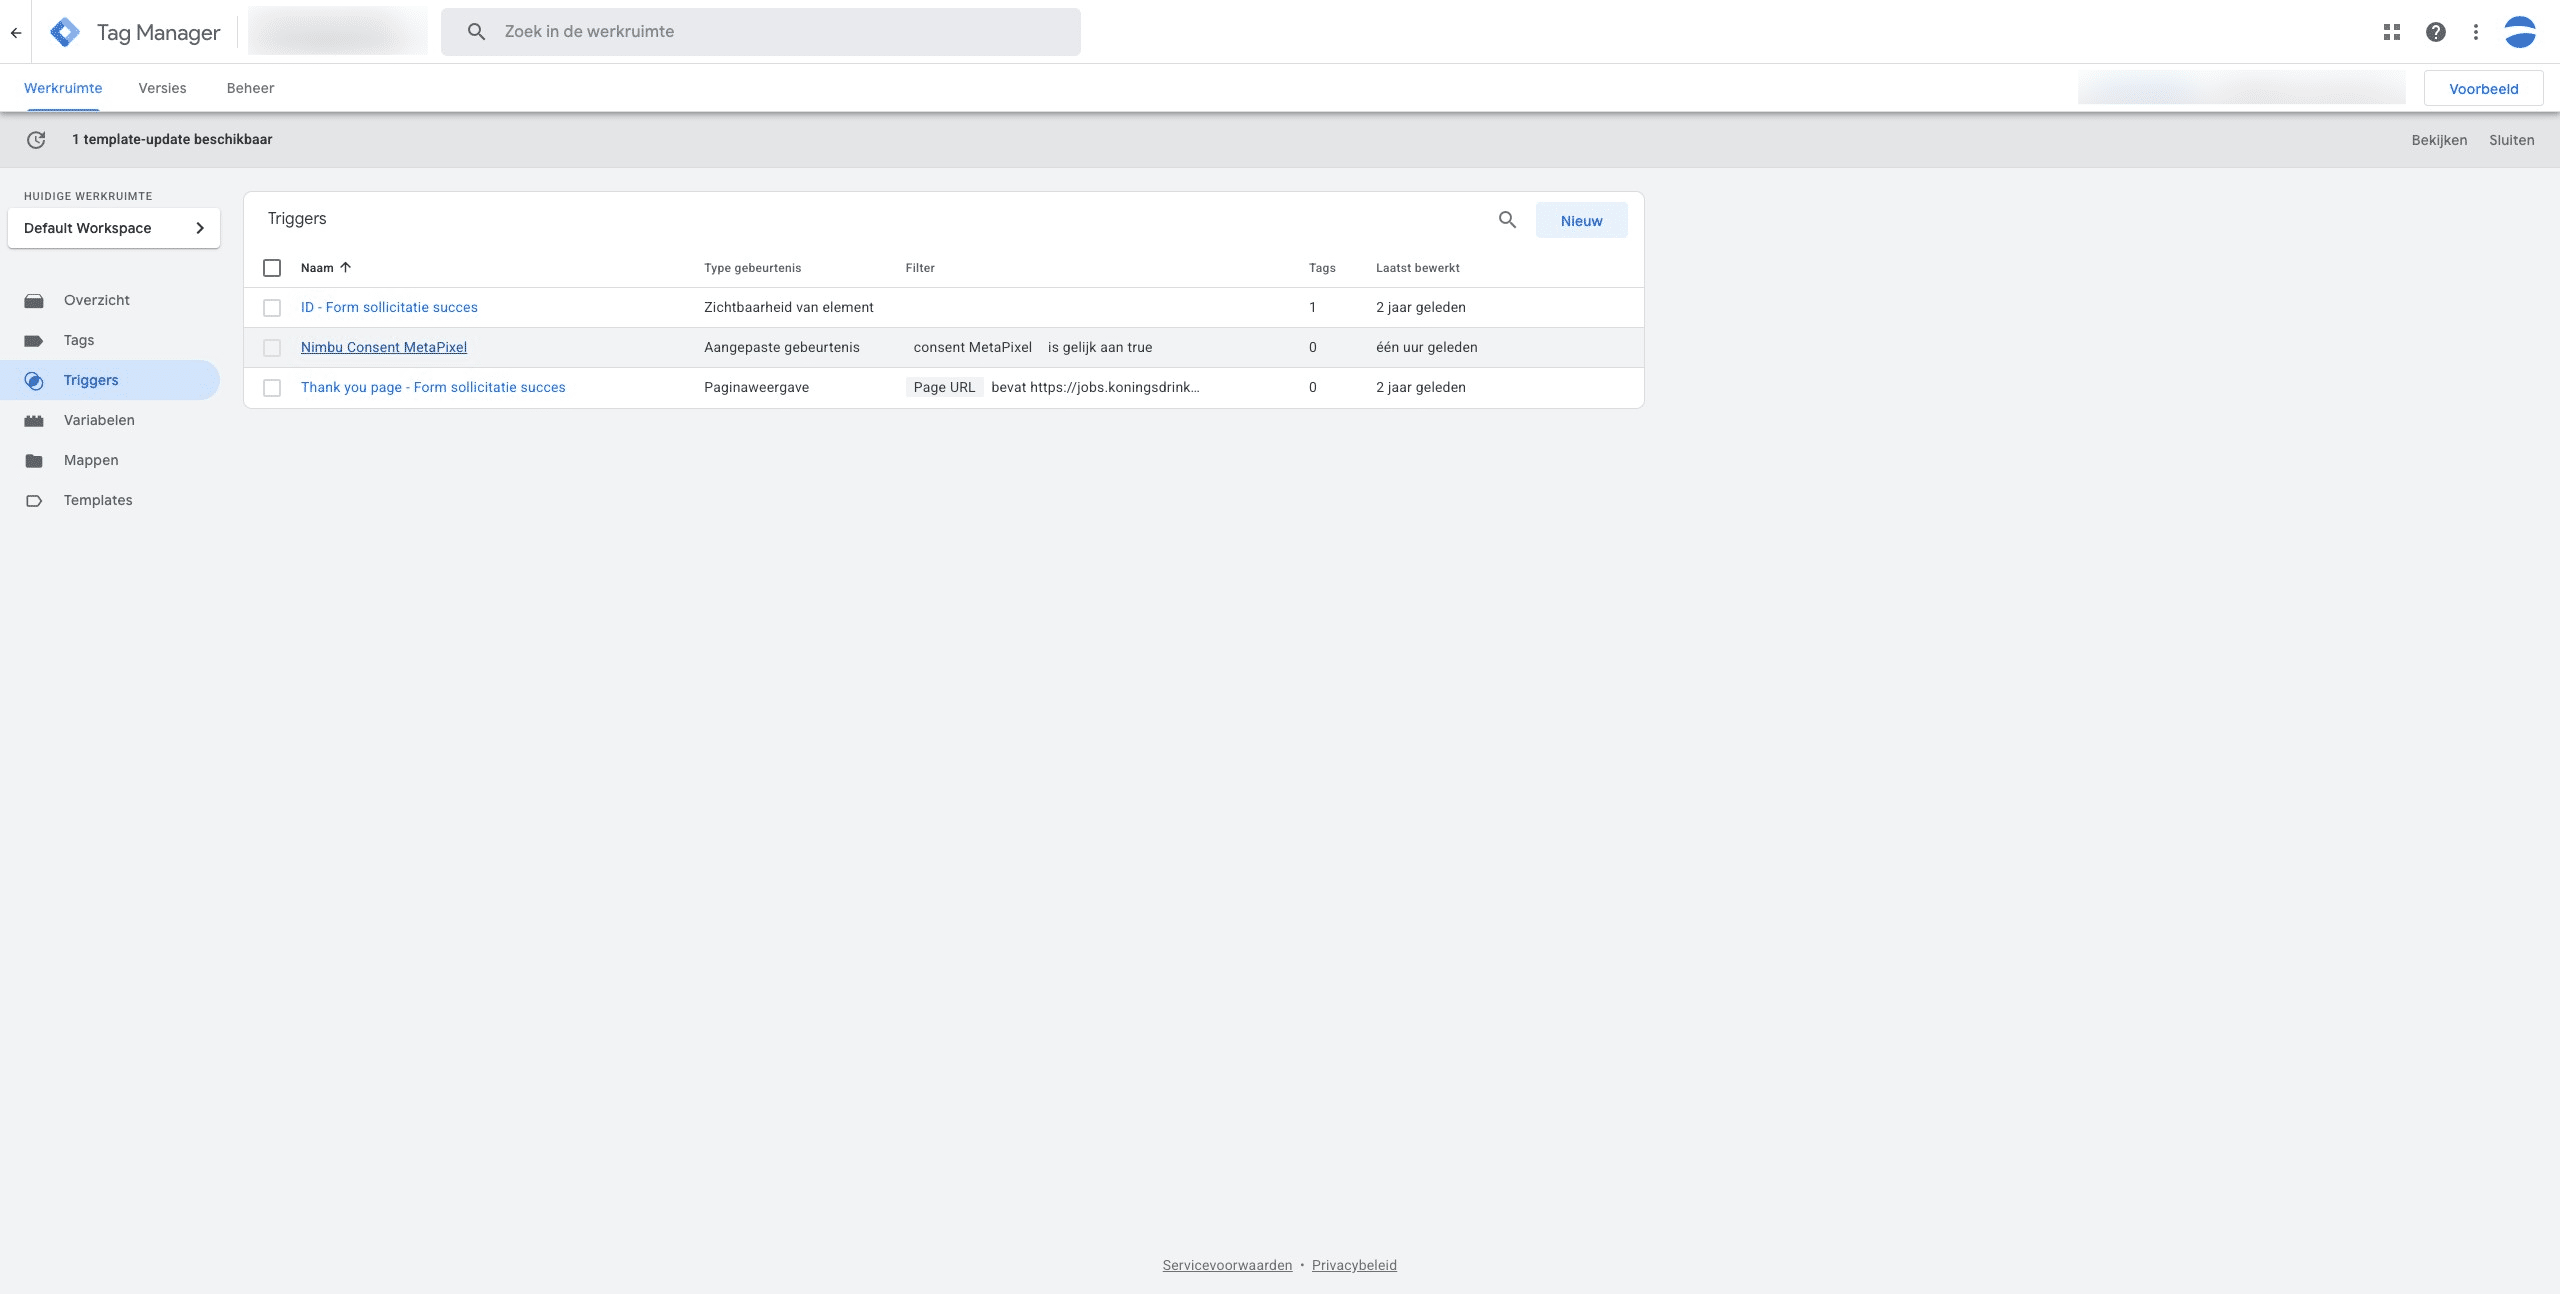
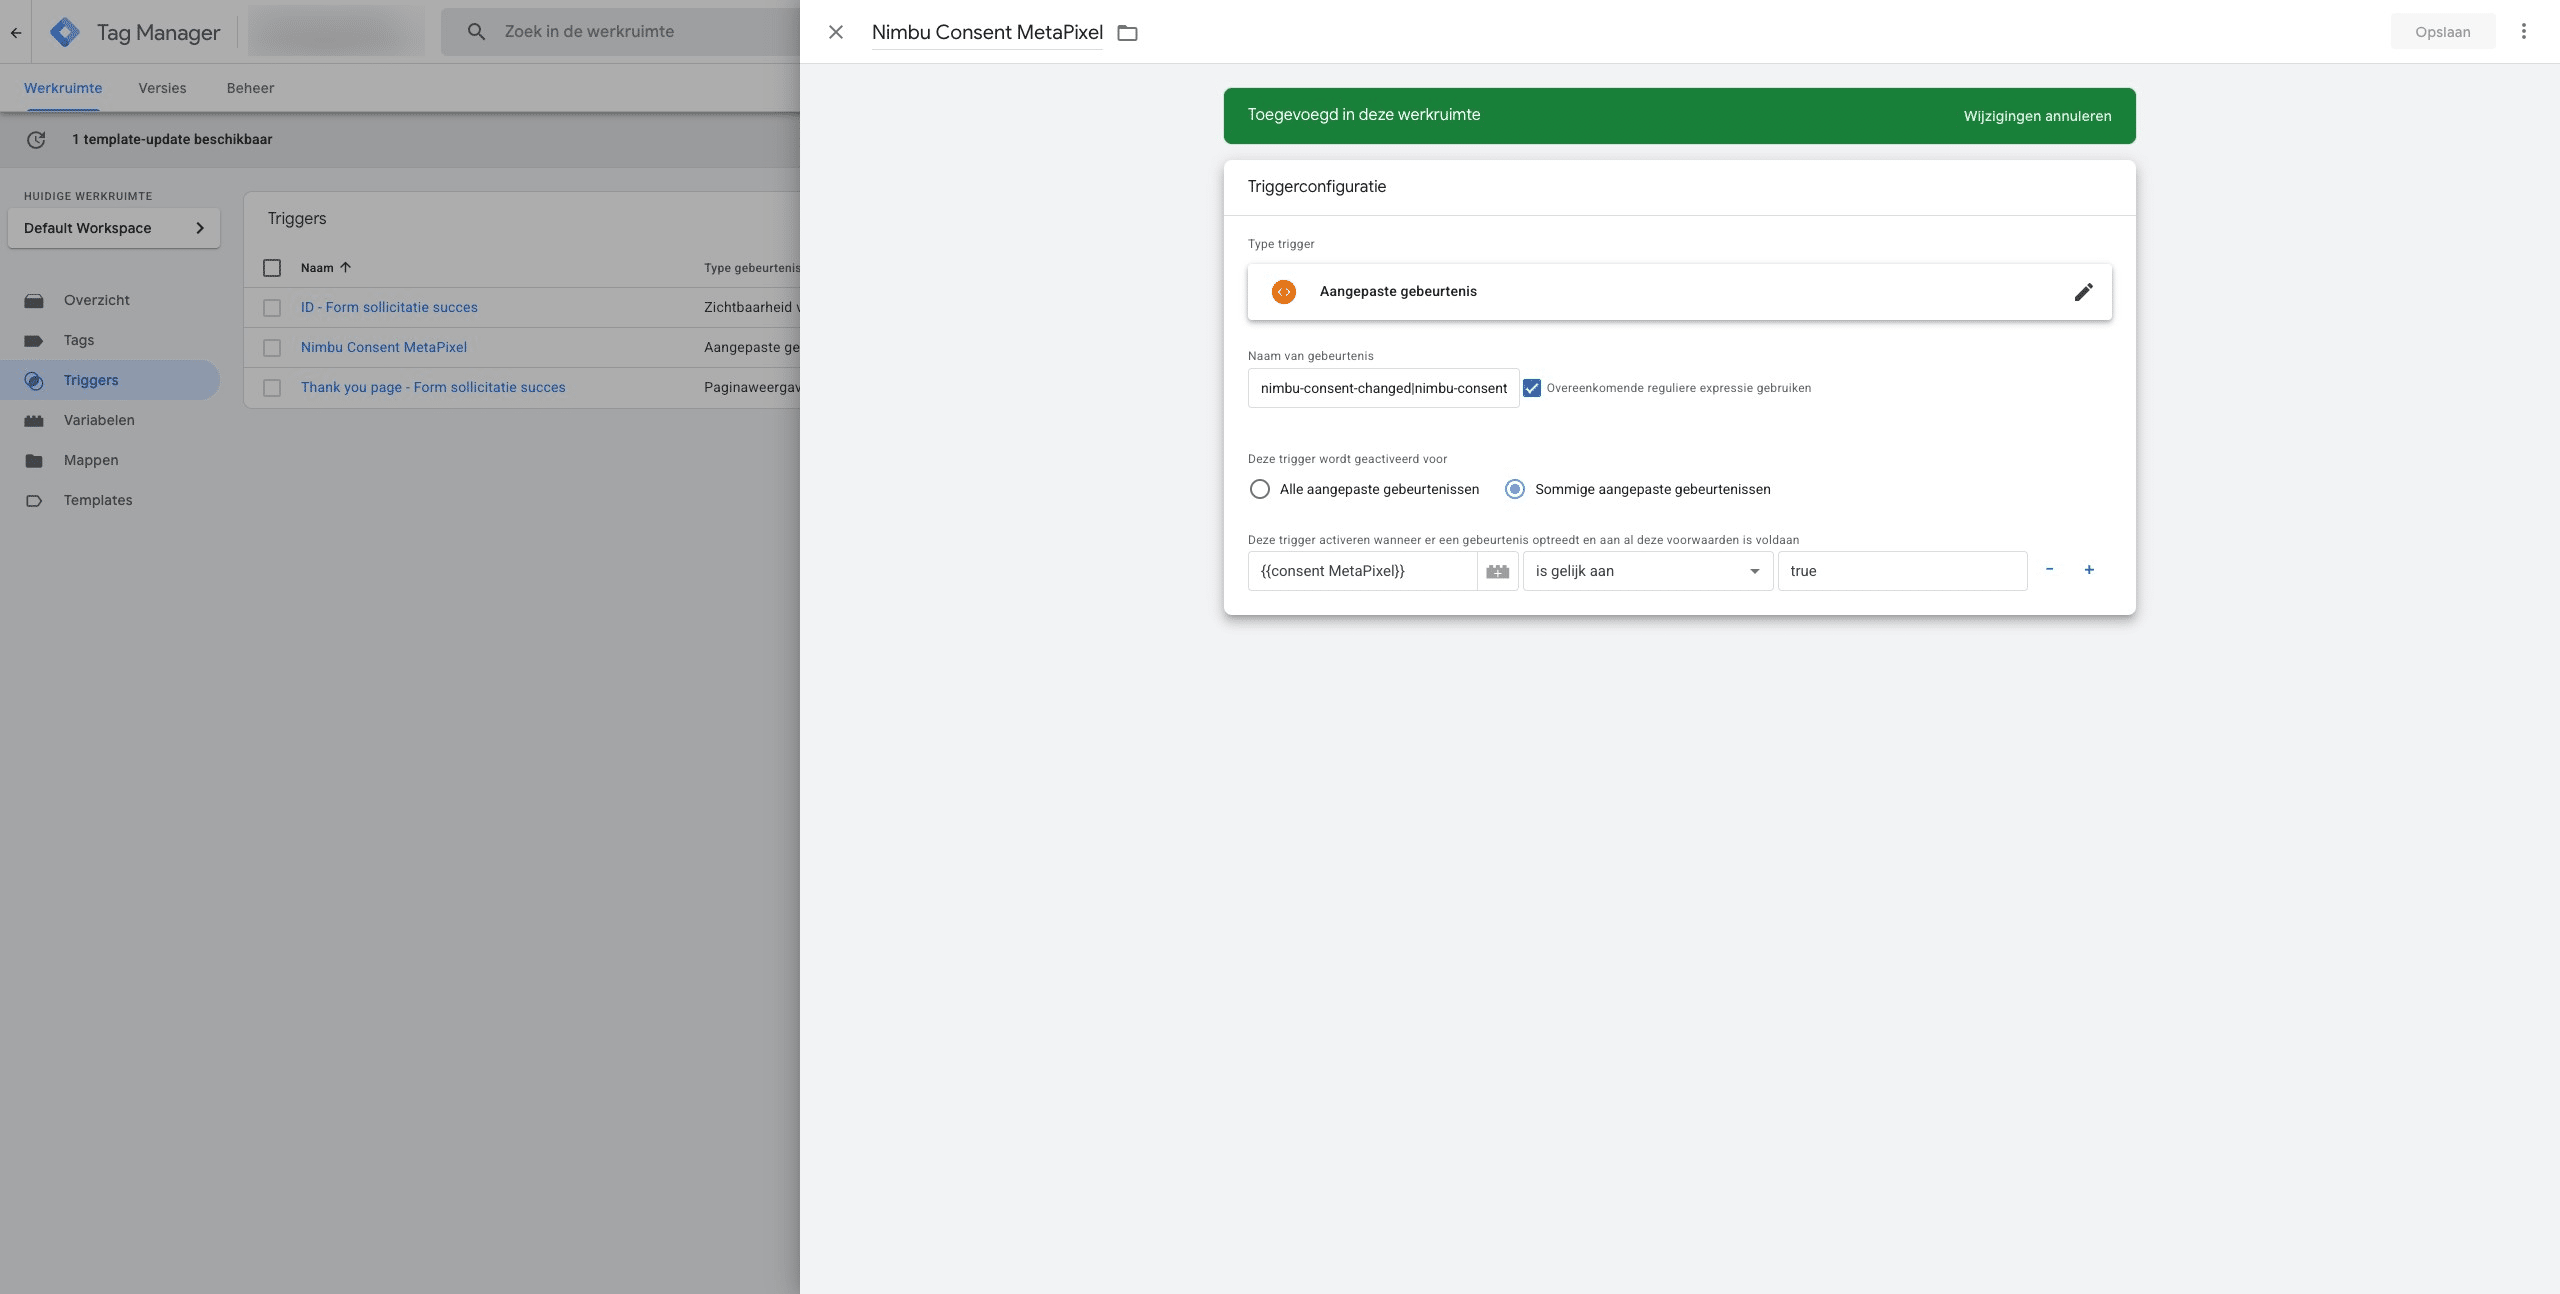
Create a trigger that is based on the created variable.
Apply the settings as shown in the screenshot.
Choose the appropriate trigger for the tags you wish to activate.
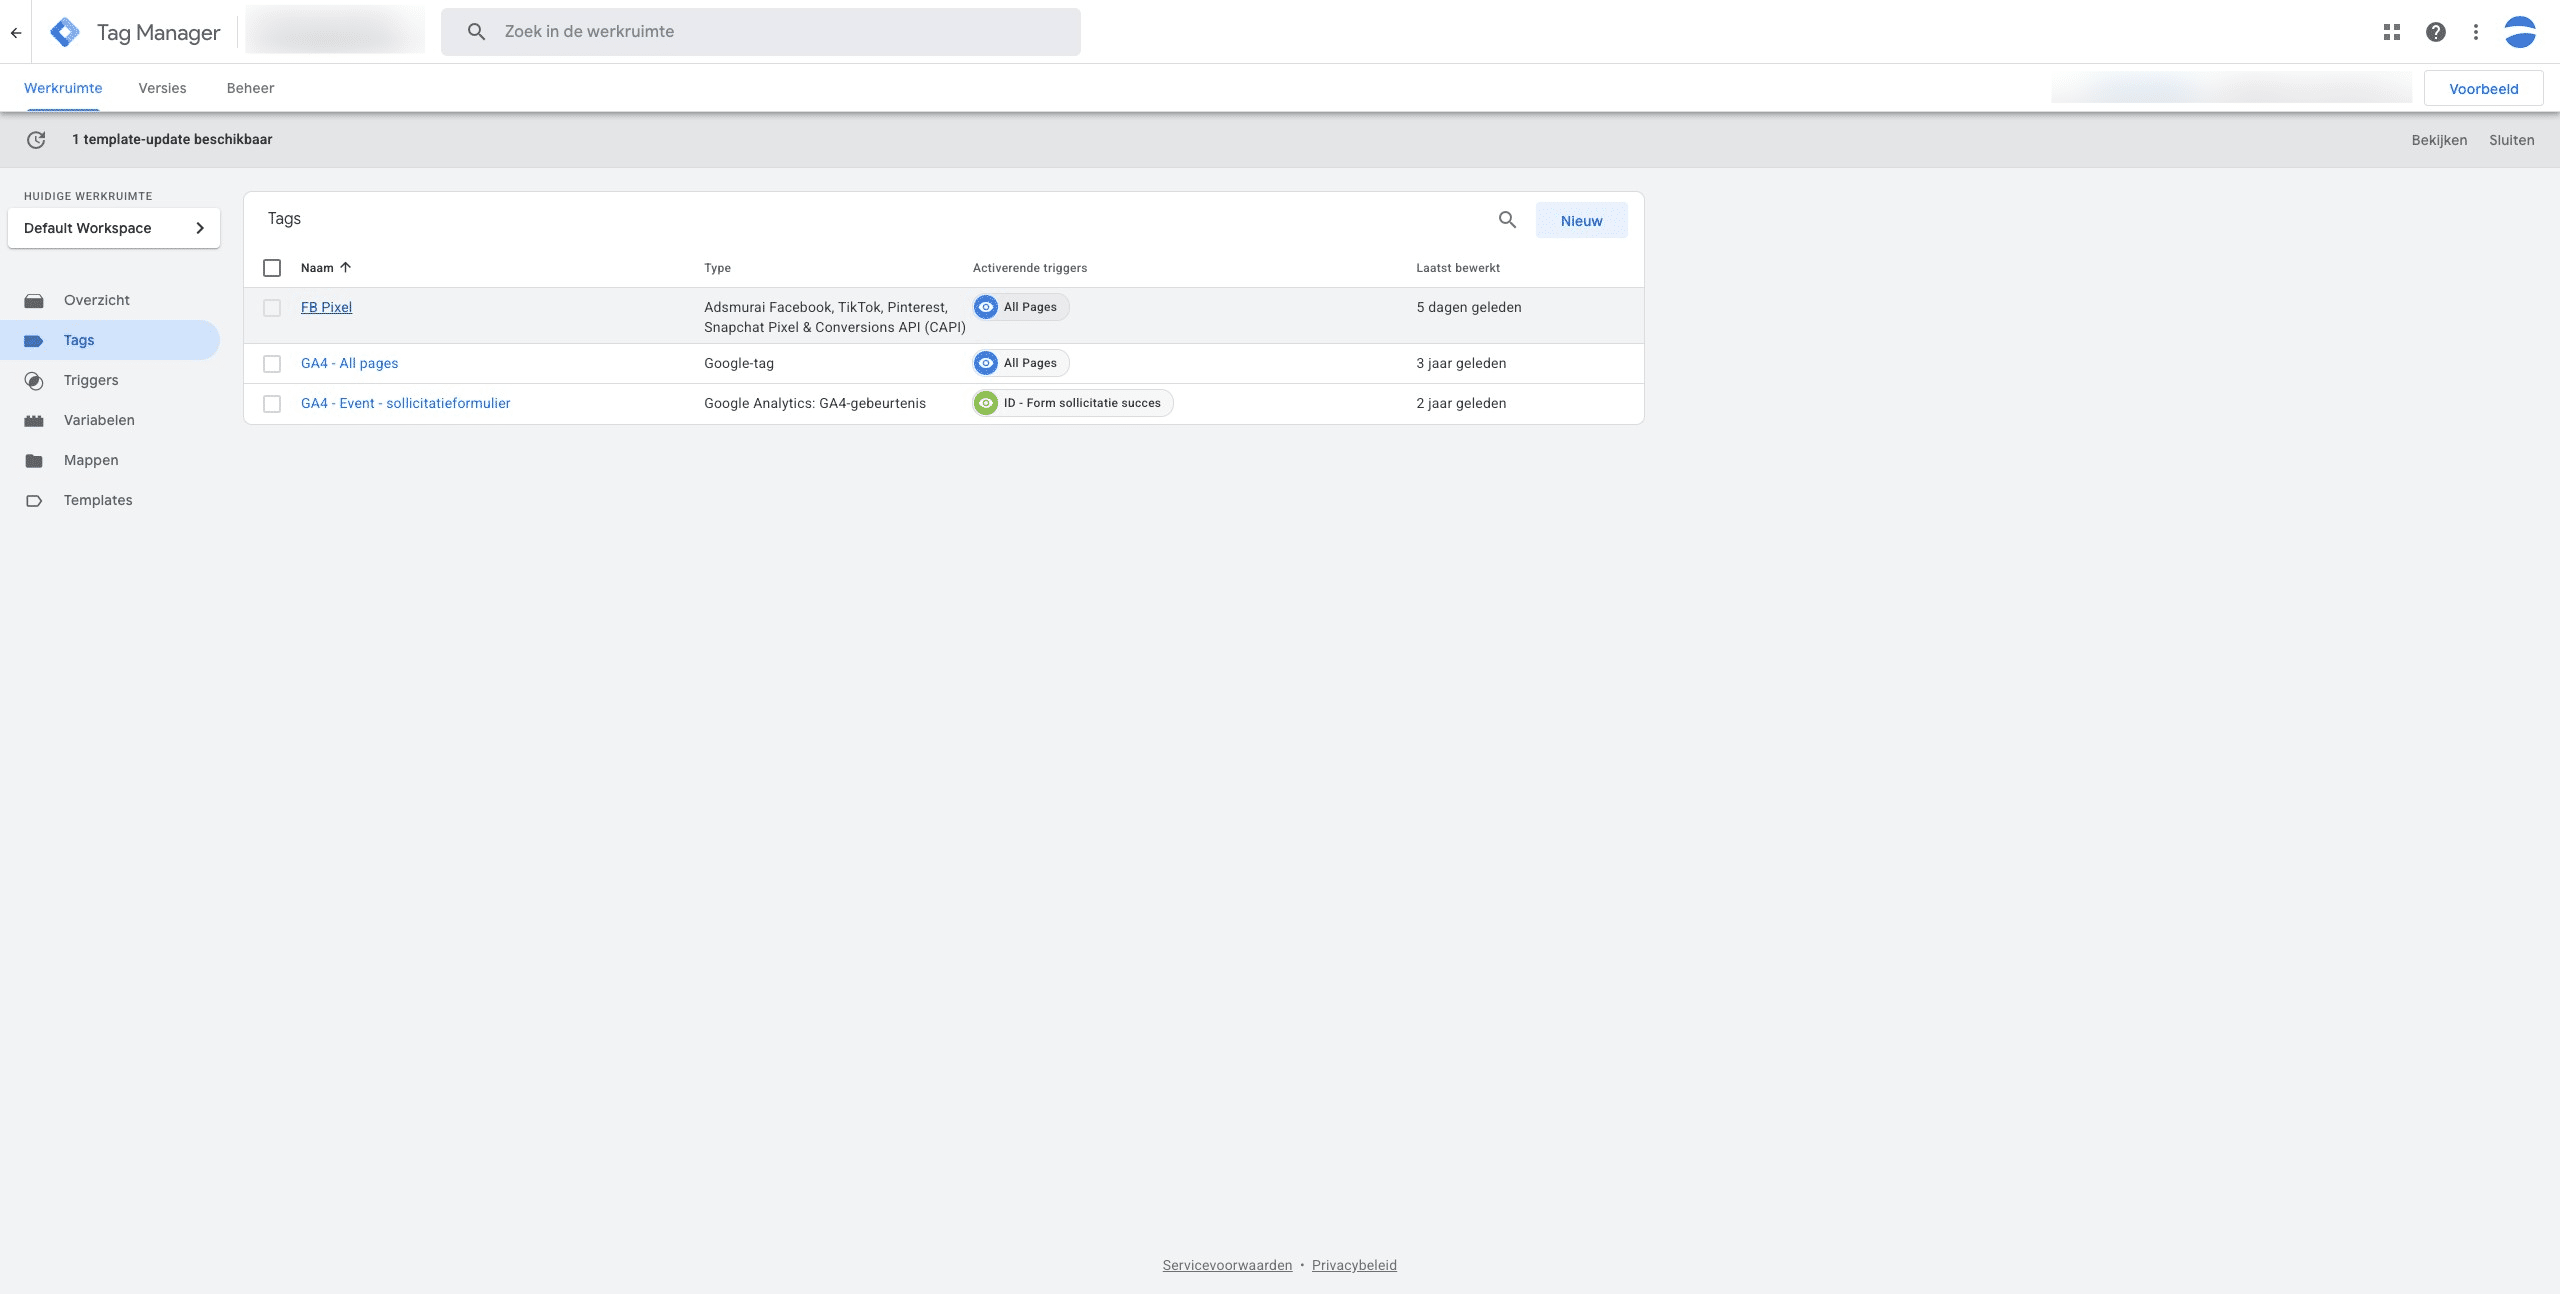
Click on "voorbeeld" to test your implementation.