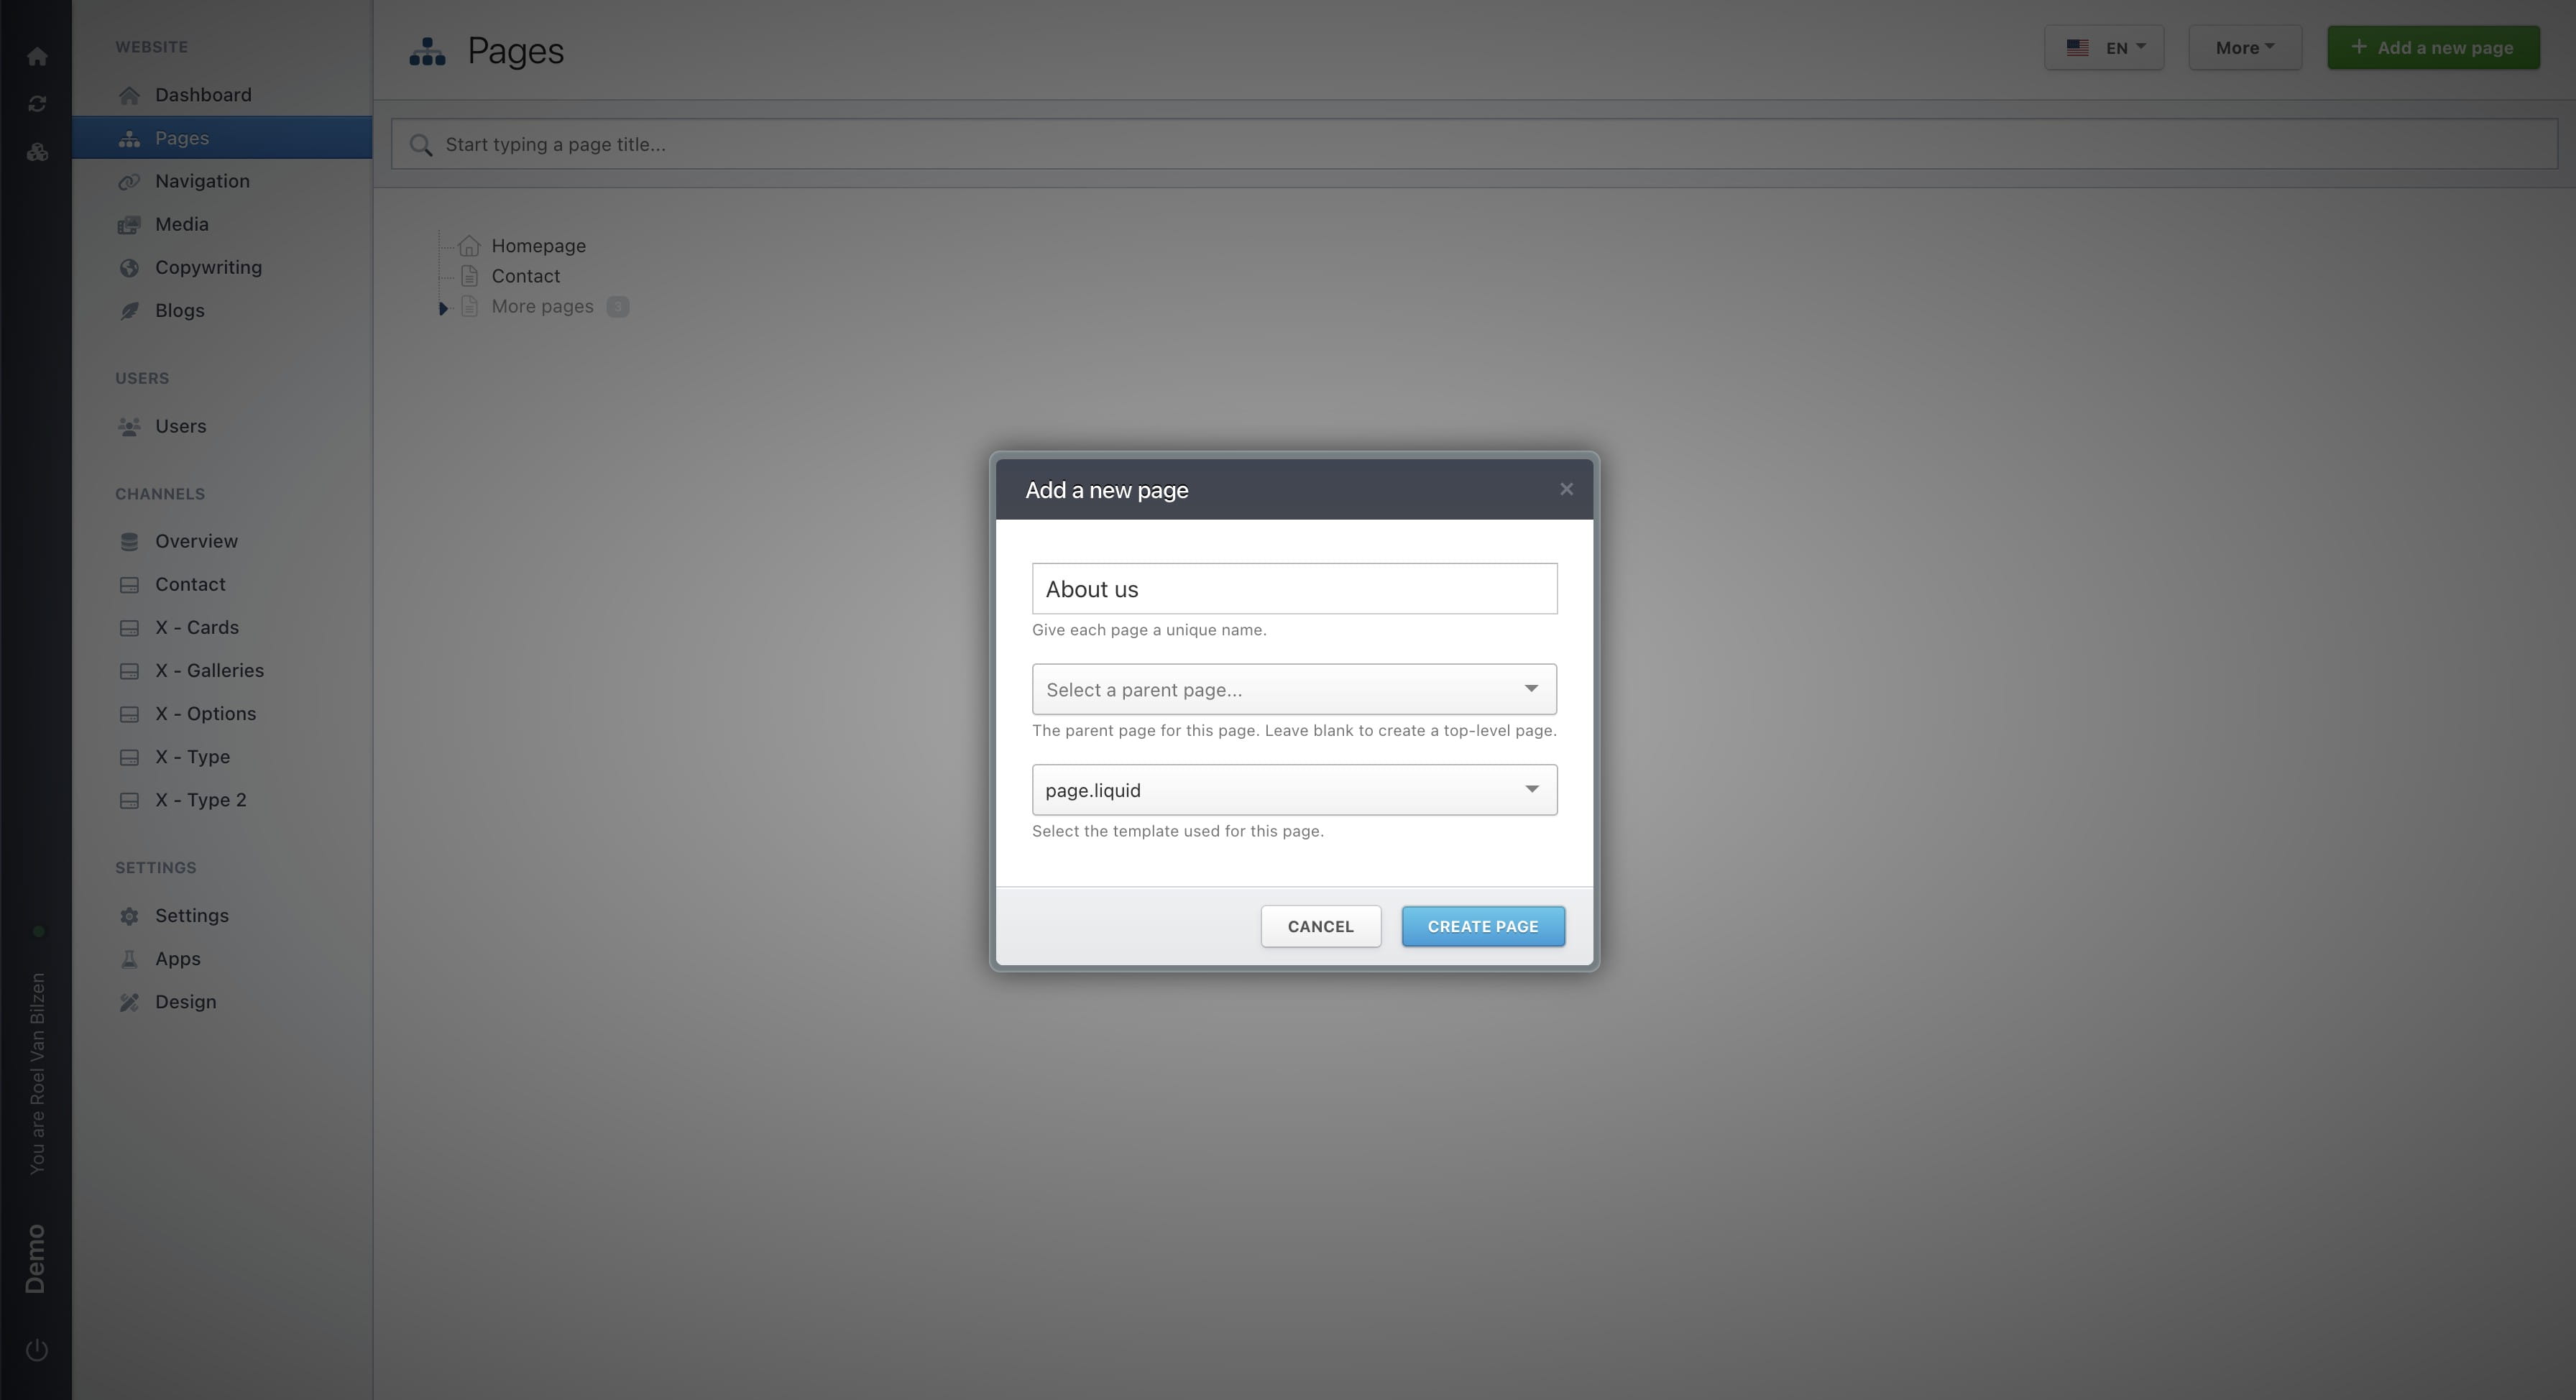
Create a new page
Navigate to https://[YOUR DOMAIN].nimbu.io/admin
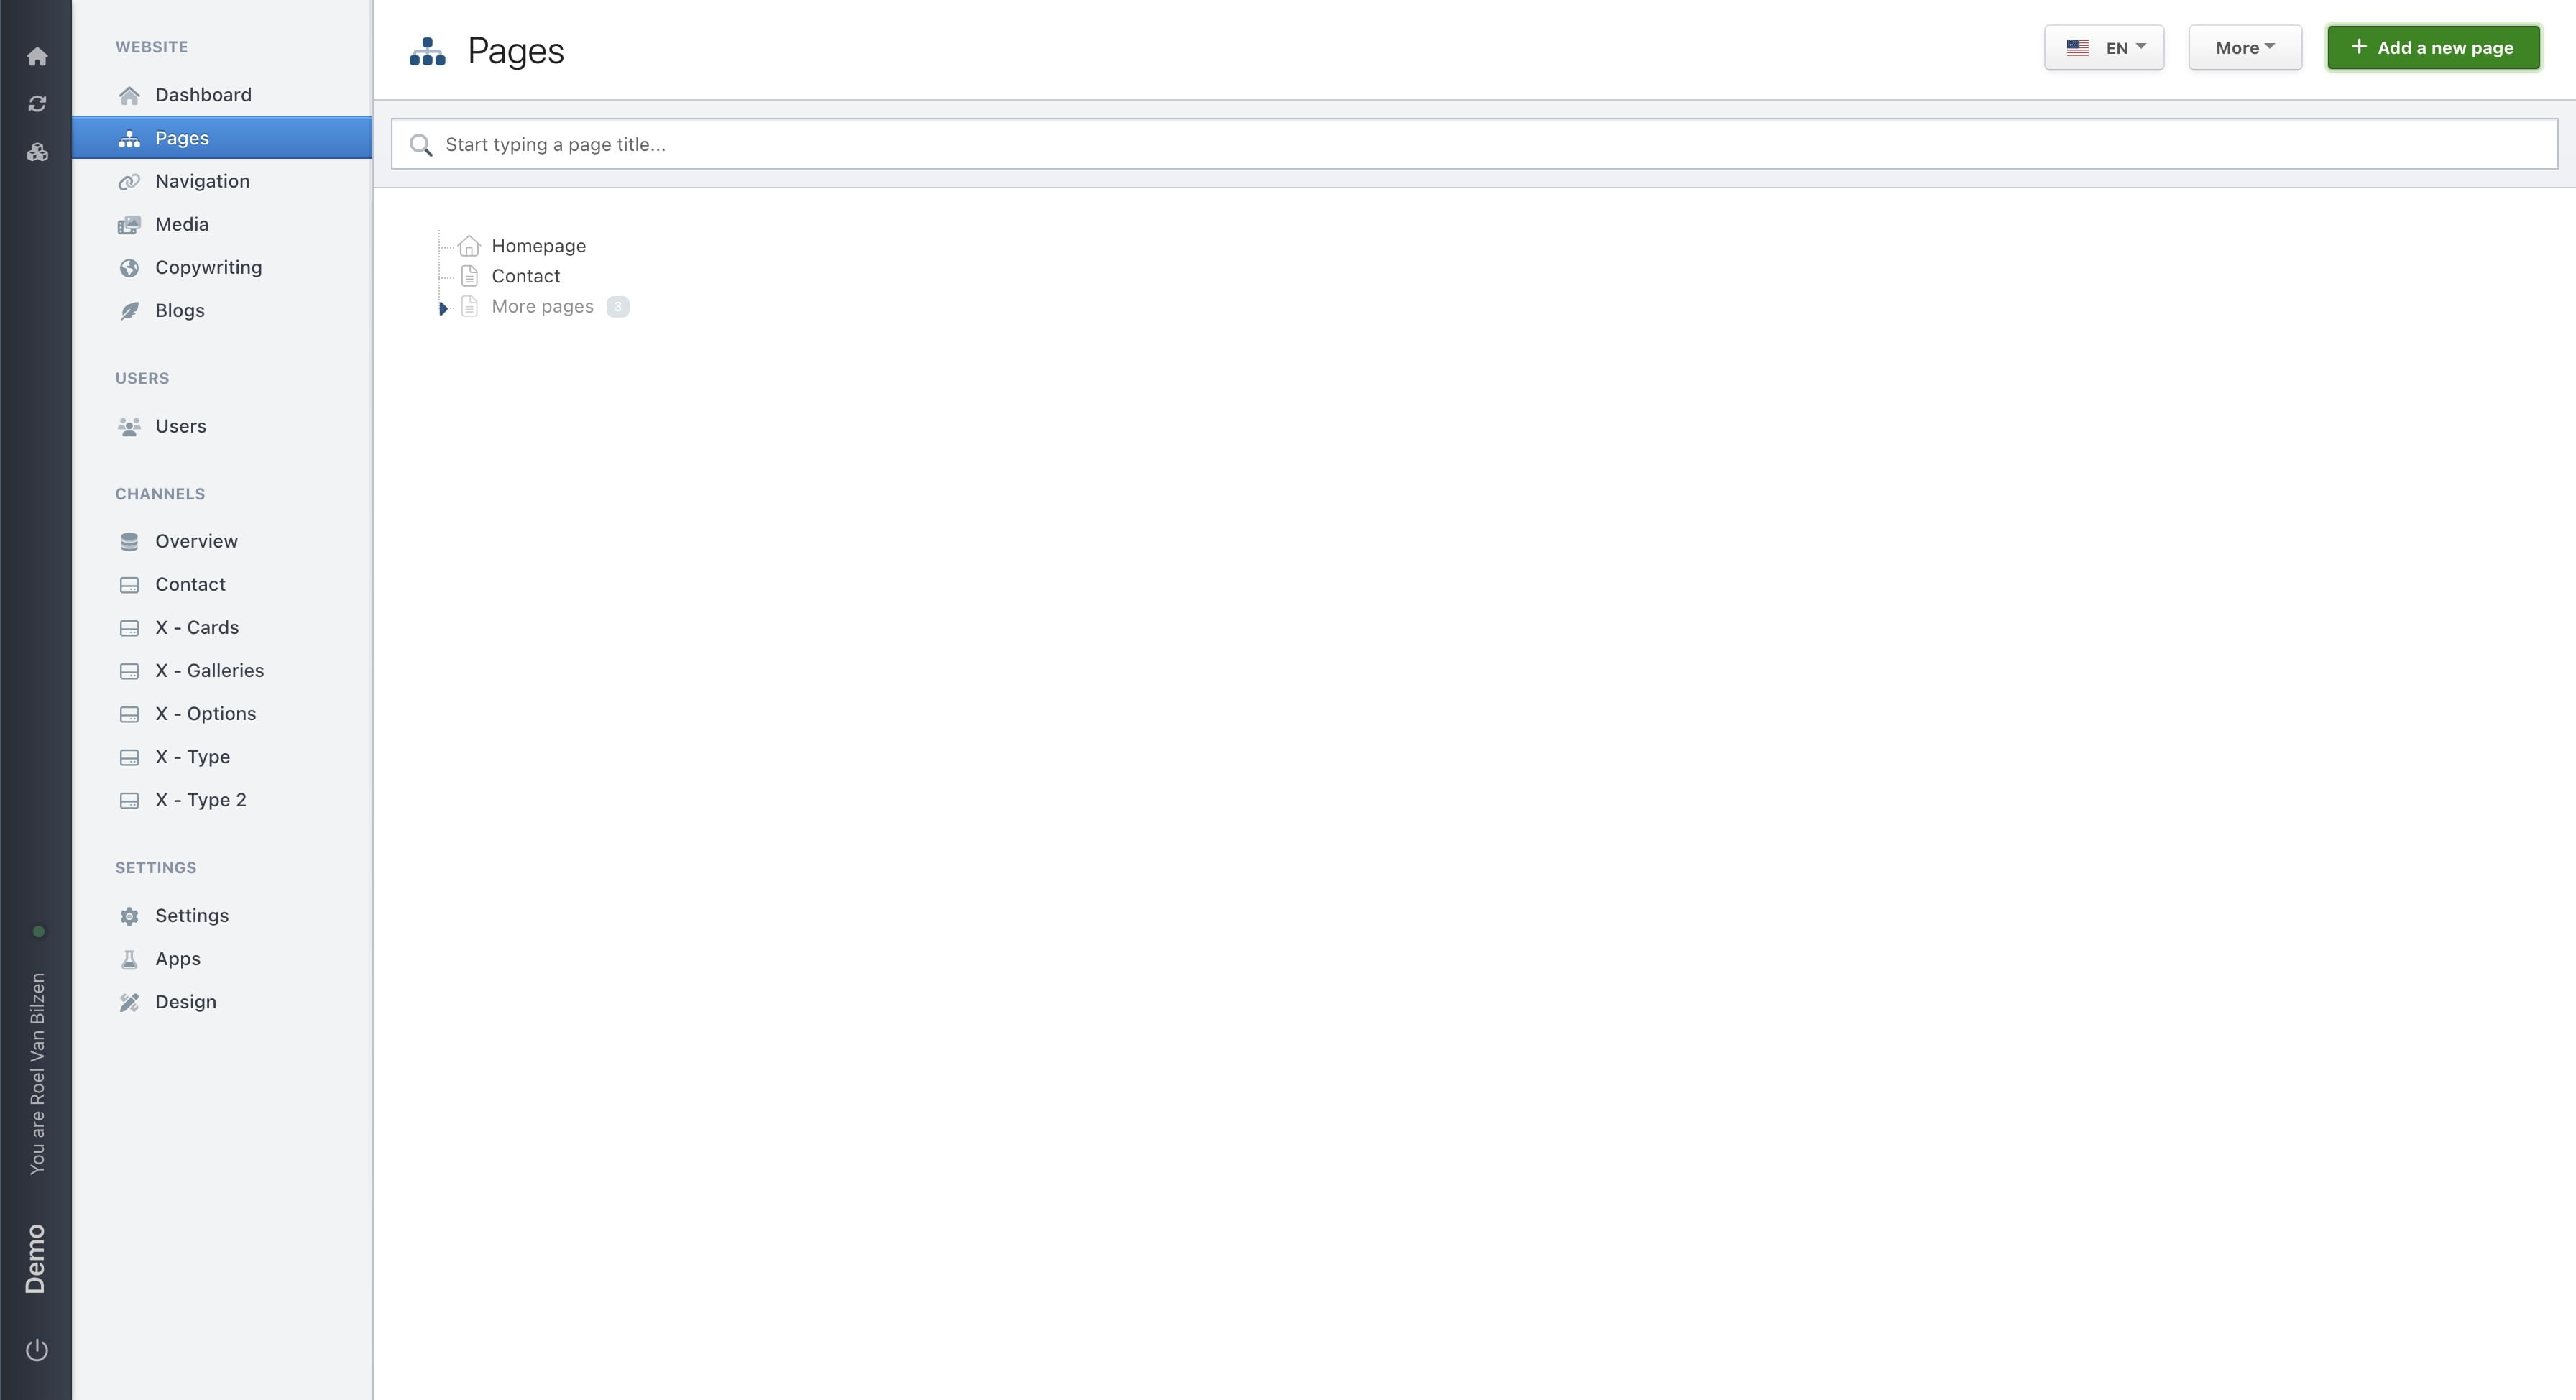
Click on "Pages"
Click on "Add a new page"
Give the page a title. This title will also be used in the URL.
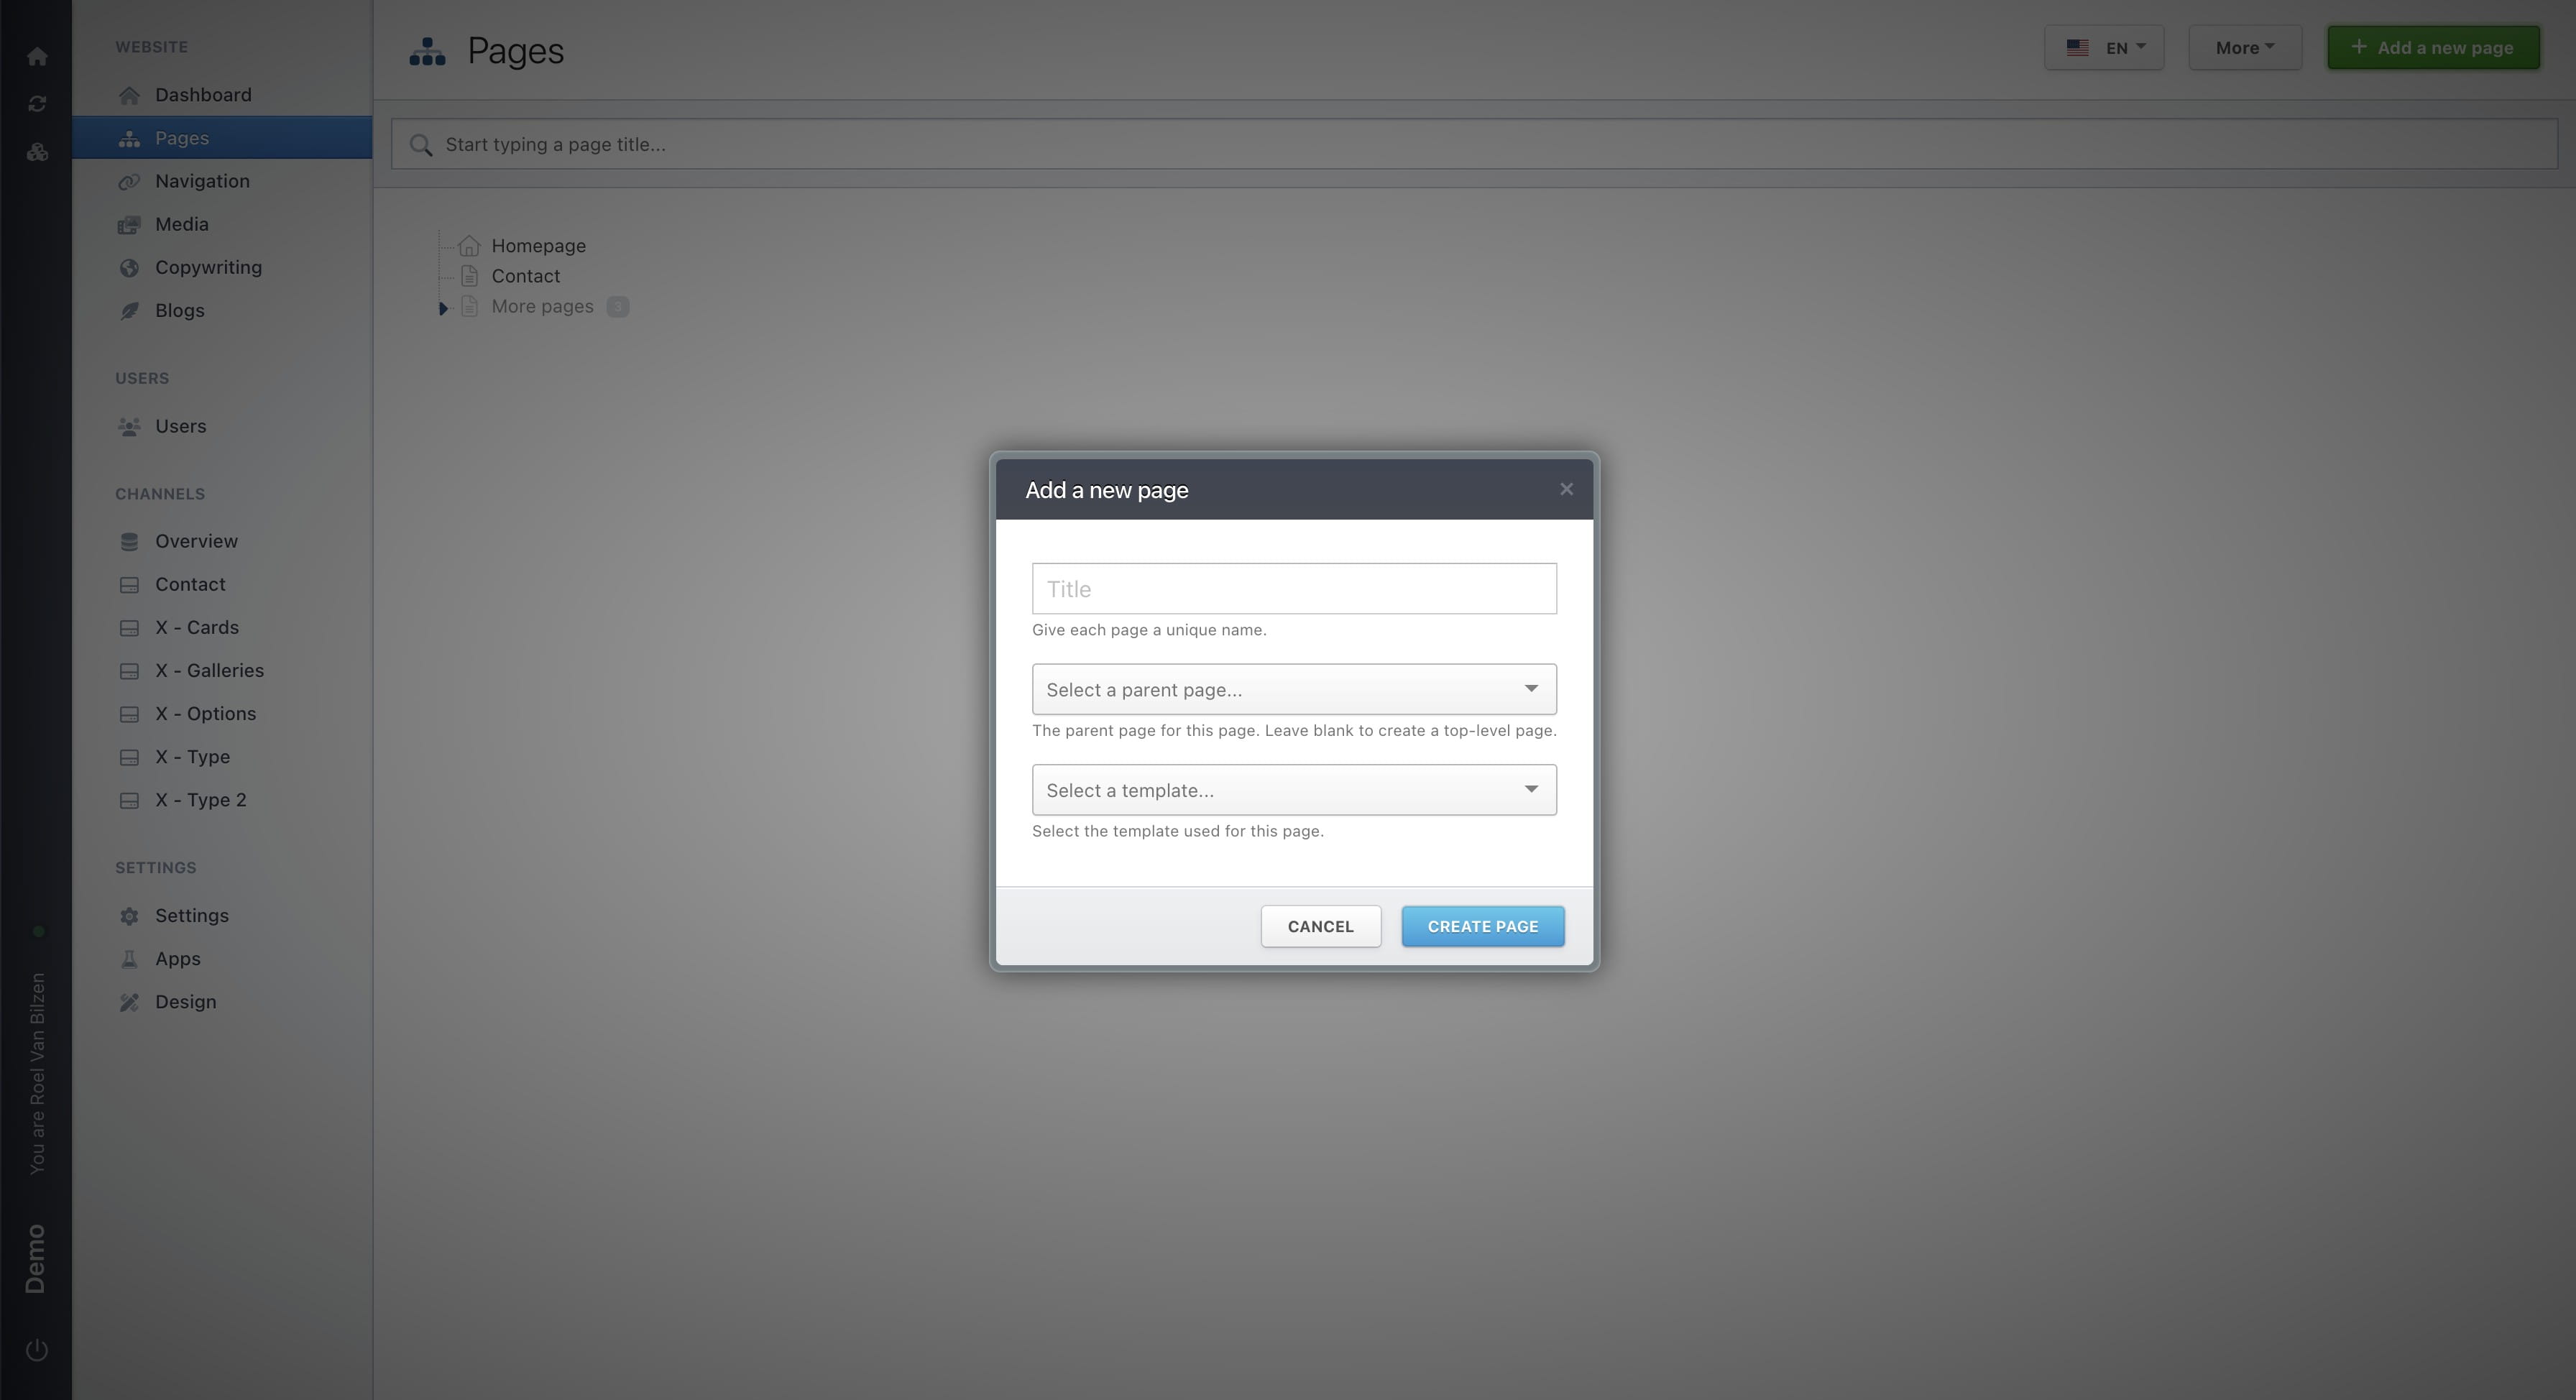
Select a parent page. This is for the structure of the different pages. For example, if you select "Contact" the path of the new page will be /contact/over-ons. If none is selected the path will be /over-ons.
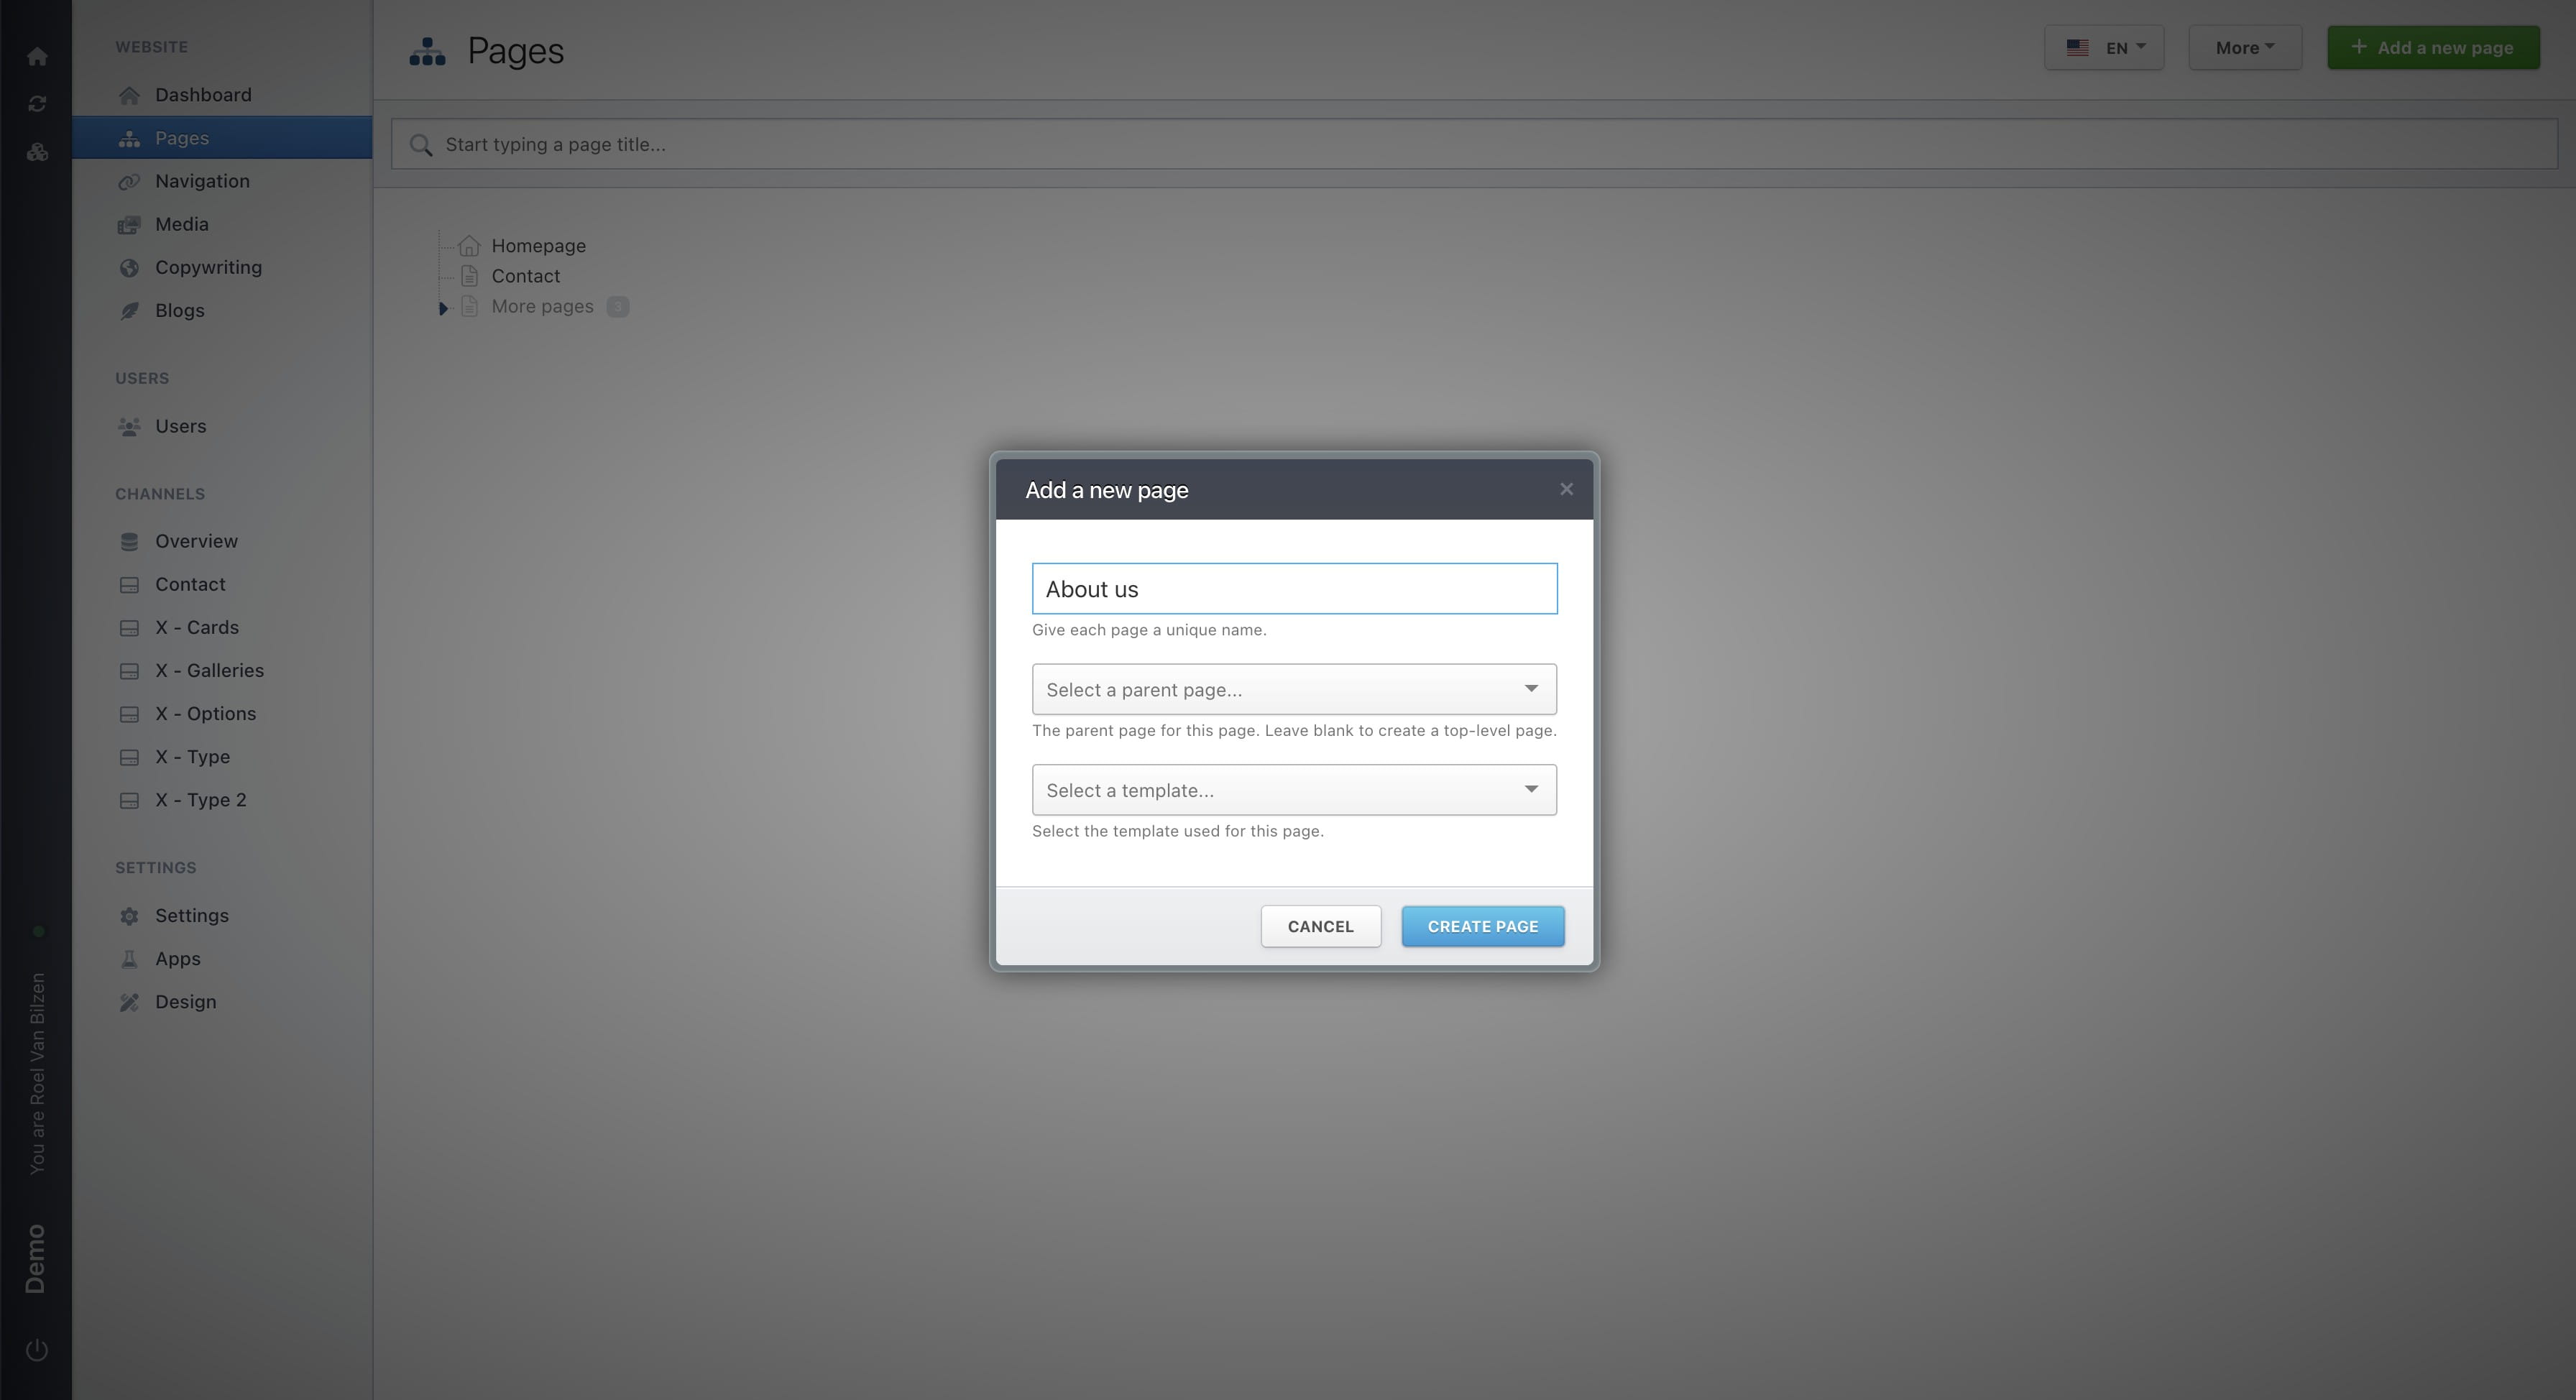
Select a template to use on this page. In most cases this will be "page.liquid"
Click on "Create page" to create the page.
The new page is made but is not yet published. On this page you can find all settings and content related to this page. For each section, there is another guide to explain all in detail. Below some information about each section.
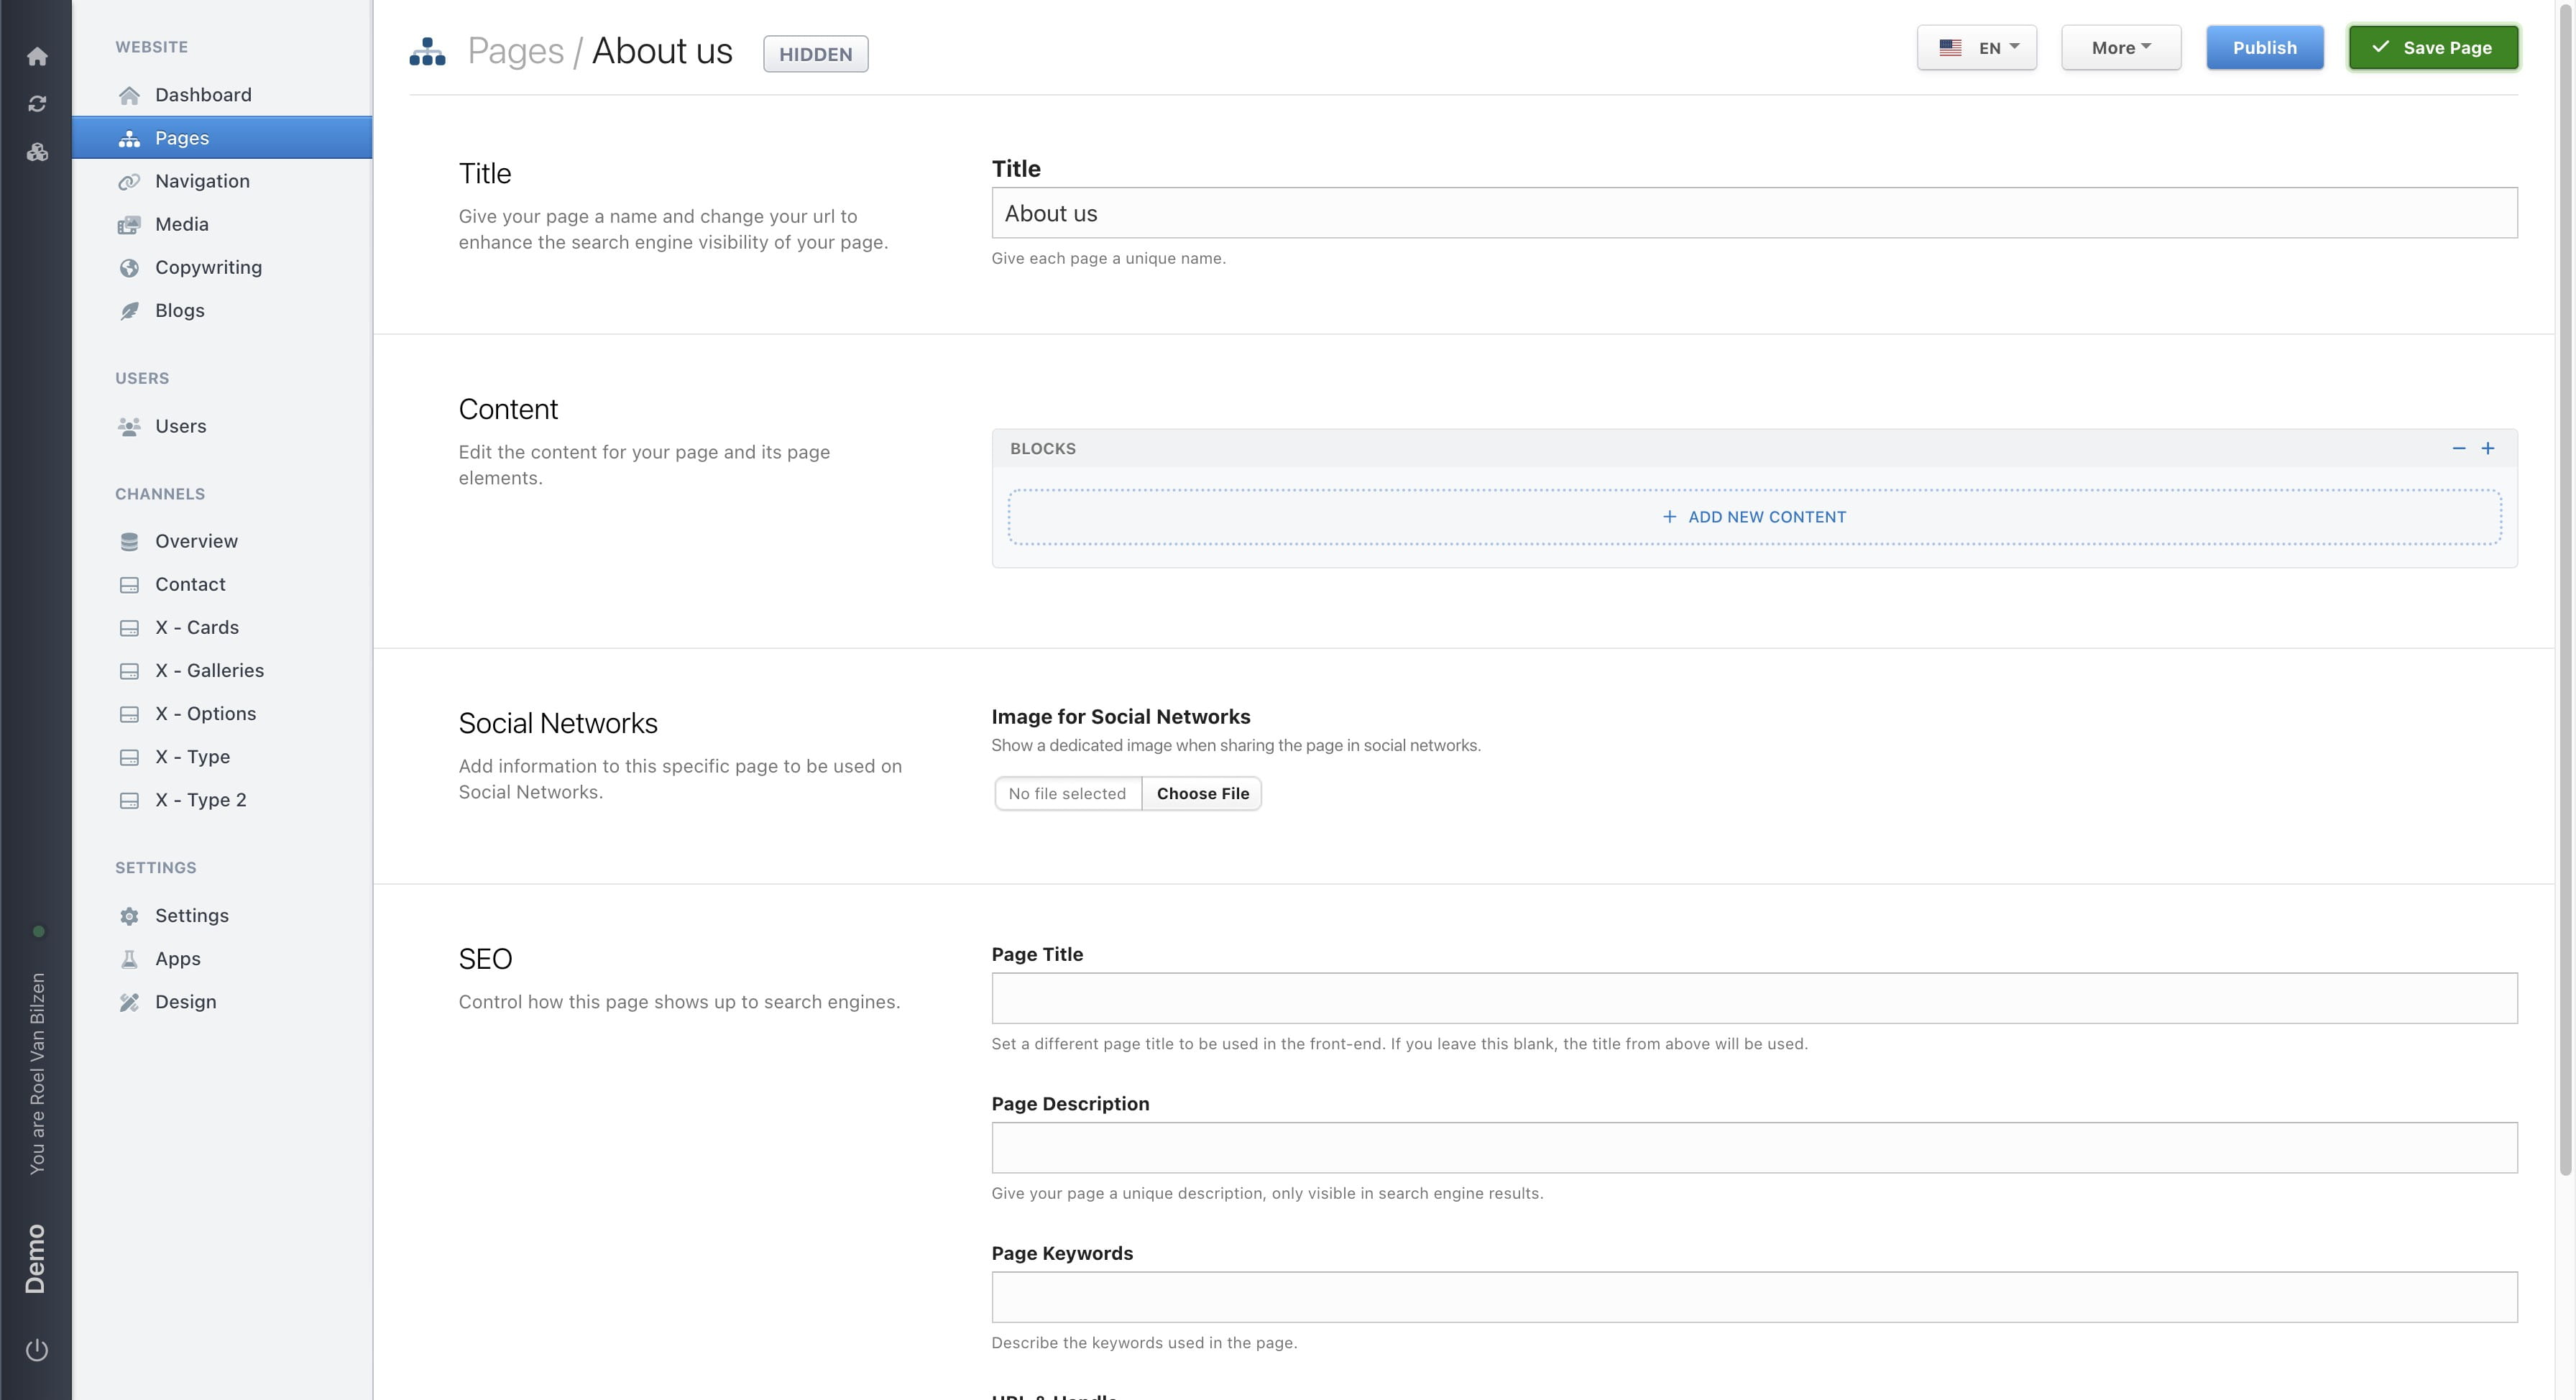
There are no automatic saves of your changes. They are only saved when clicking on "Save page".
Click on "Publish" to publish the page and make it visible for users.
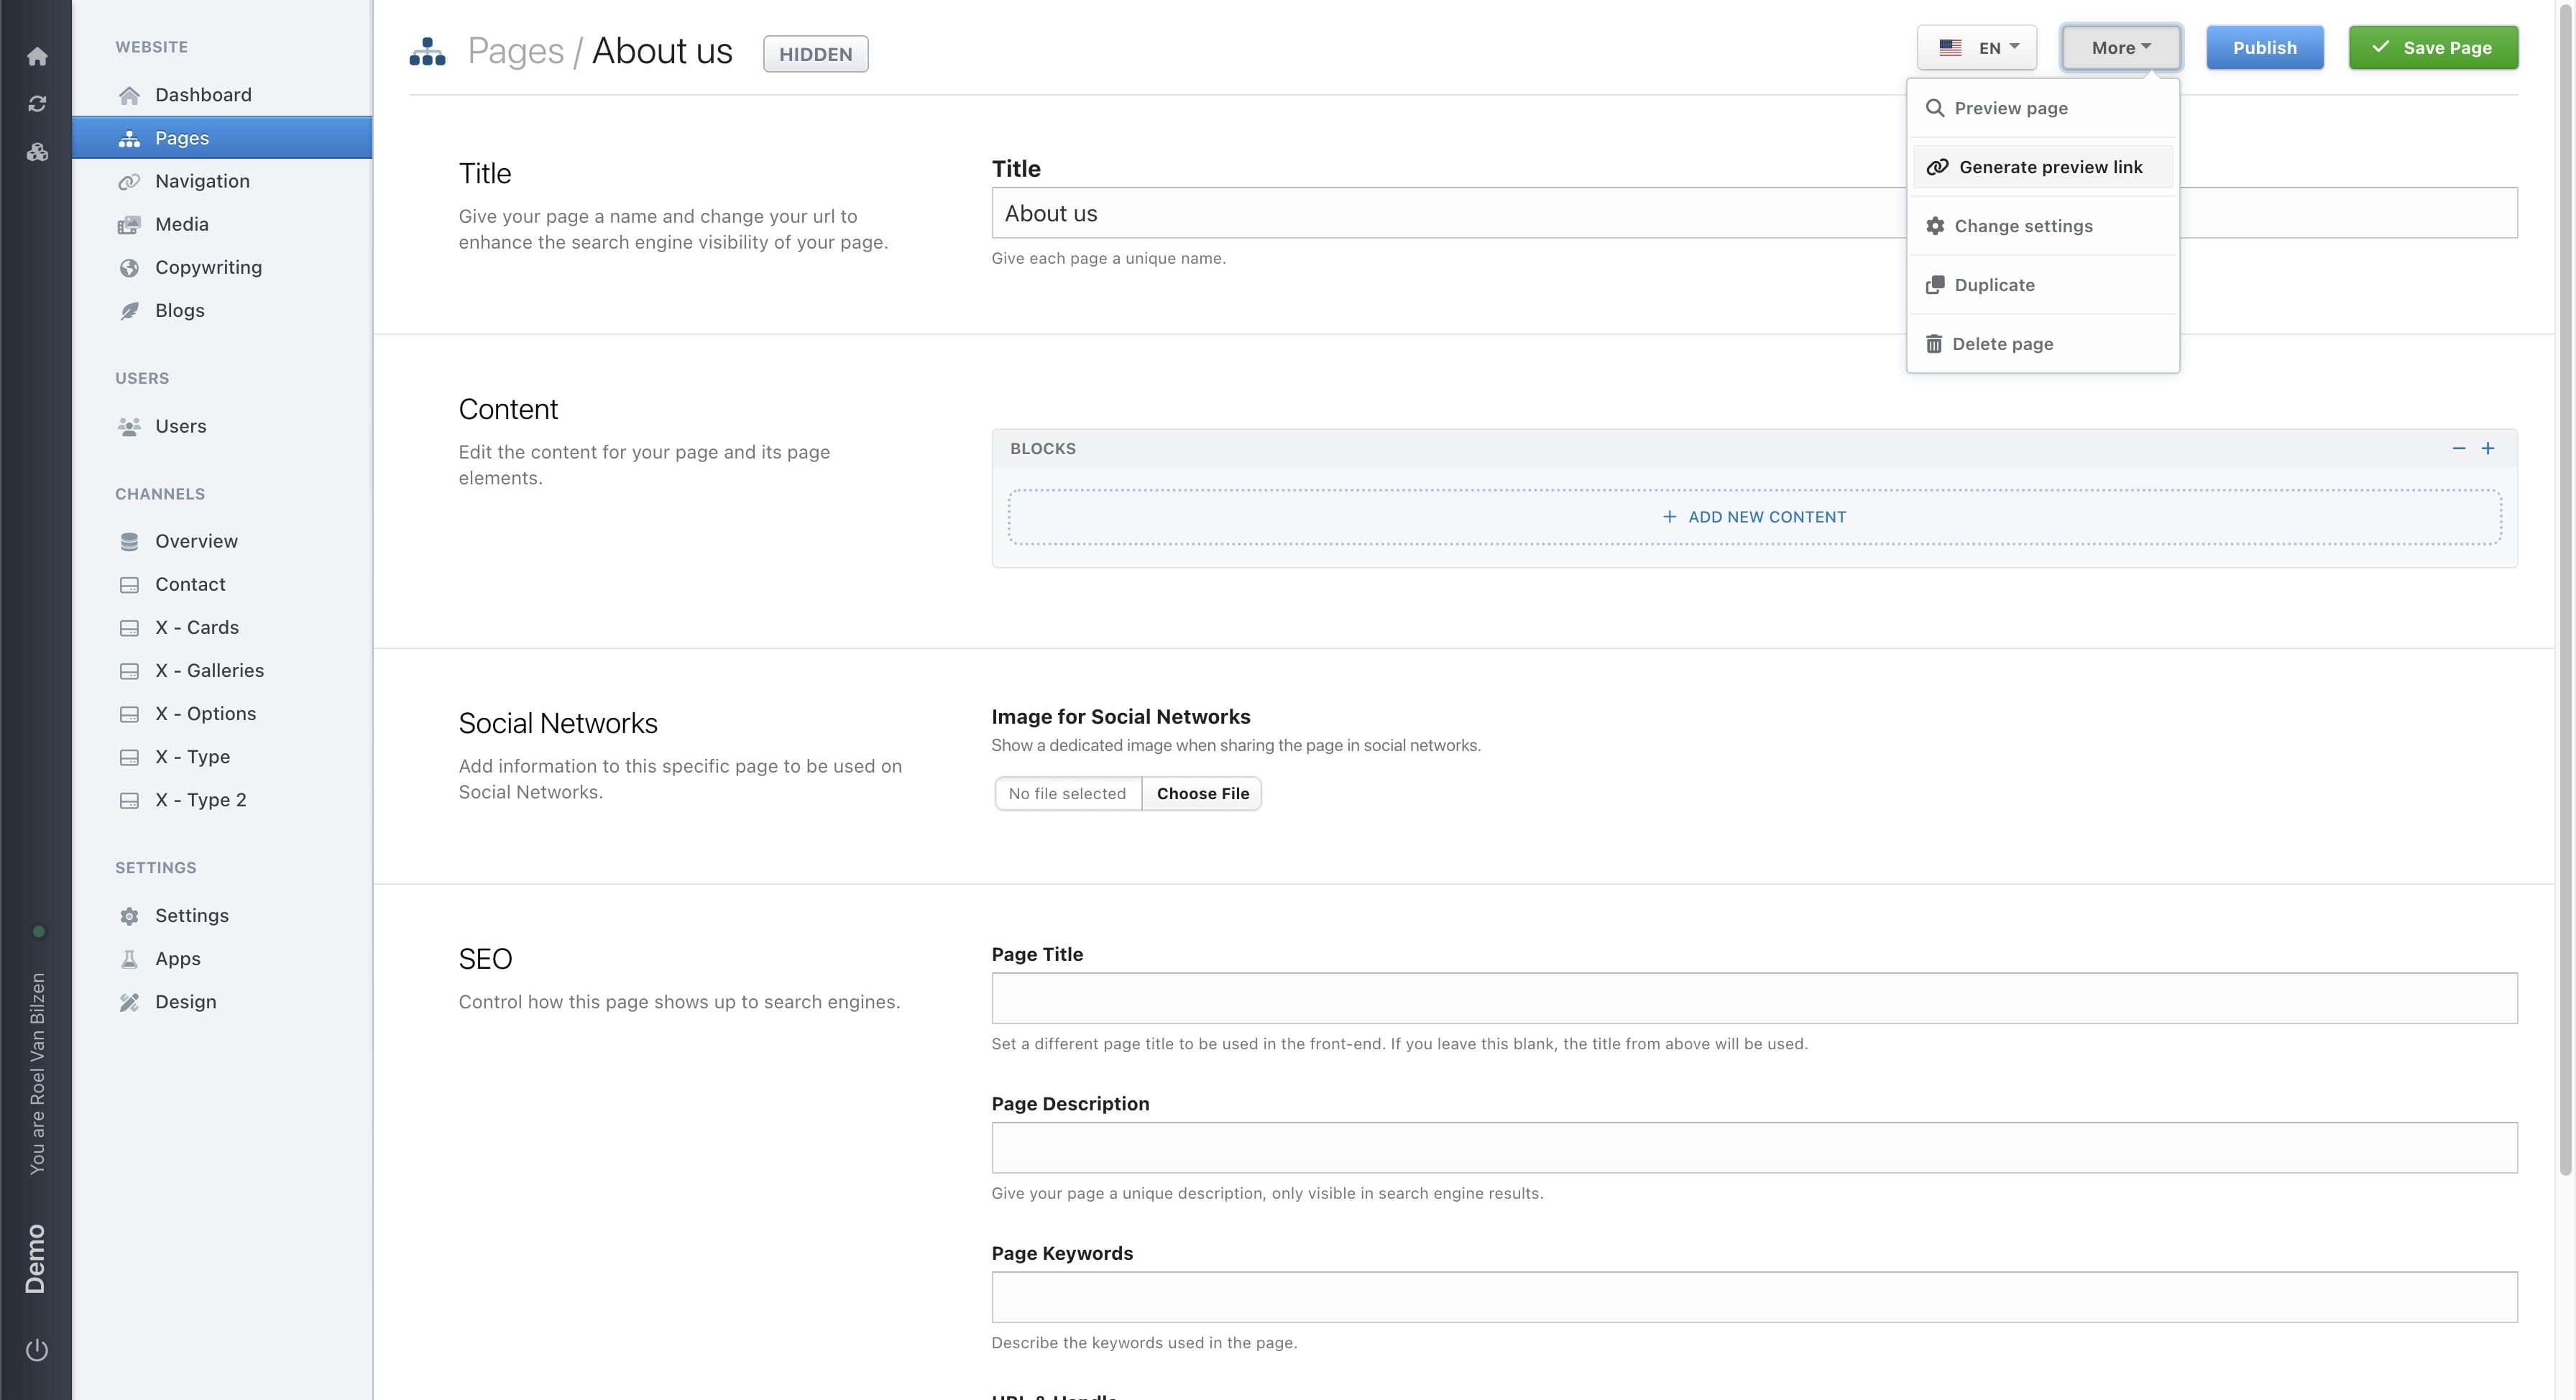
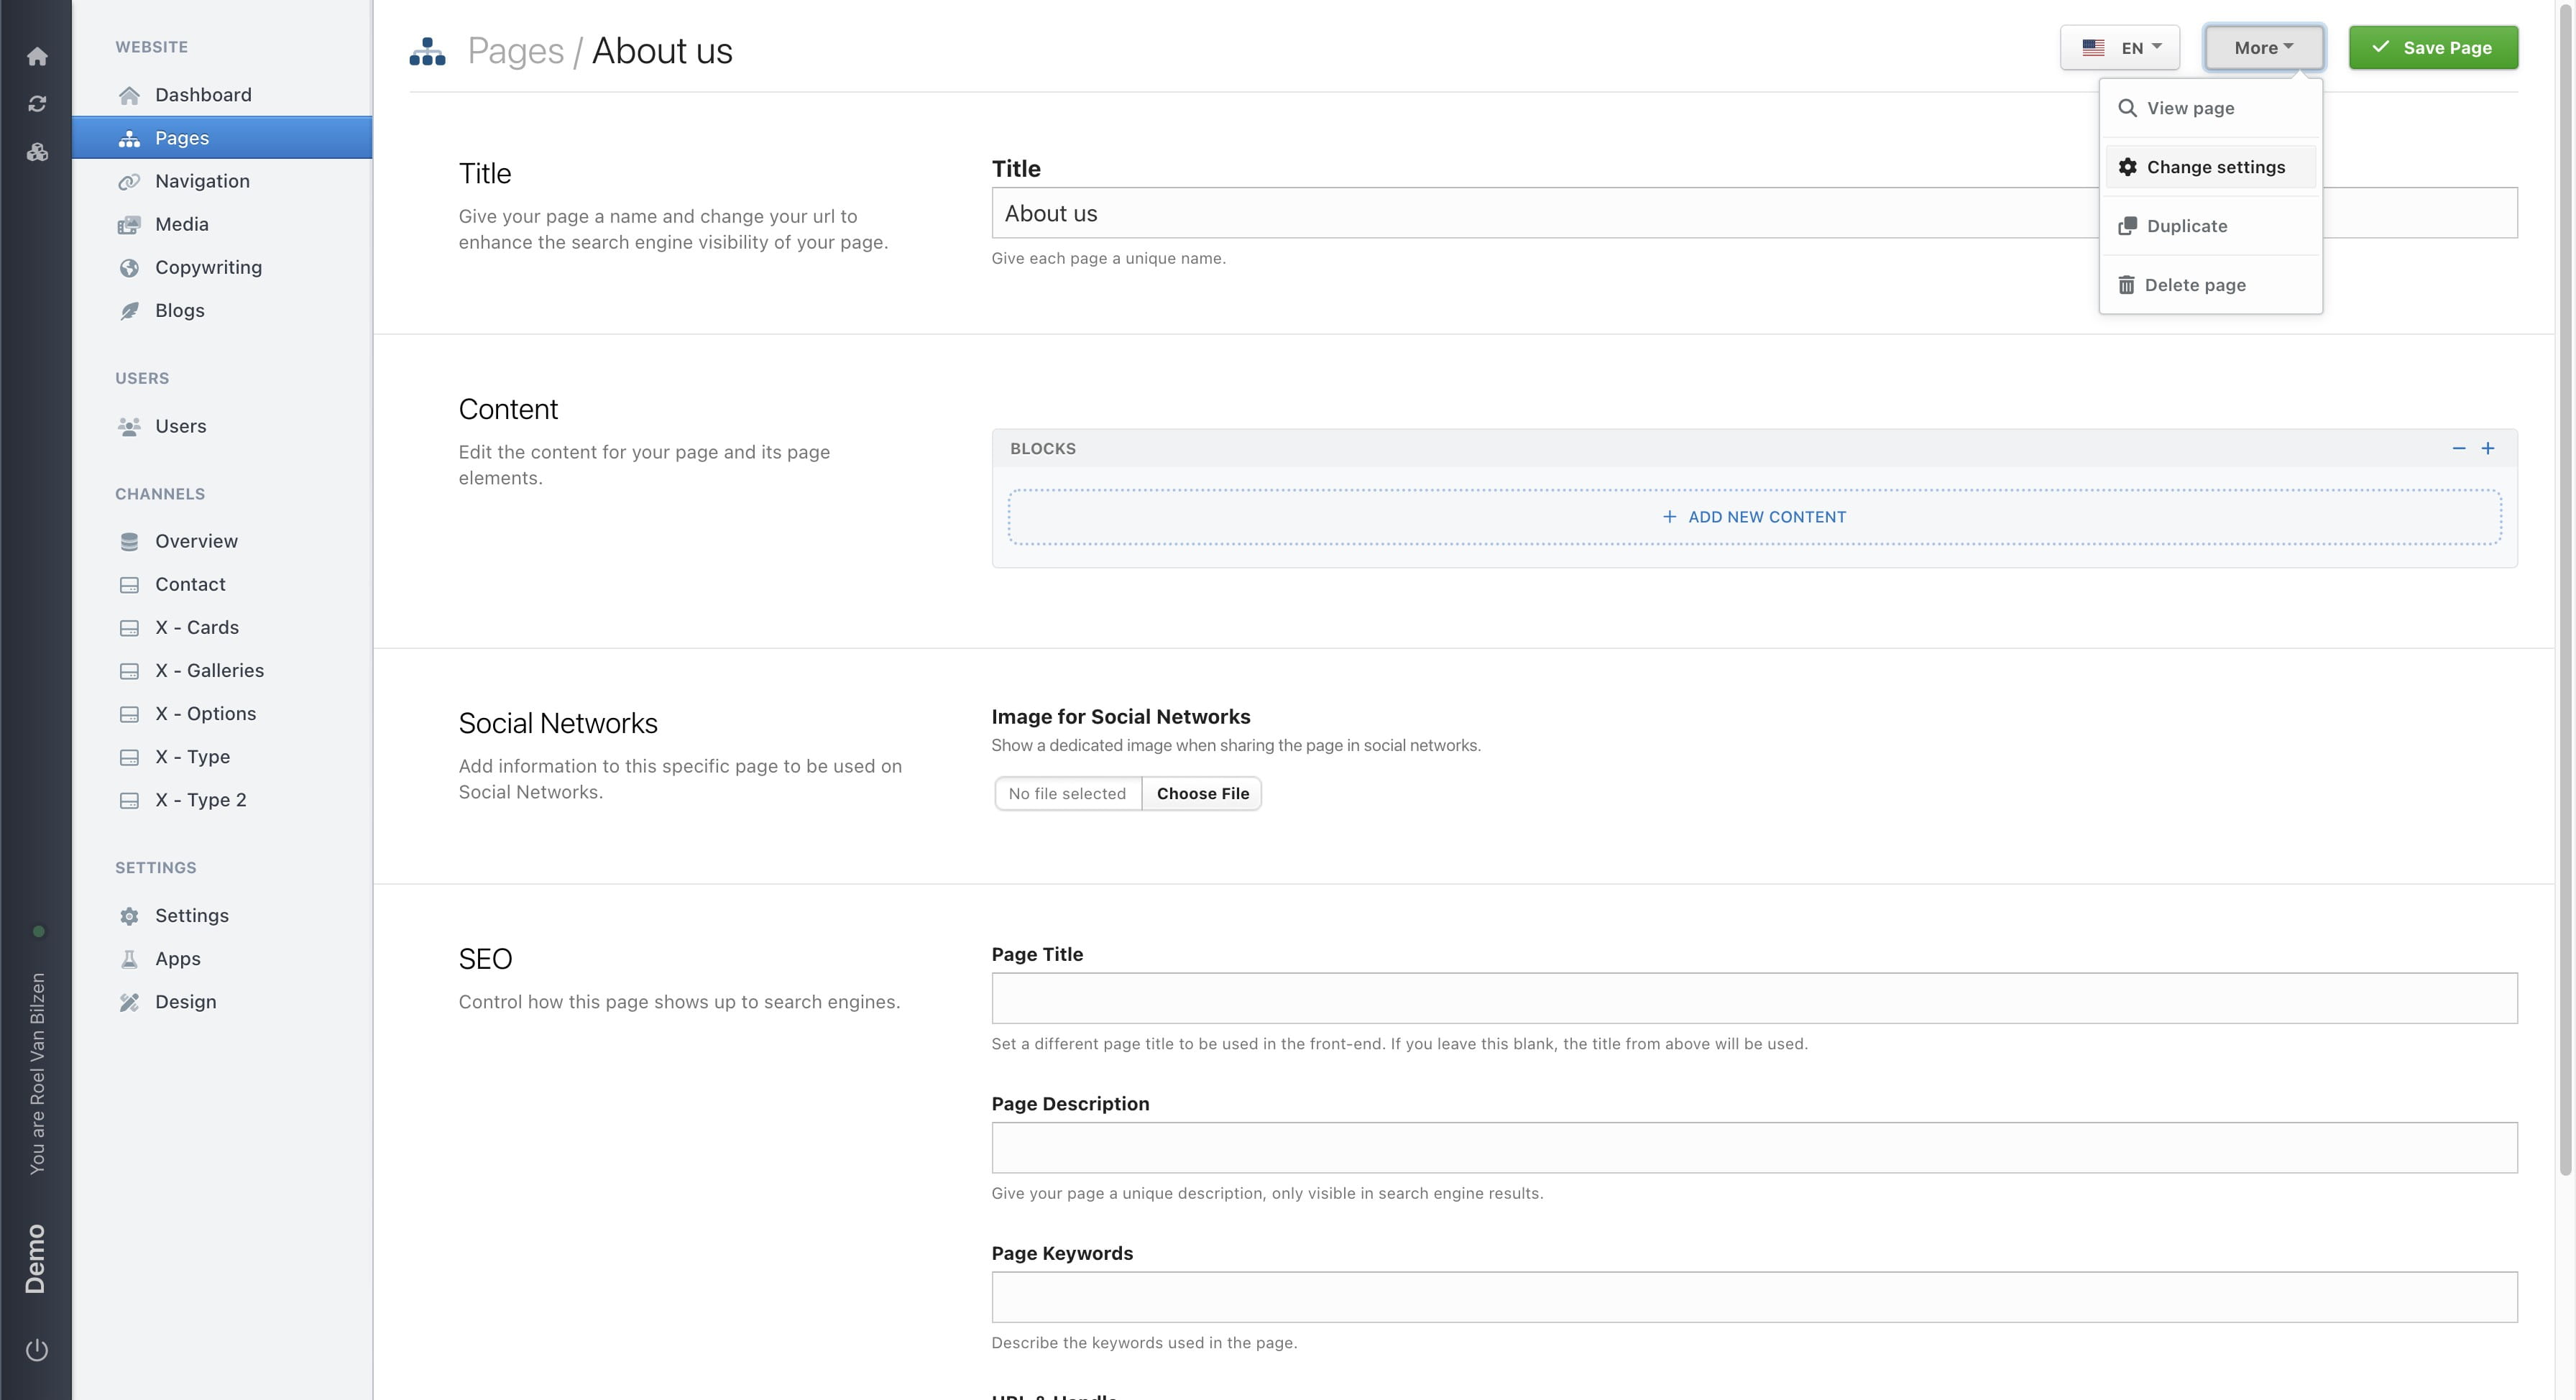
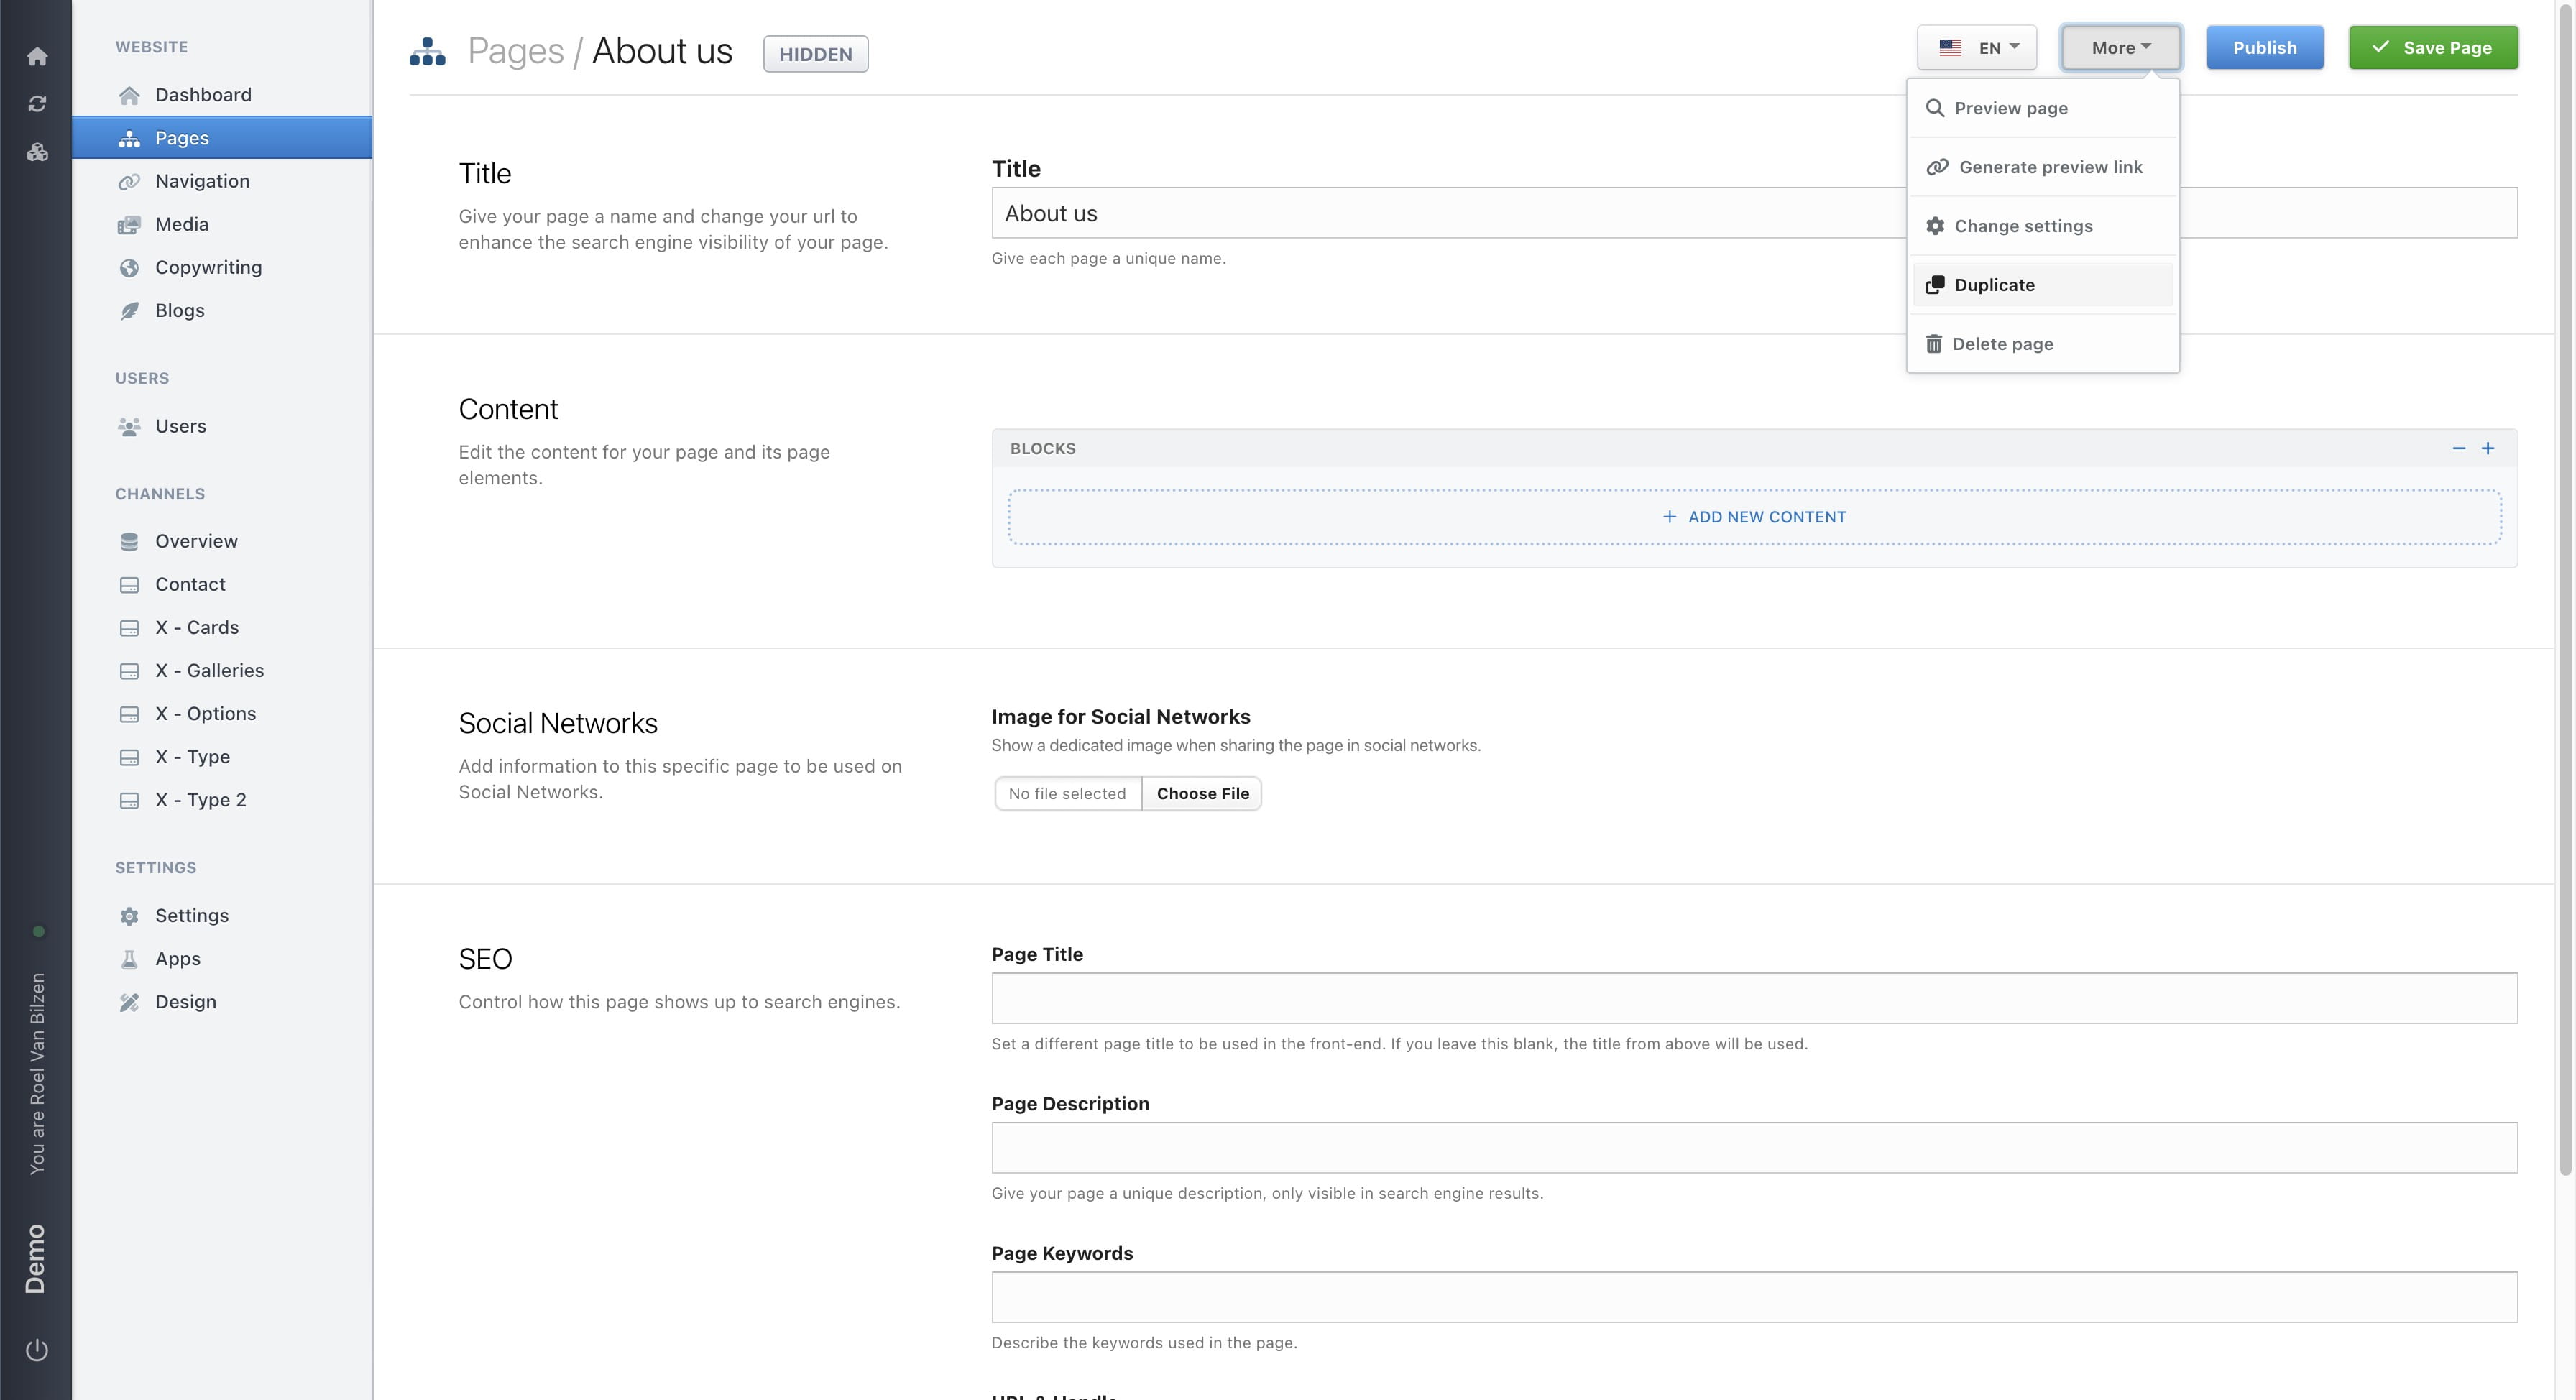
Click on "More" for more options for the page.
Click on "Preview page" to open a new tab with a preview of how the page would look. This is a one time use link.
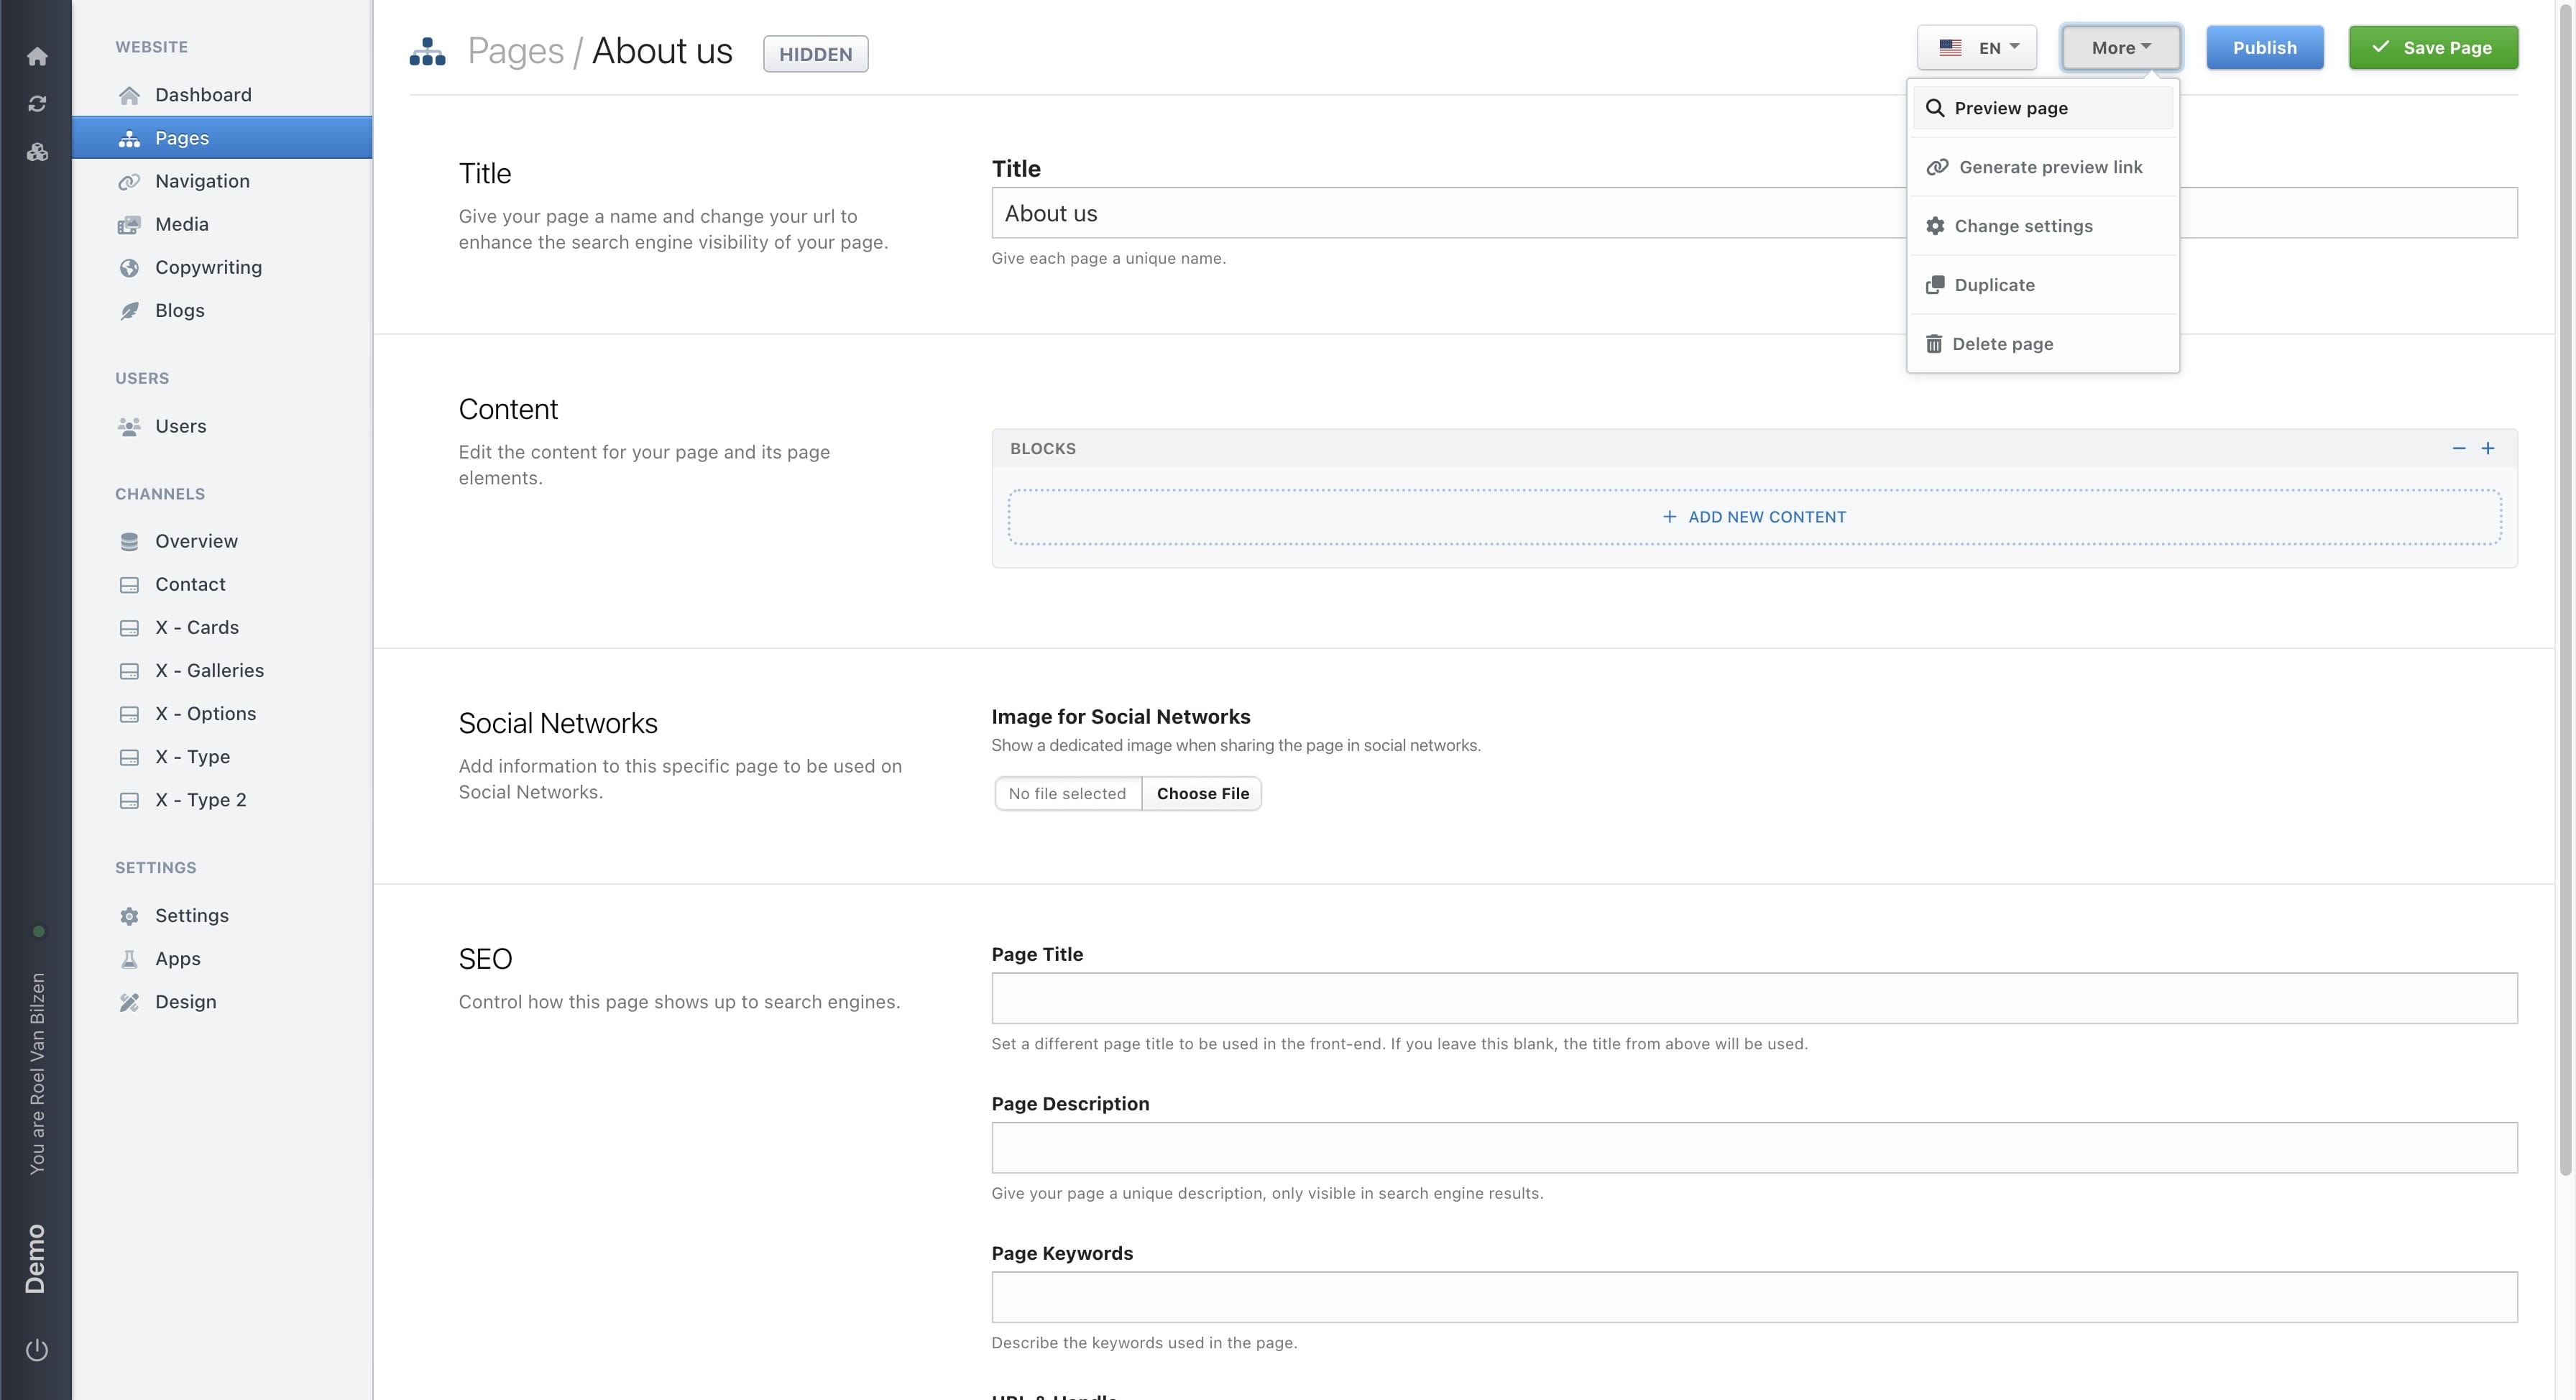
Click on "Generate preview link" will create a link to preview the page. This link will be usable for up to x days, as provides in the popup. After clicking "Generate" a new popup will be visible with the preview link. This option is only available when the page is hidden (not published).
Click on "Change settins" to edit the different settings of a page.
Click on "Duplicate" to make an copy of the complete page with content and settings. Before creating a copy, you provide a new title.
Click on "Delete" to delete the complete page. A popup will be given to check if you are sure. There is no way to revert this process.

If your site is in multiple languages, you can change the language of a page by clickin on the language dropdown. Switching languages will discard all changes that were made. By switching languages, you can change the text of each. The structure of a page and images must remain the same.

More information about: Settings SEO Content