How to create and preview a Nimbu blog post
Create a complete Nimbu blog post with its author, tags, publication settings, and search-engine details, then generate a preview URL for review.
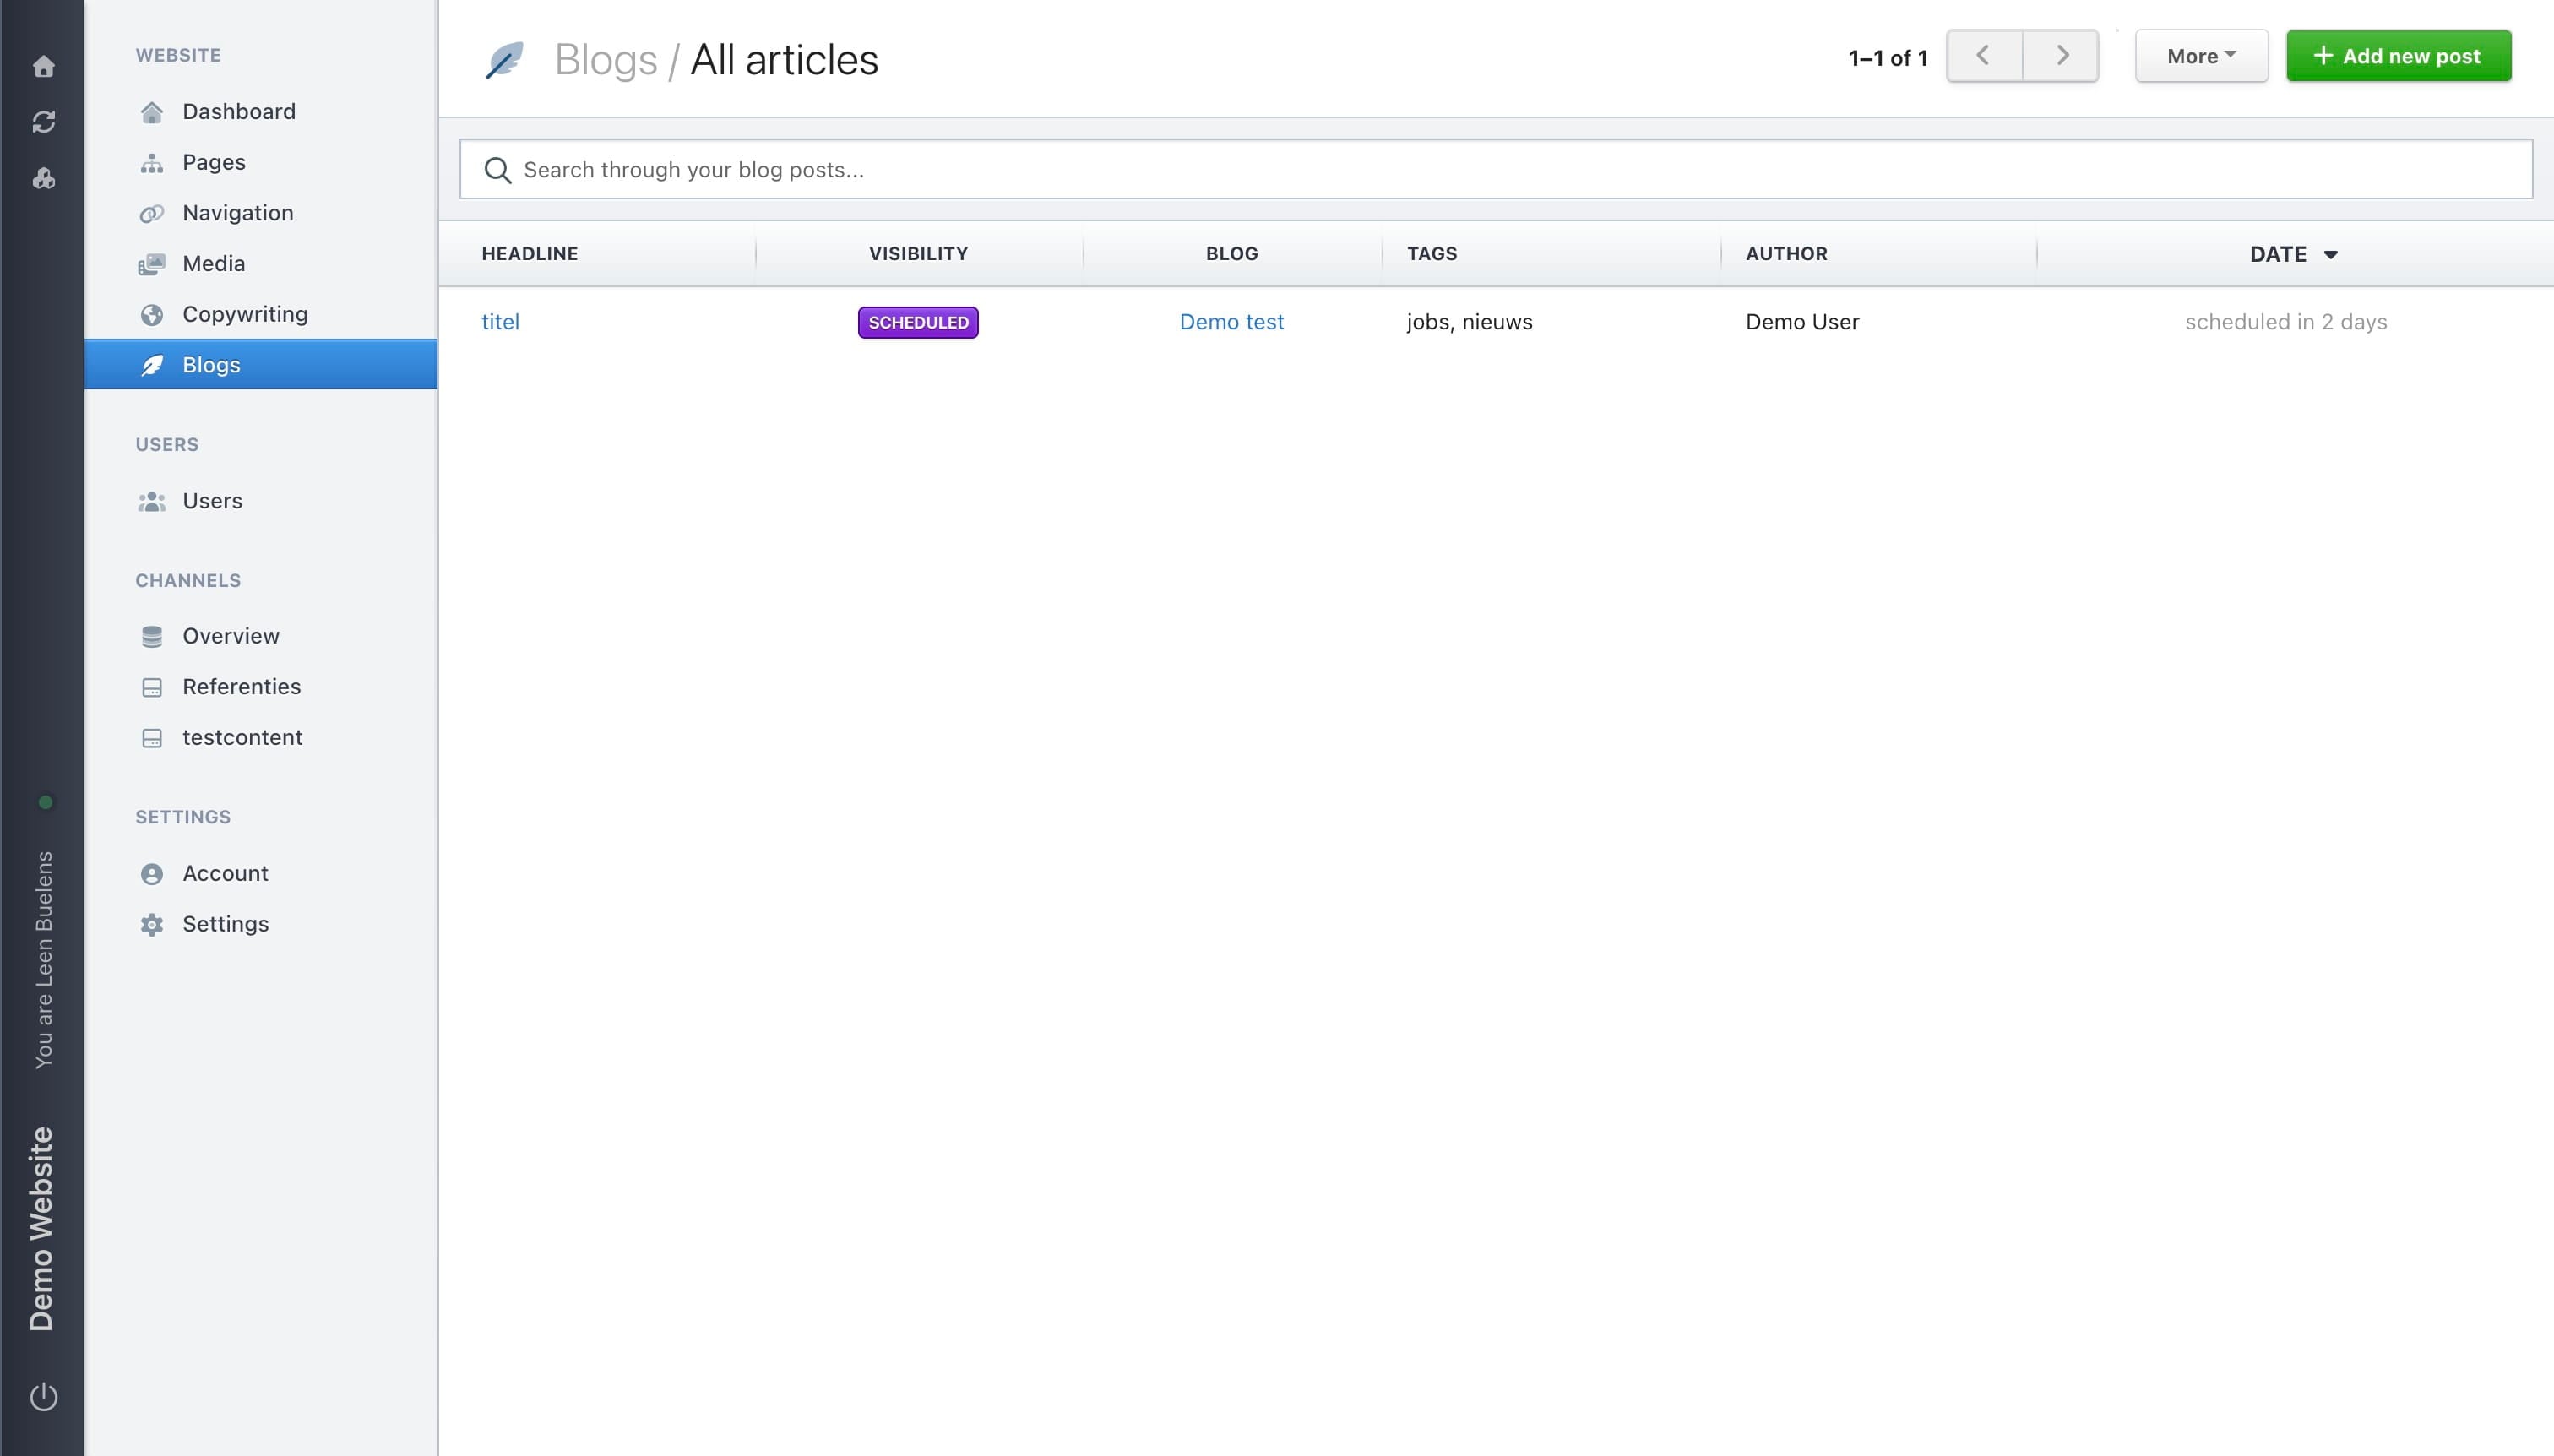
Navigate to the blog section in your backend.
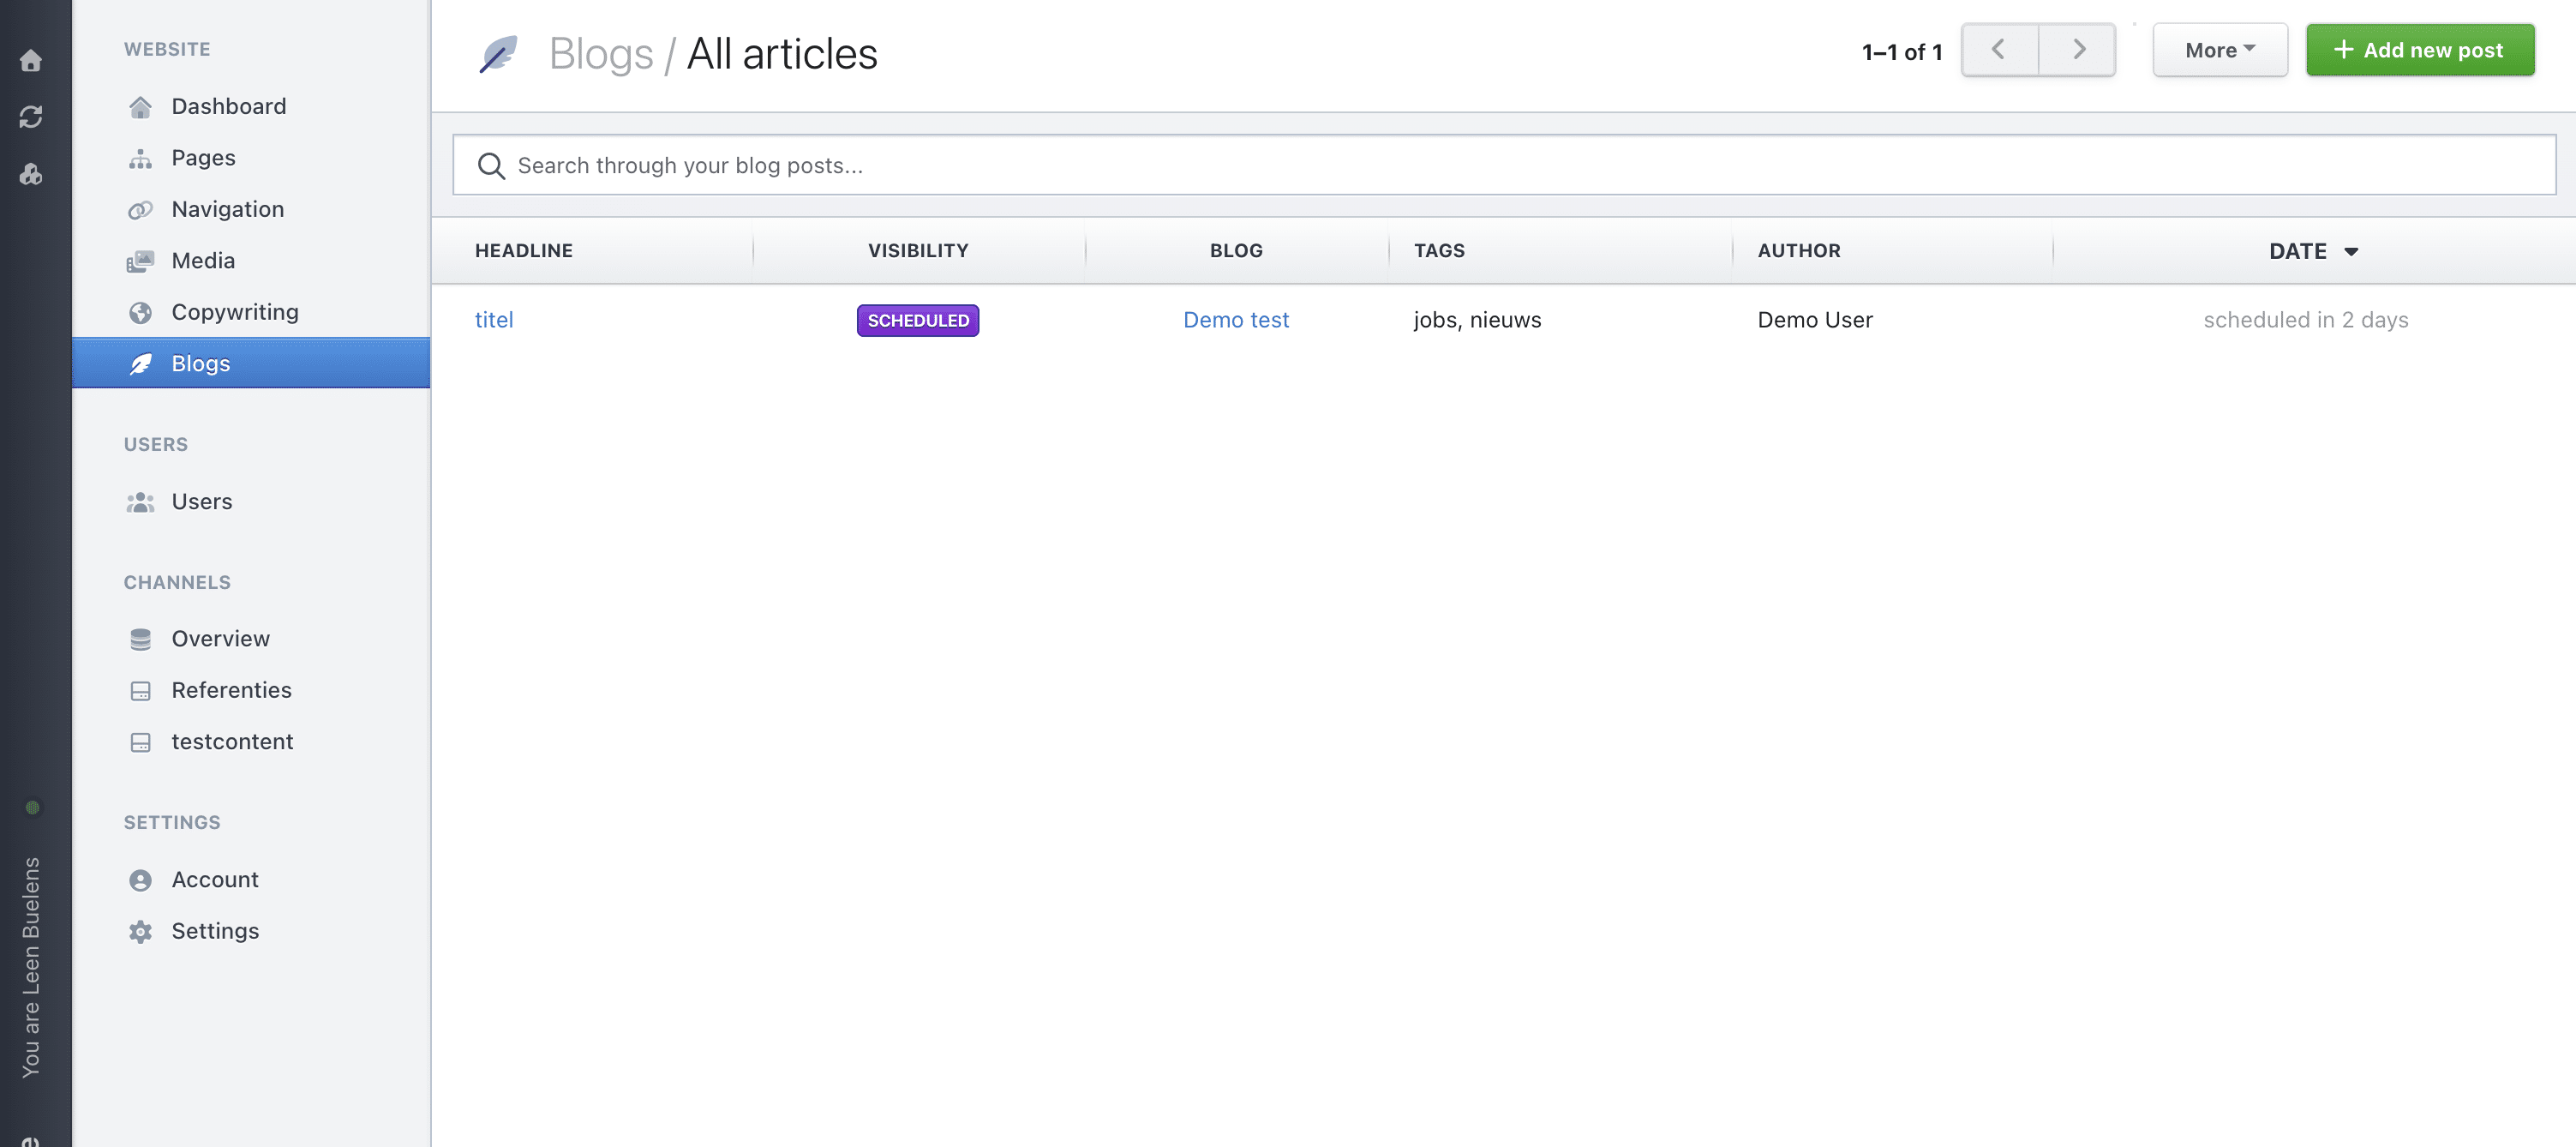
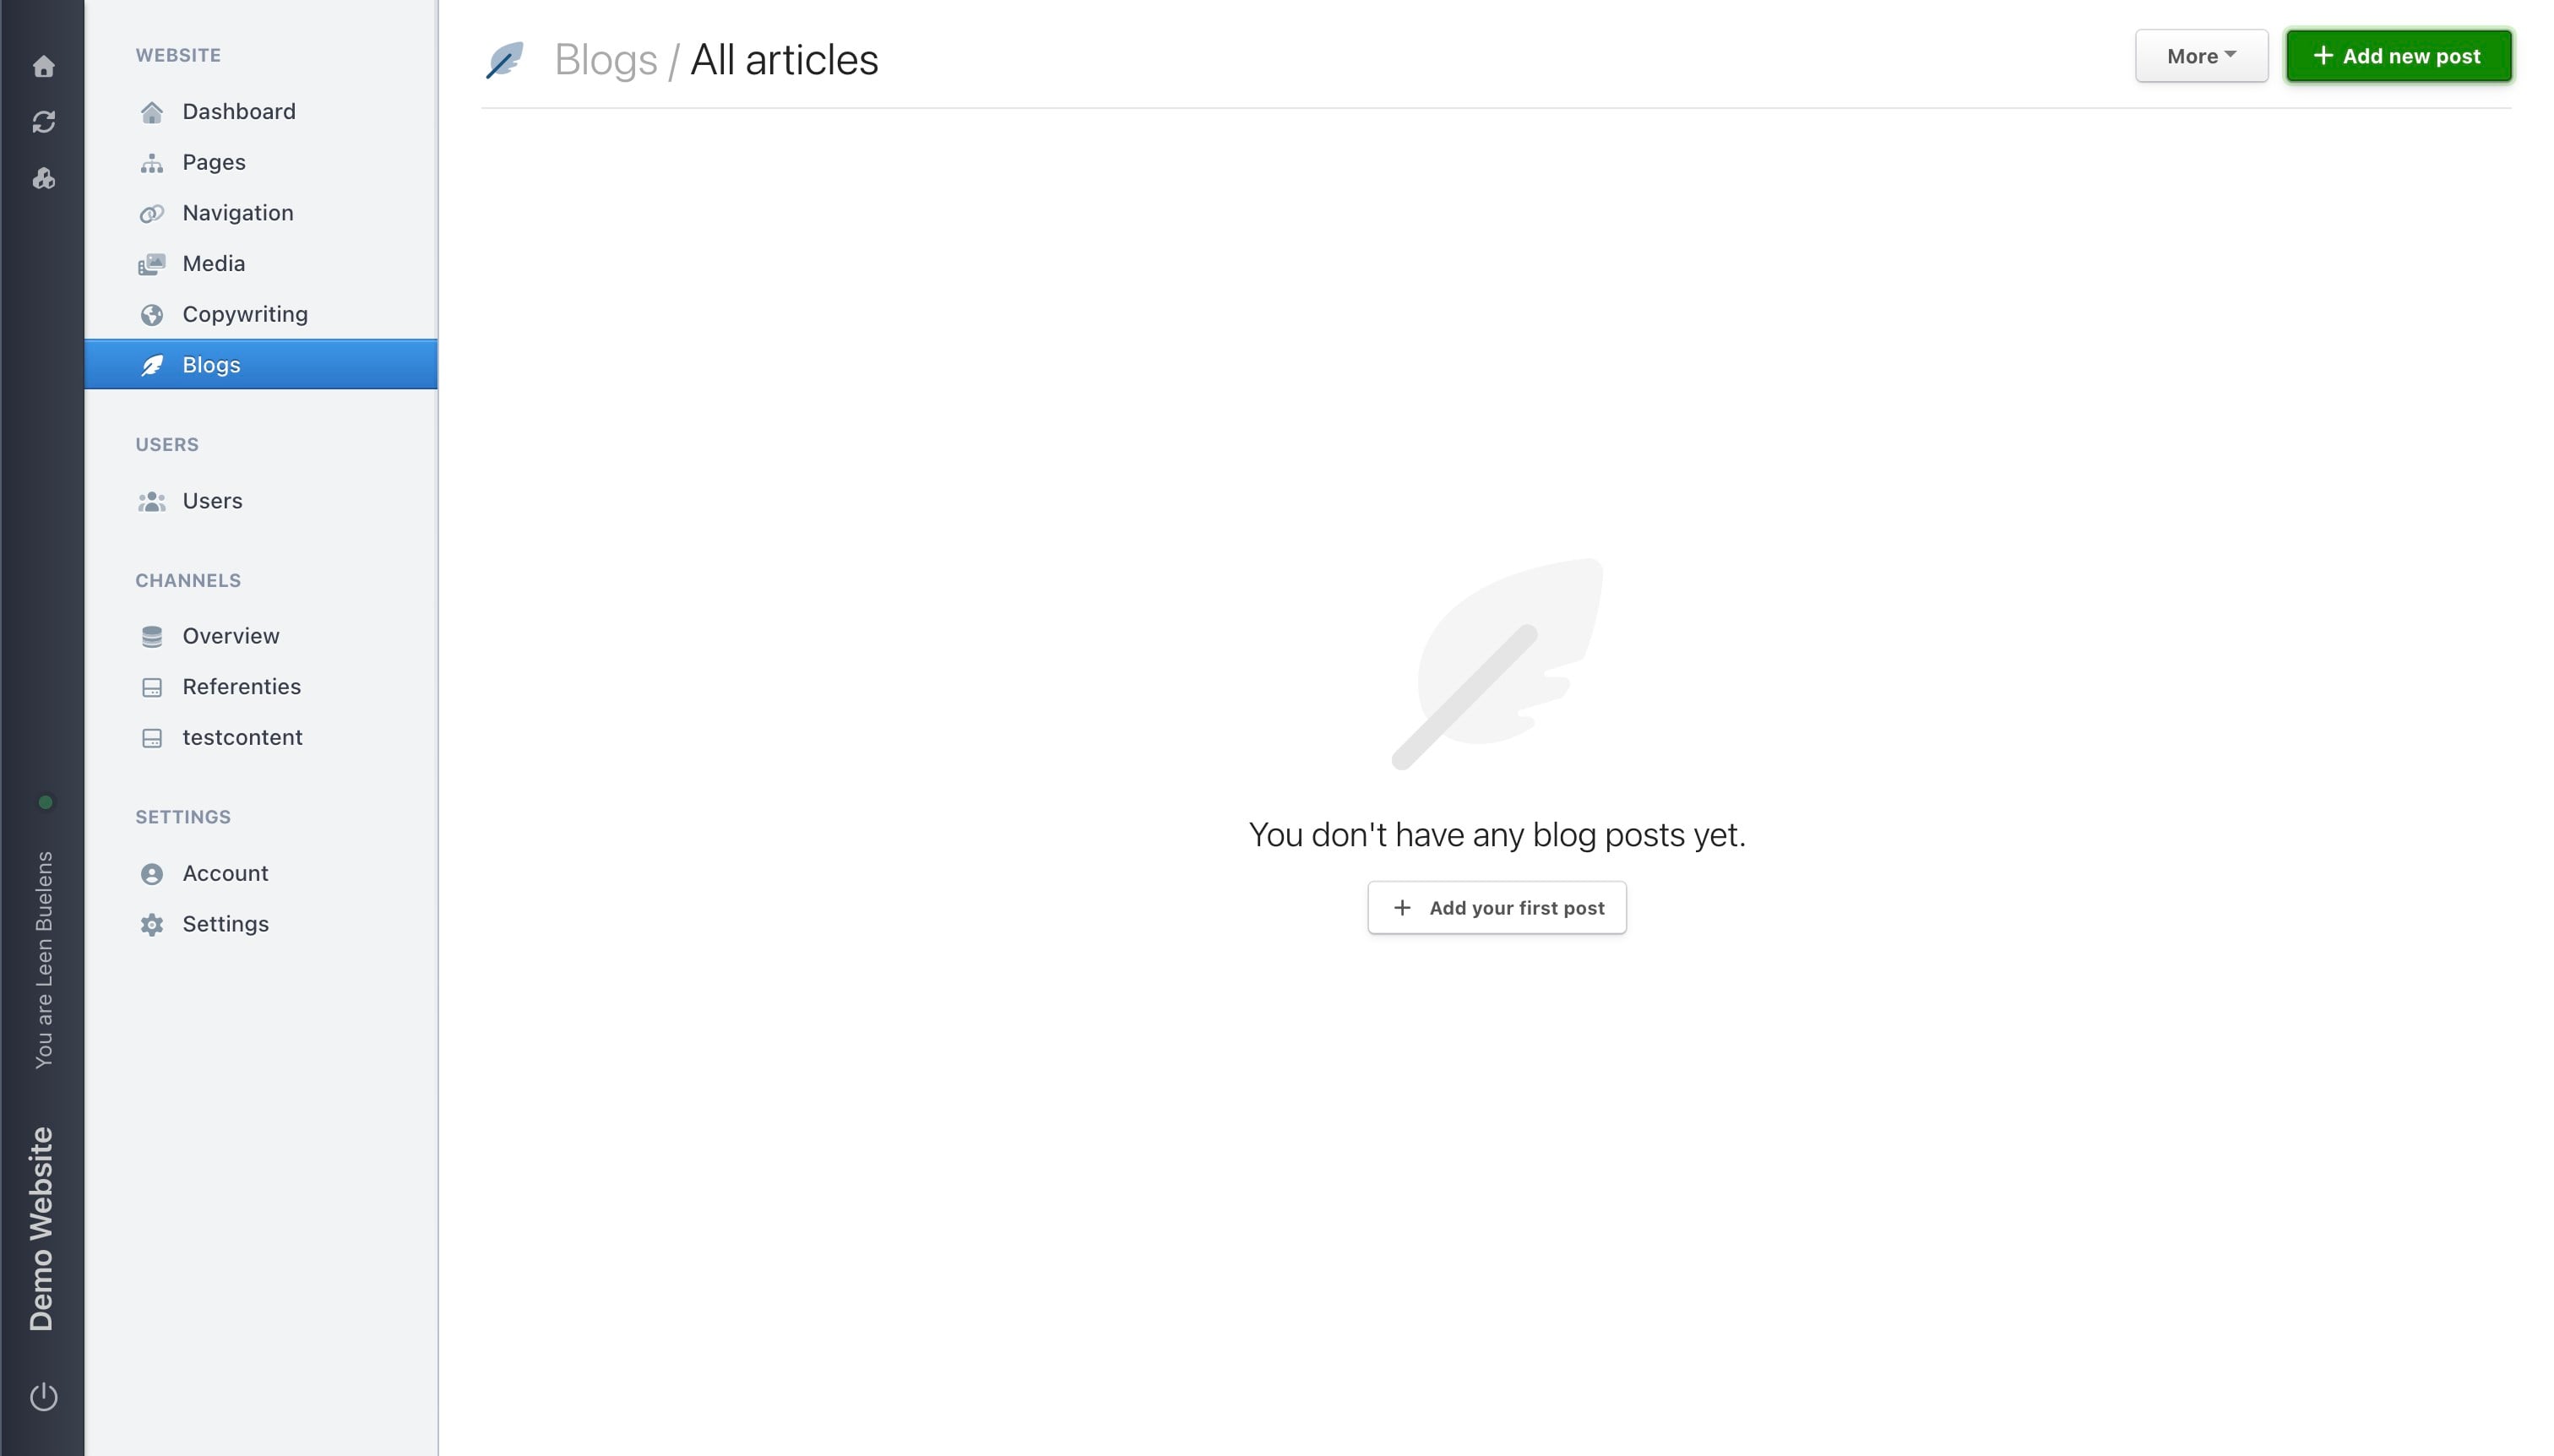
Click on + Add new blog post
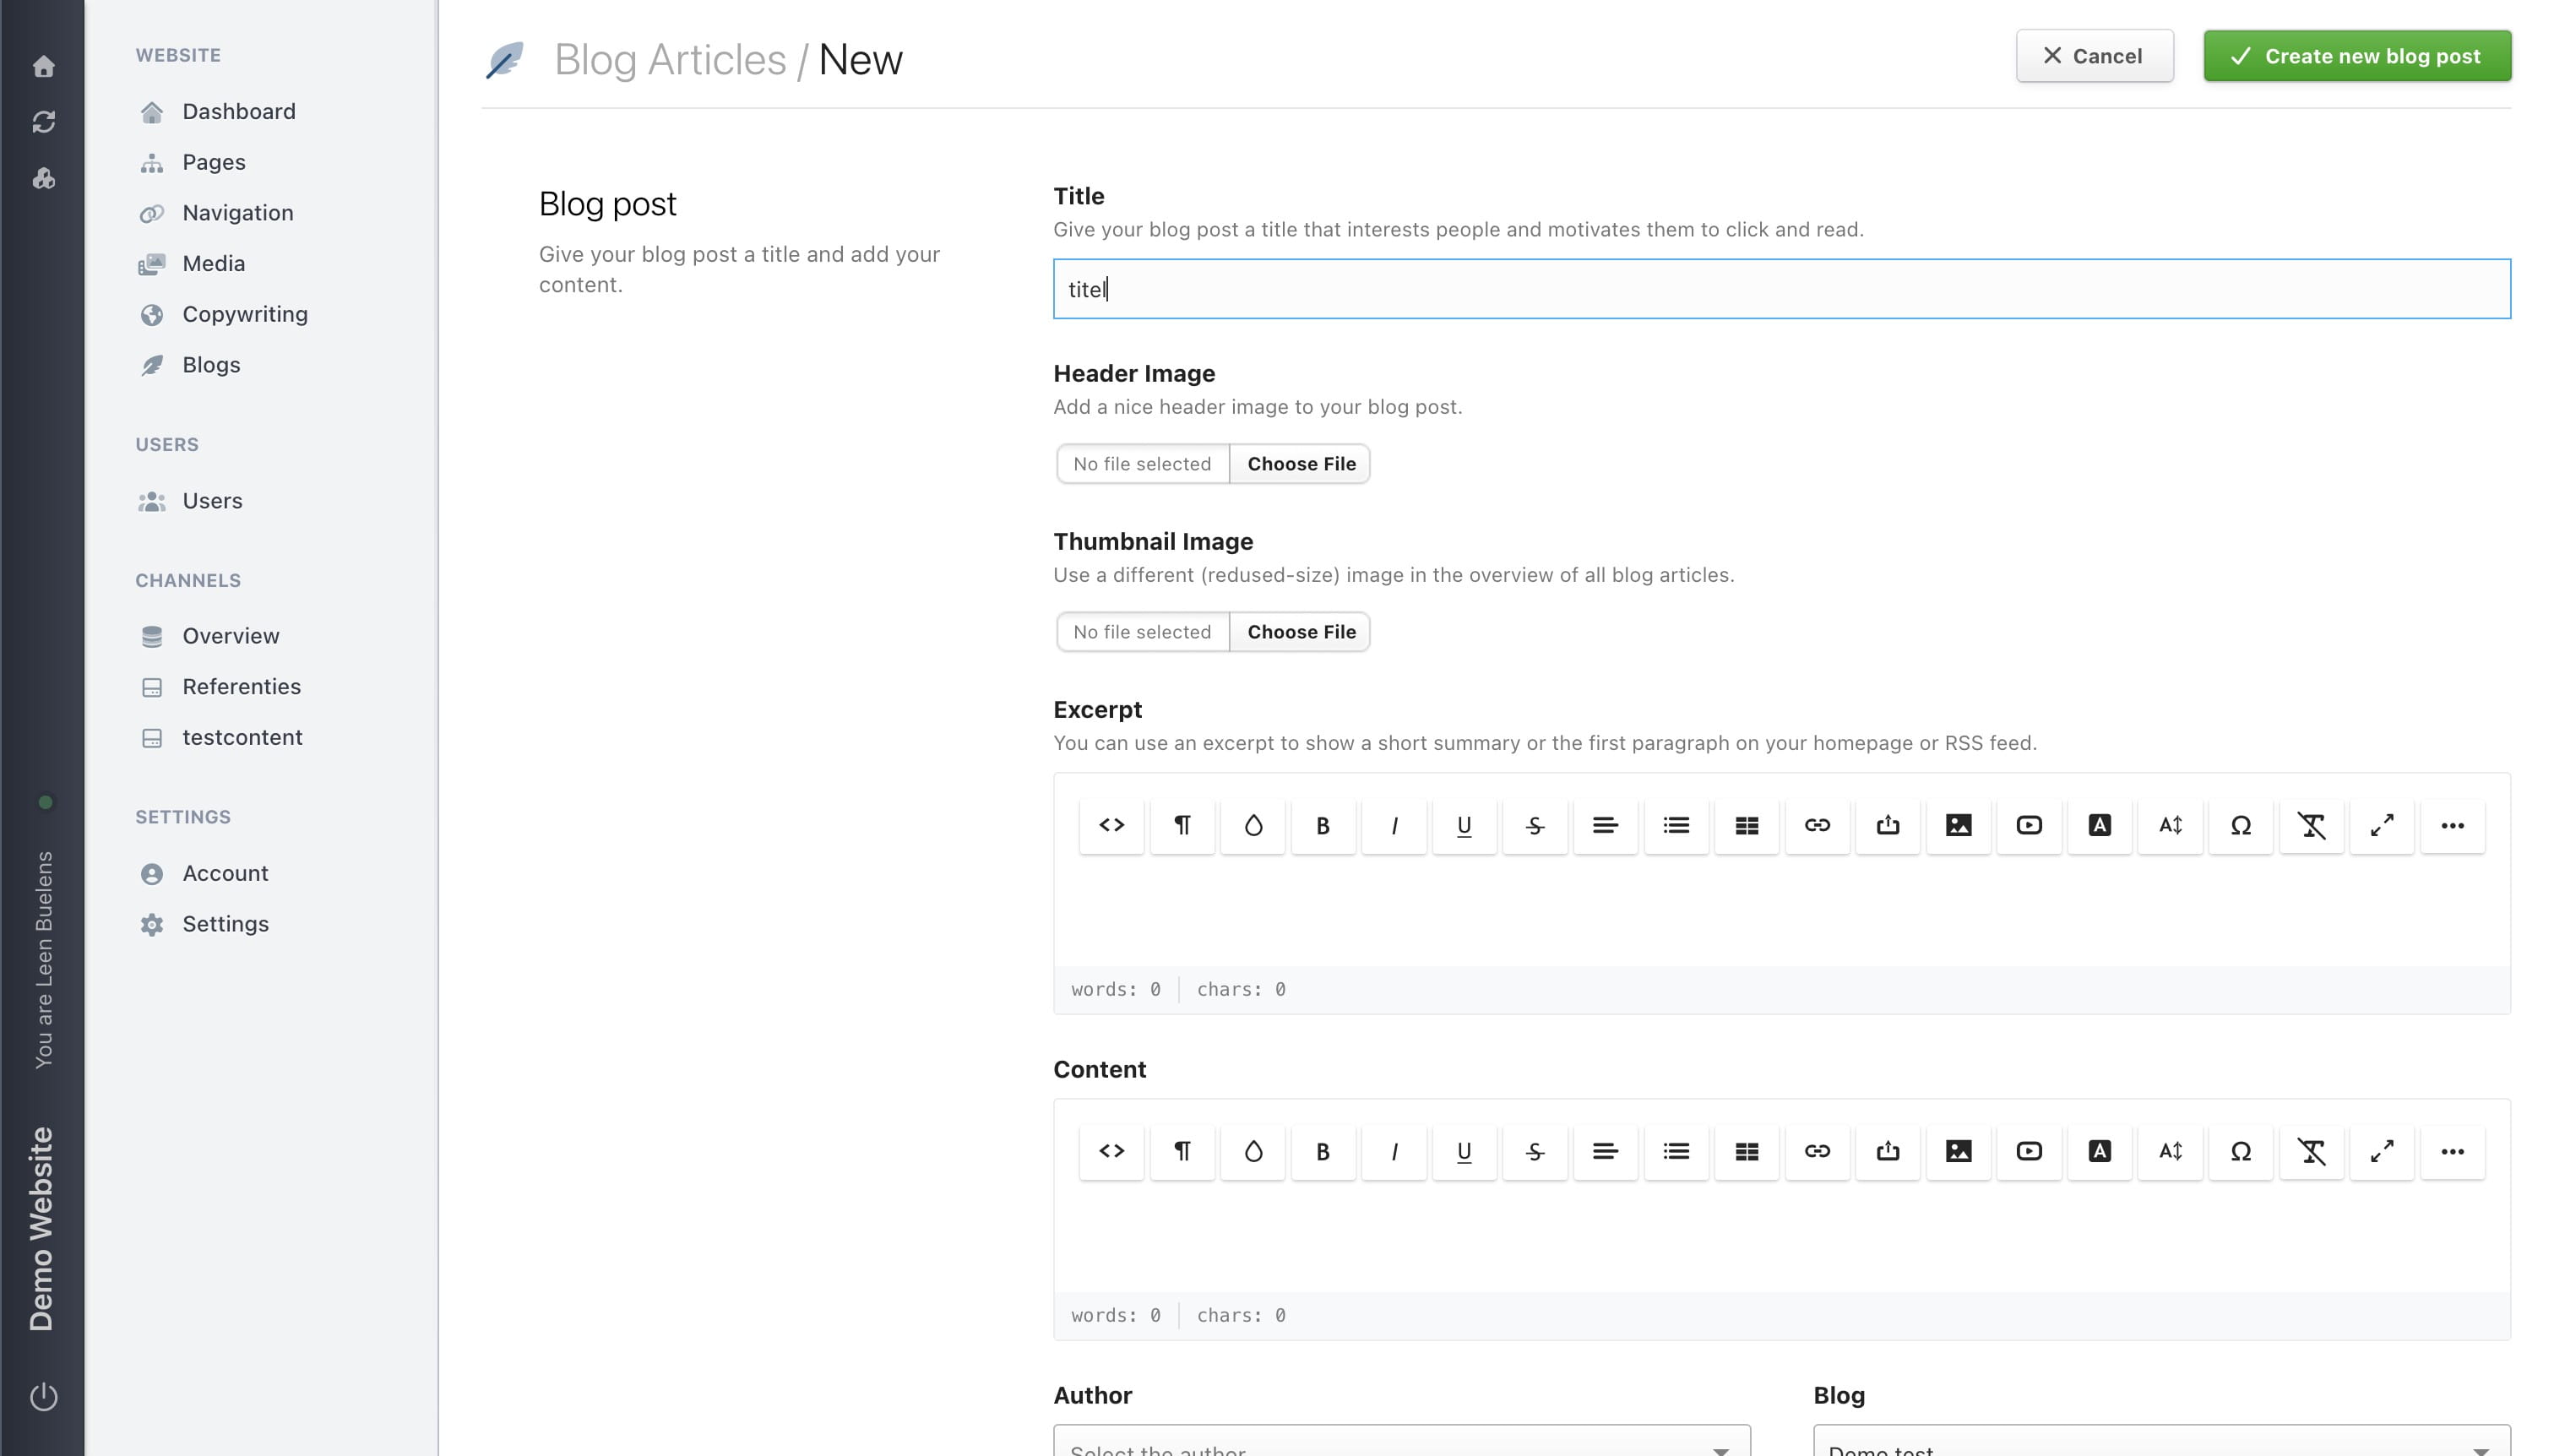
Enter the post title in the Title field
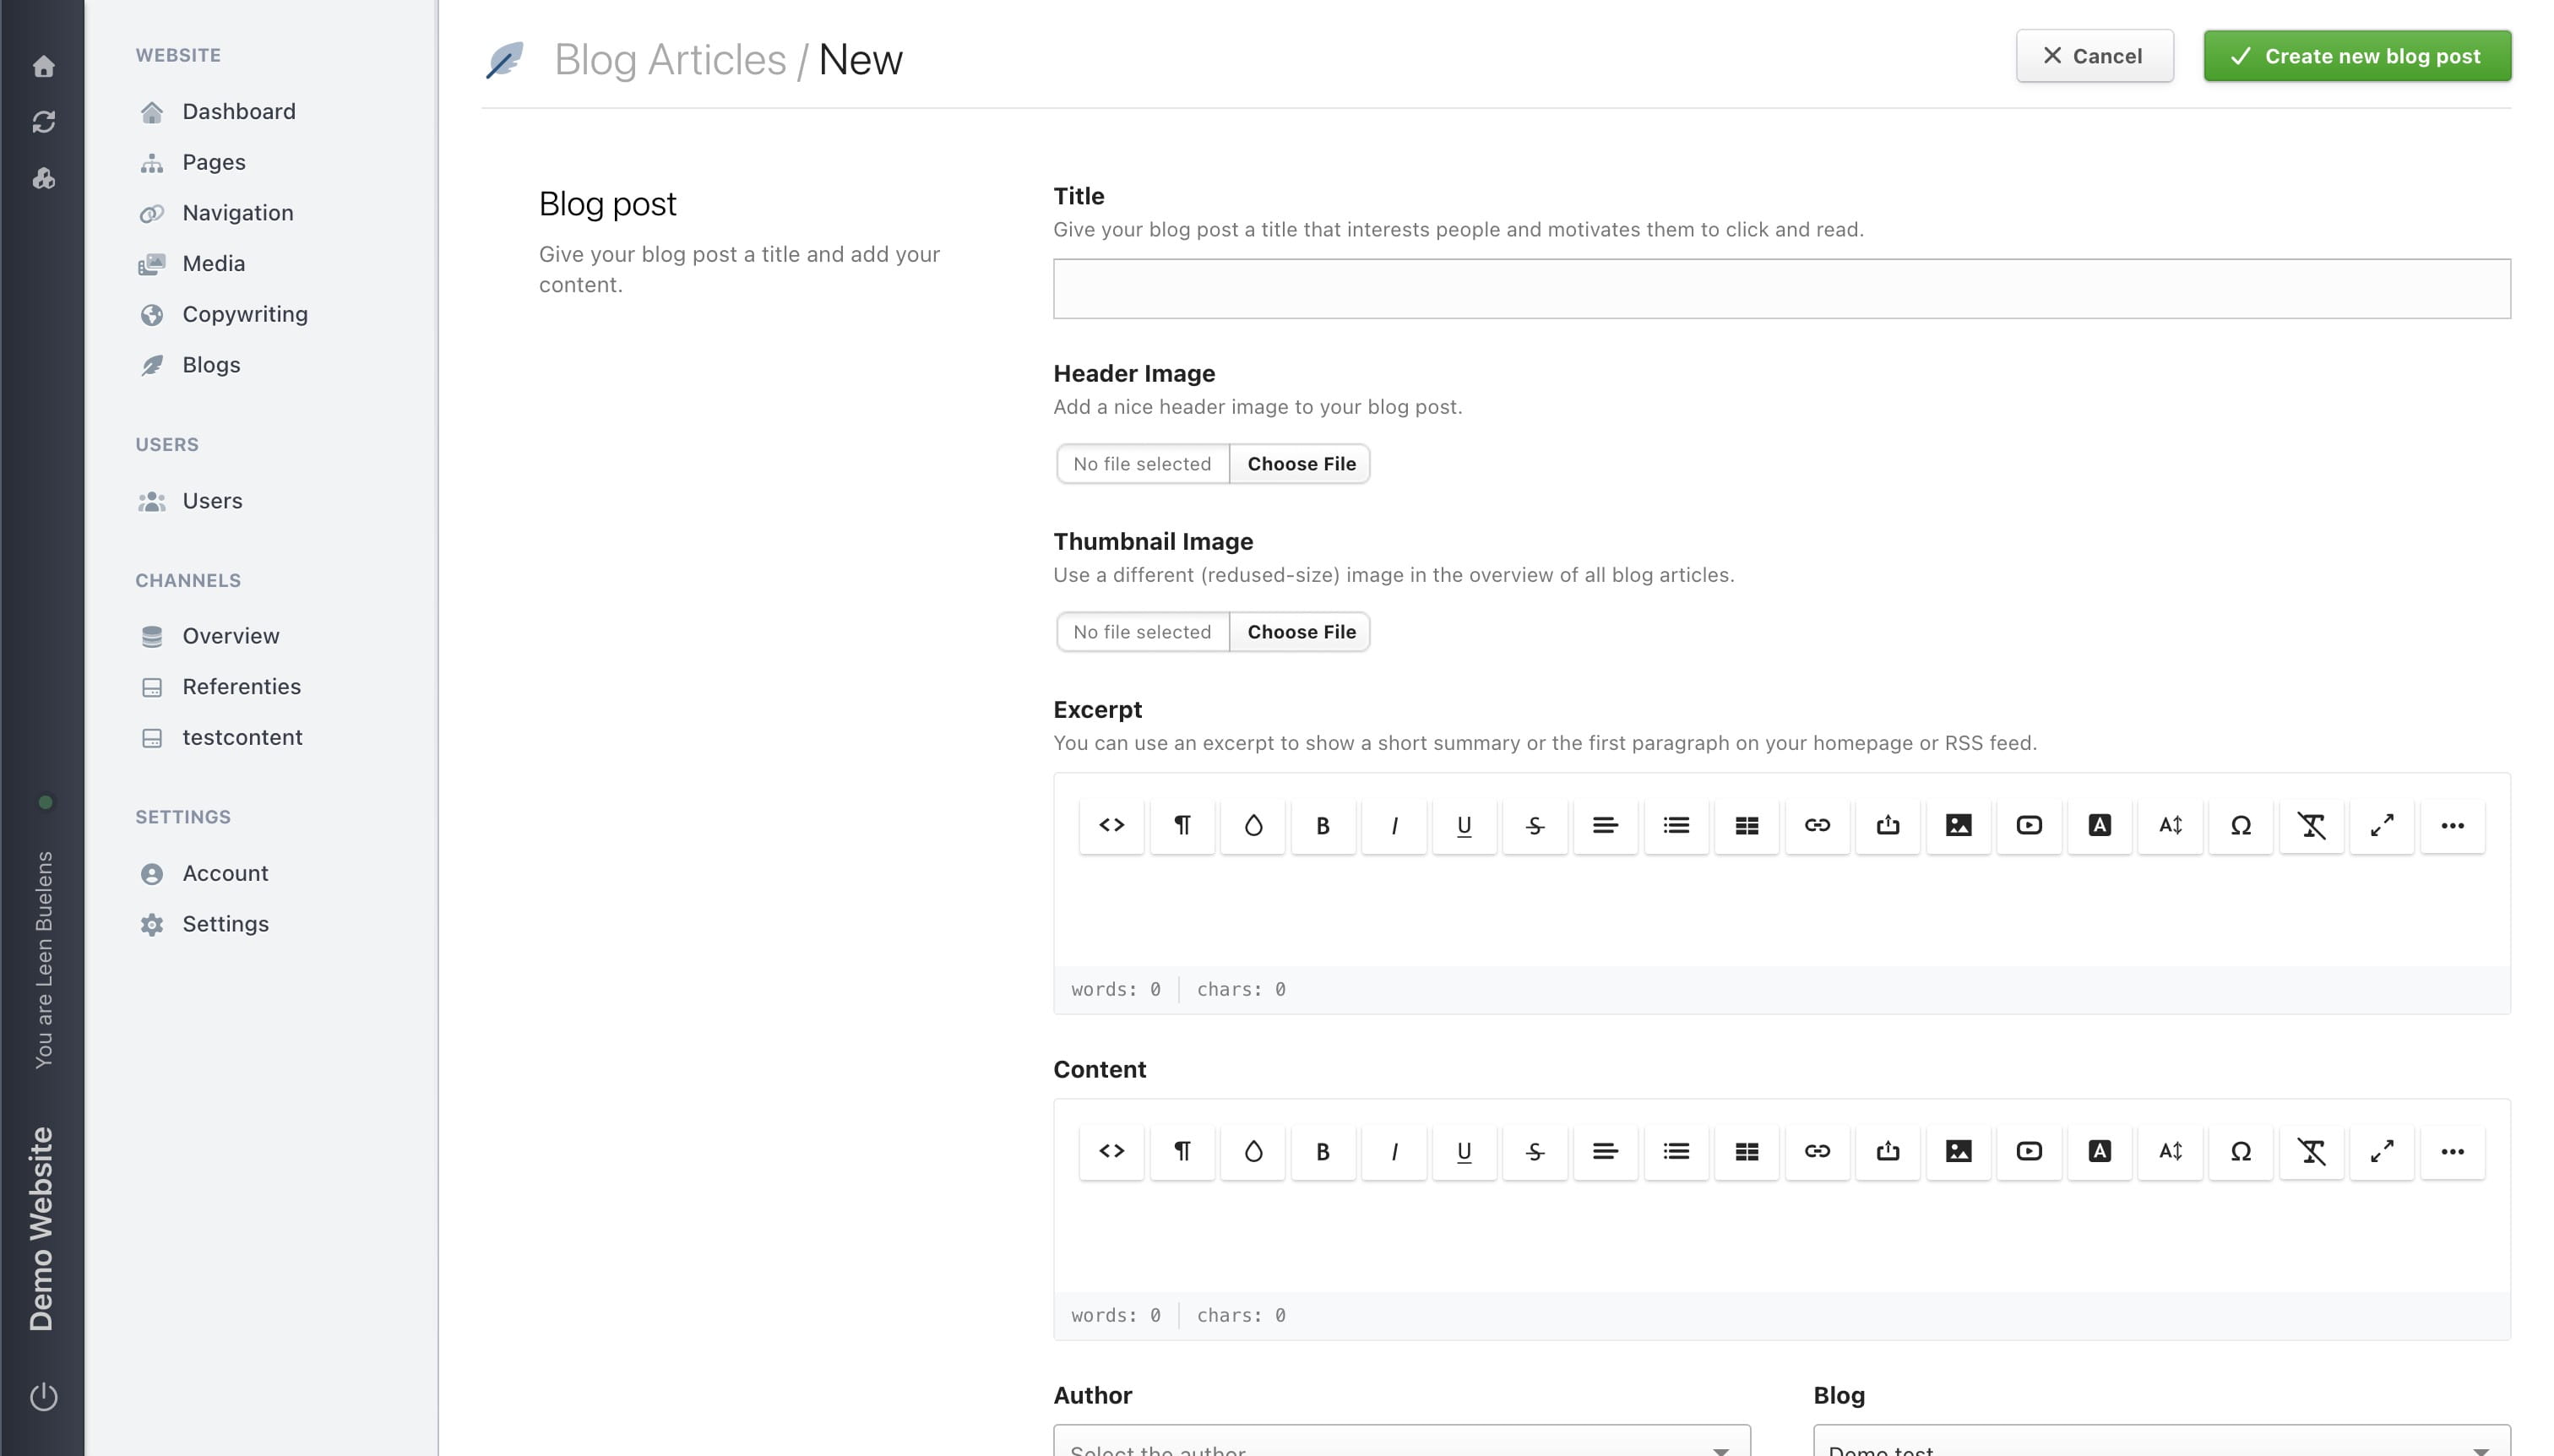
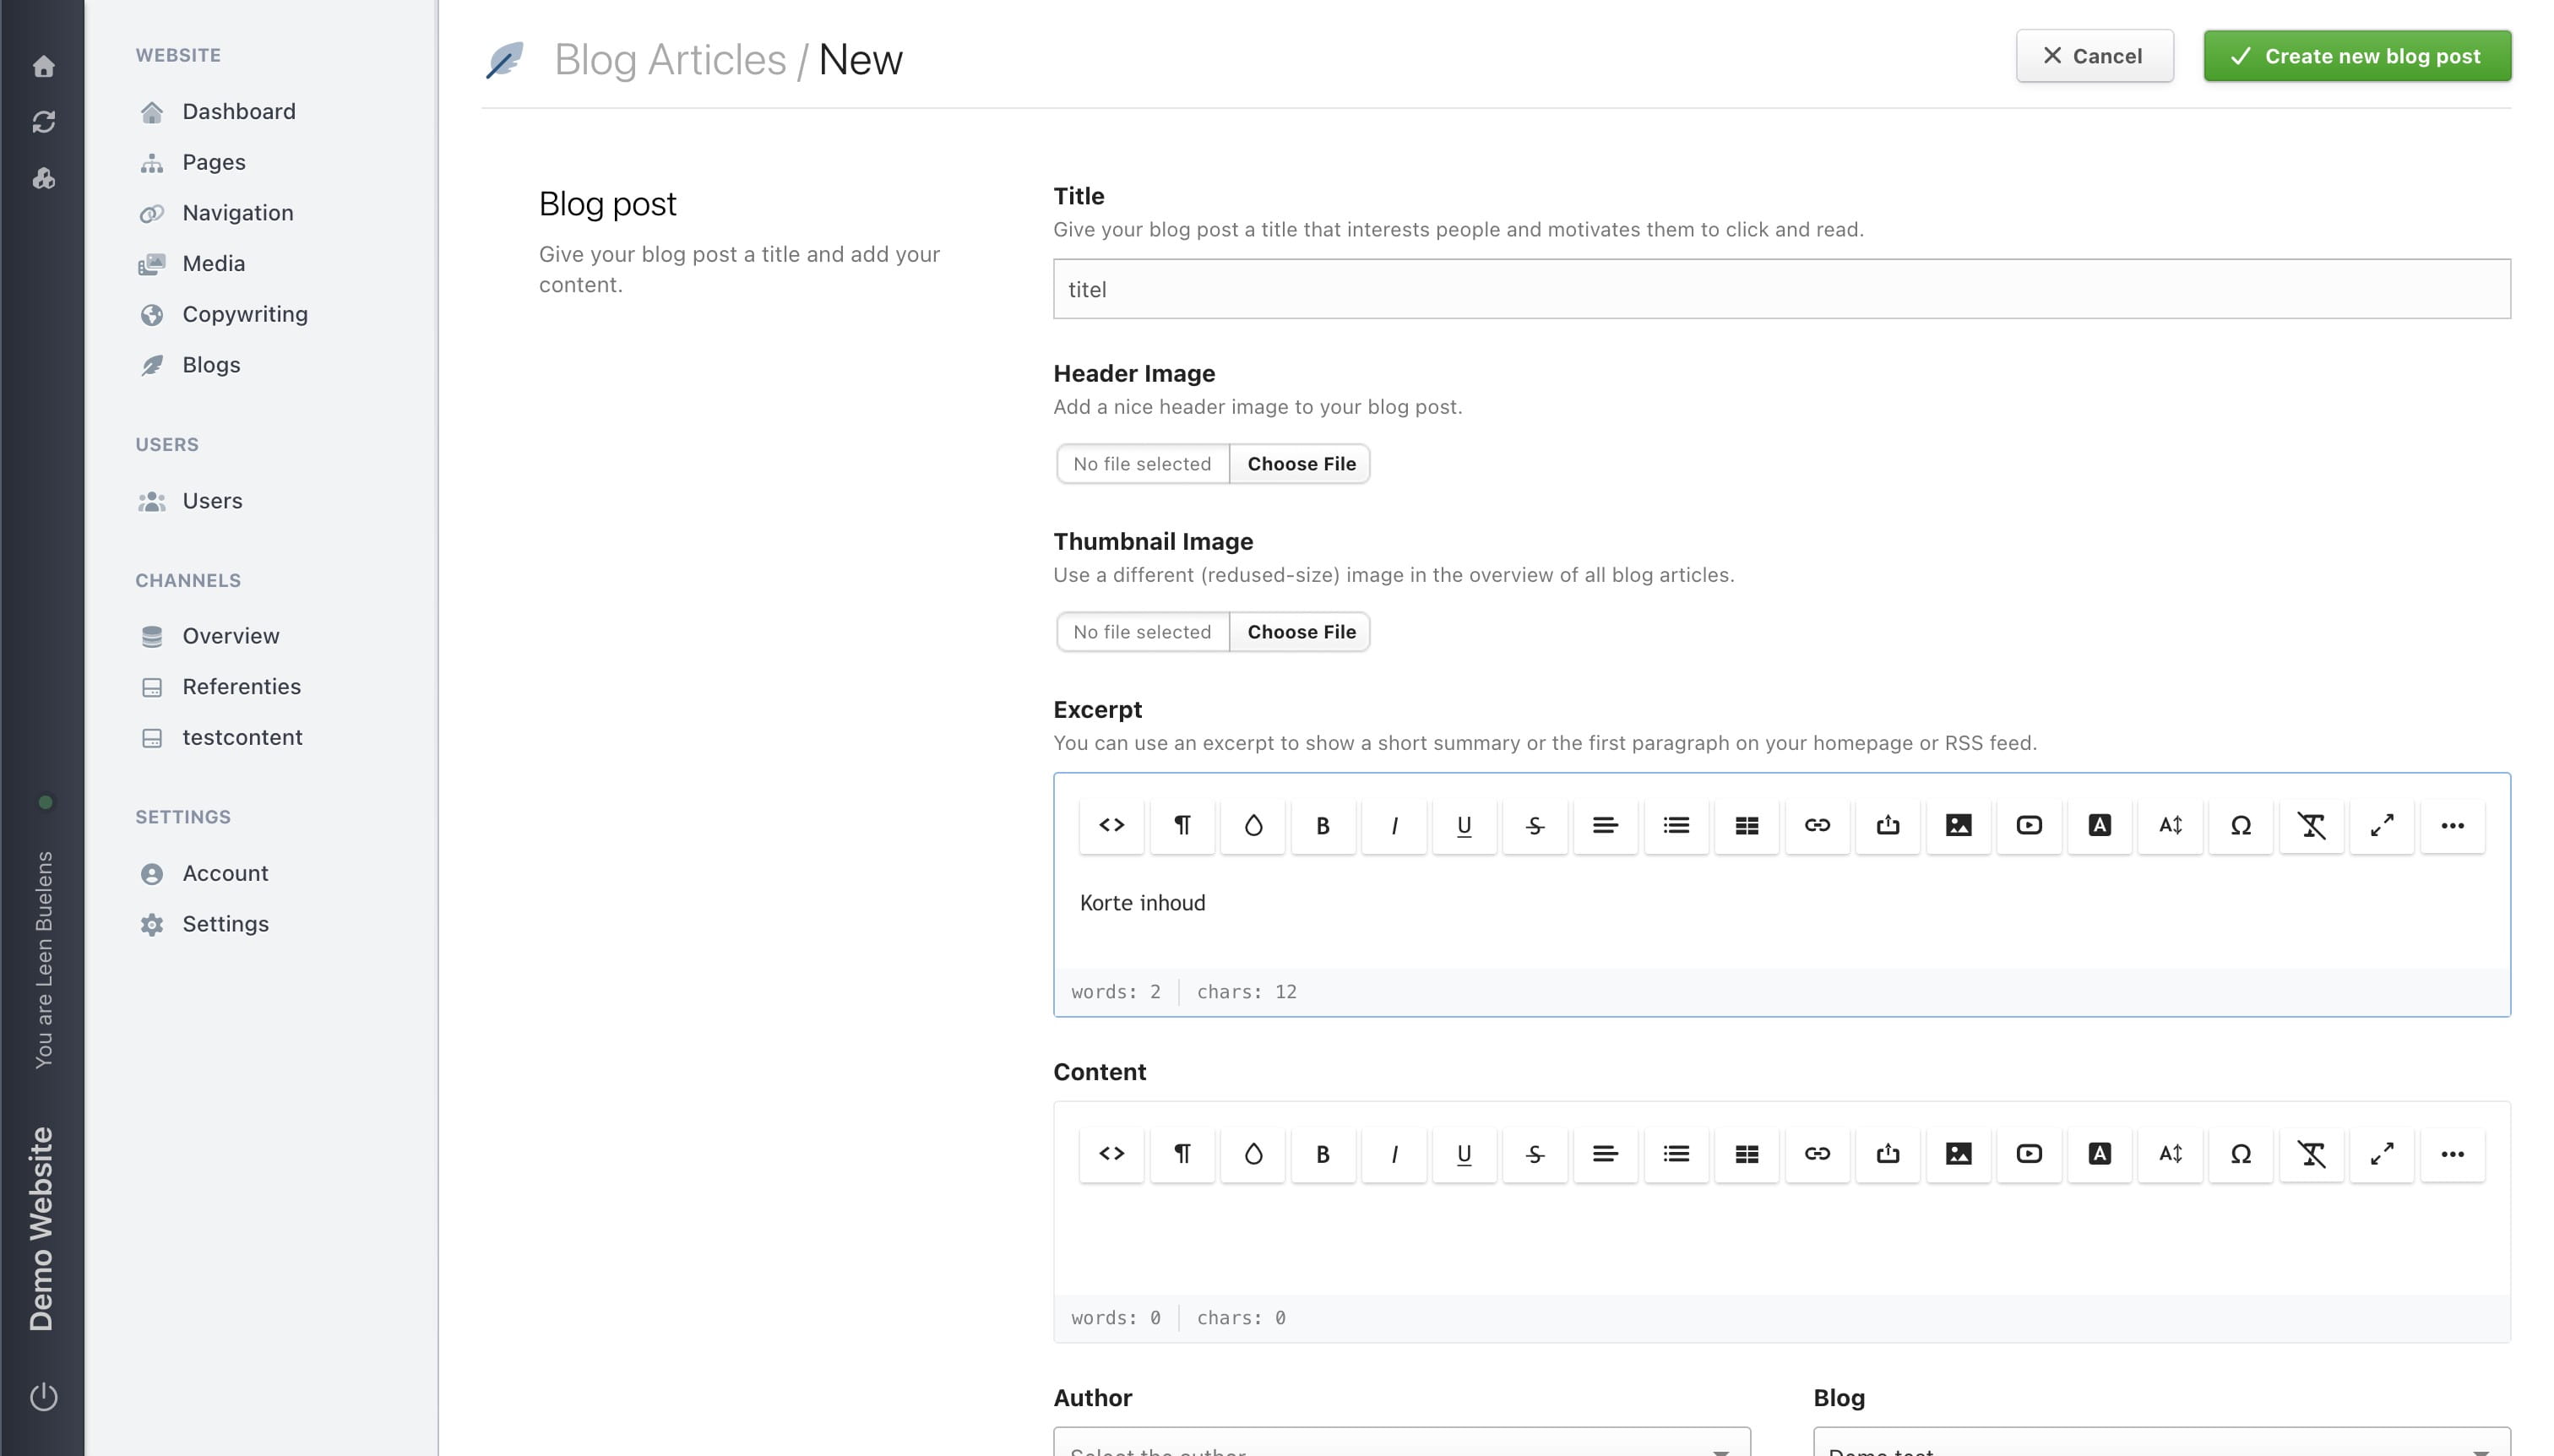
Add a short preview text in the Excerpt editor
Add the full blog text in the Content editor
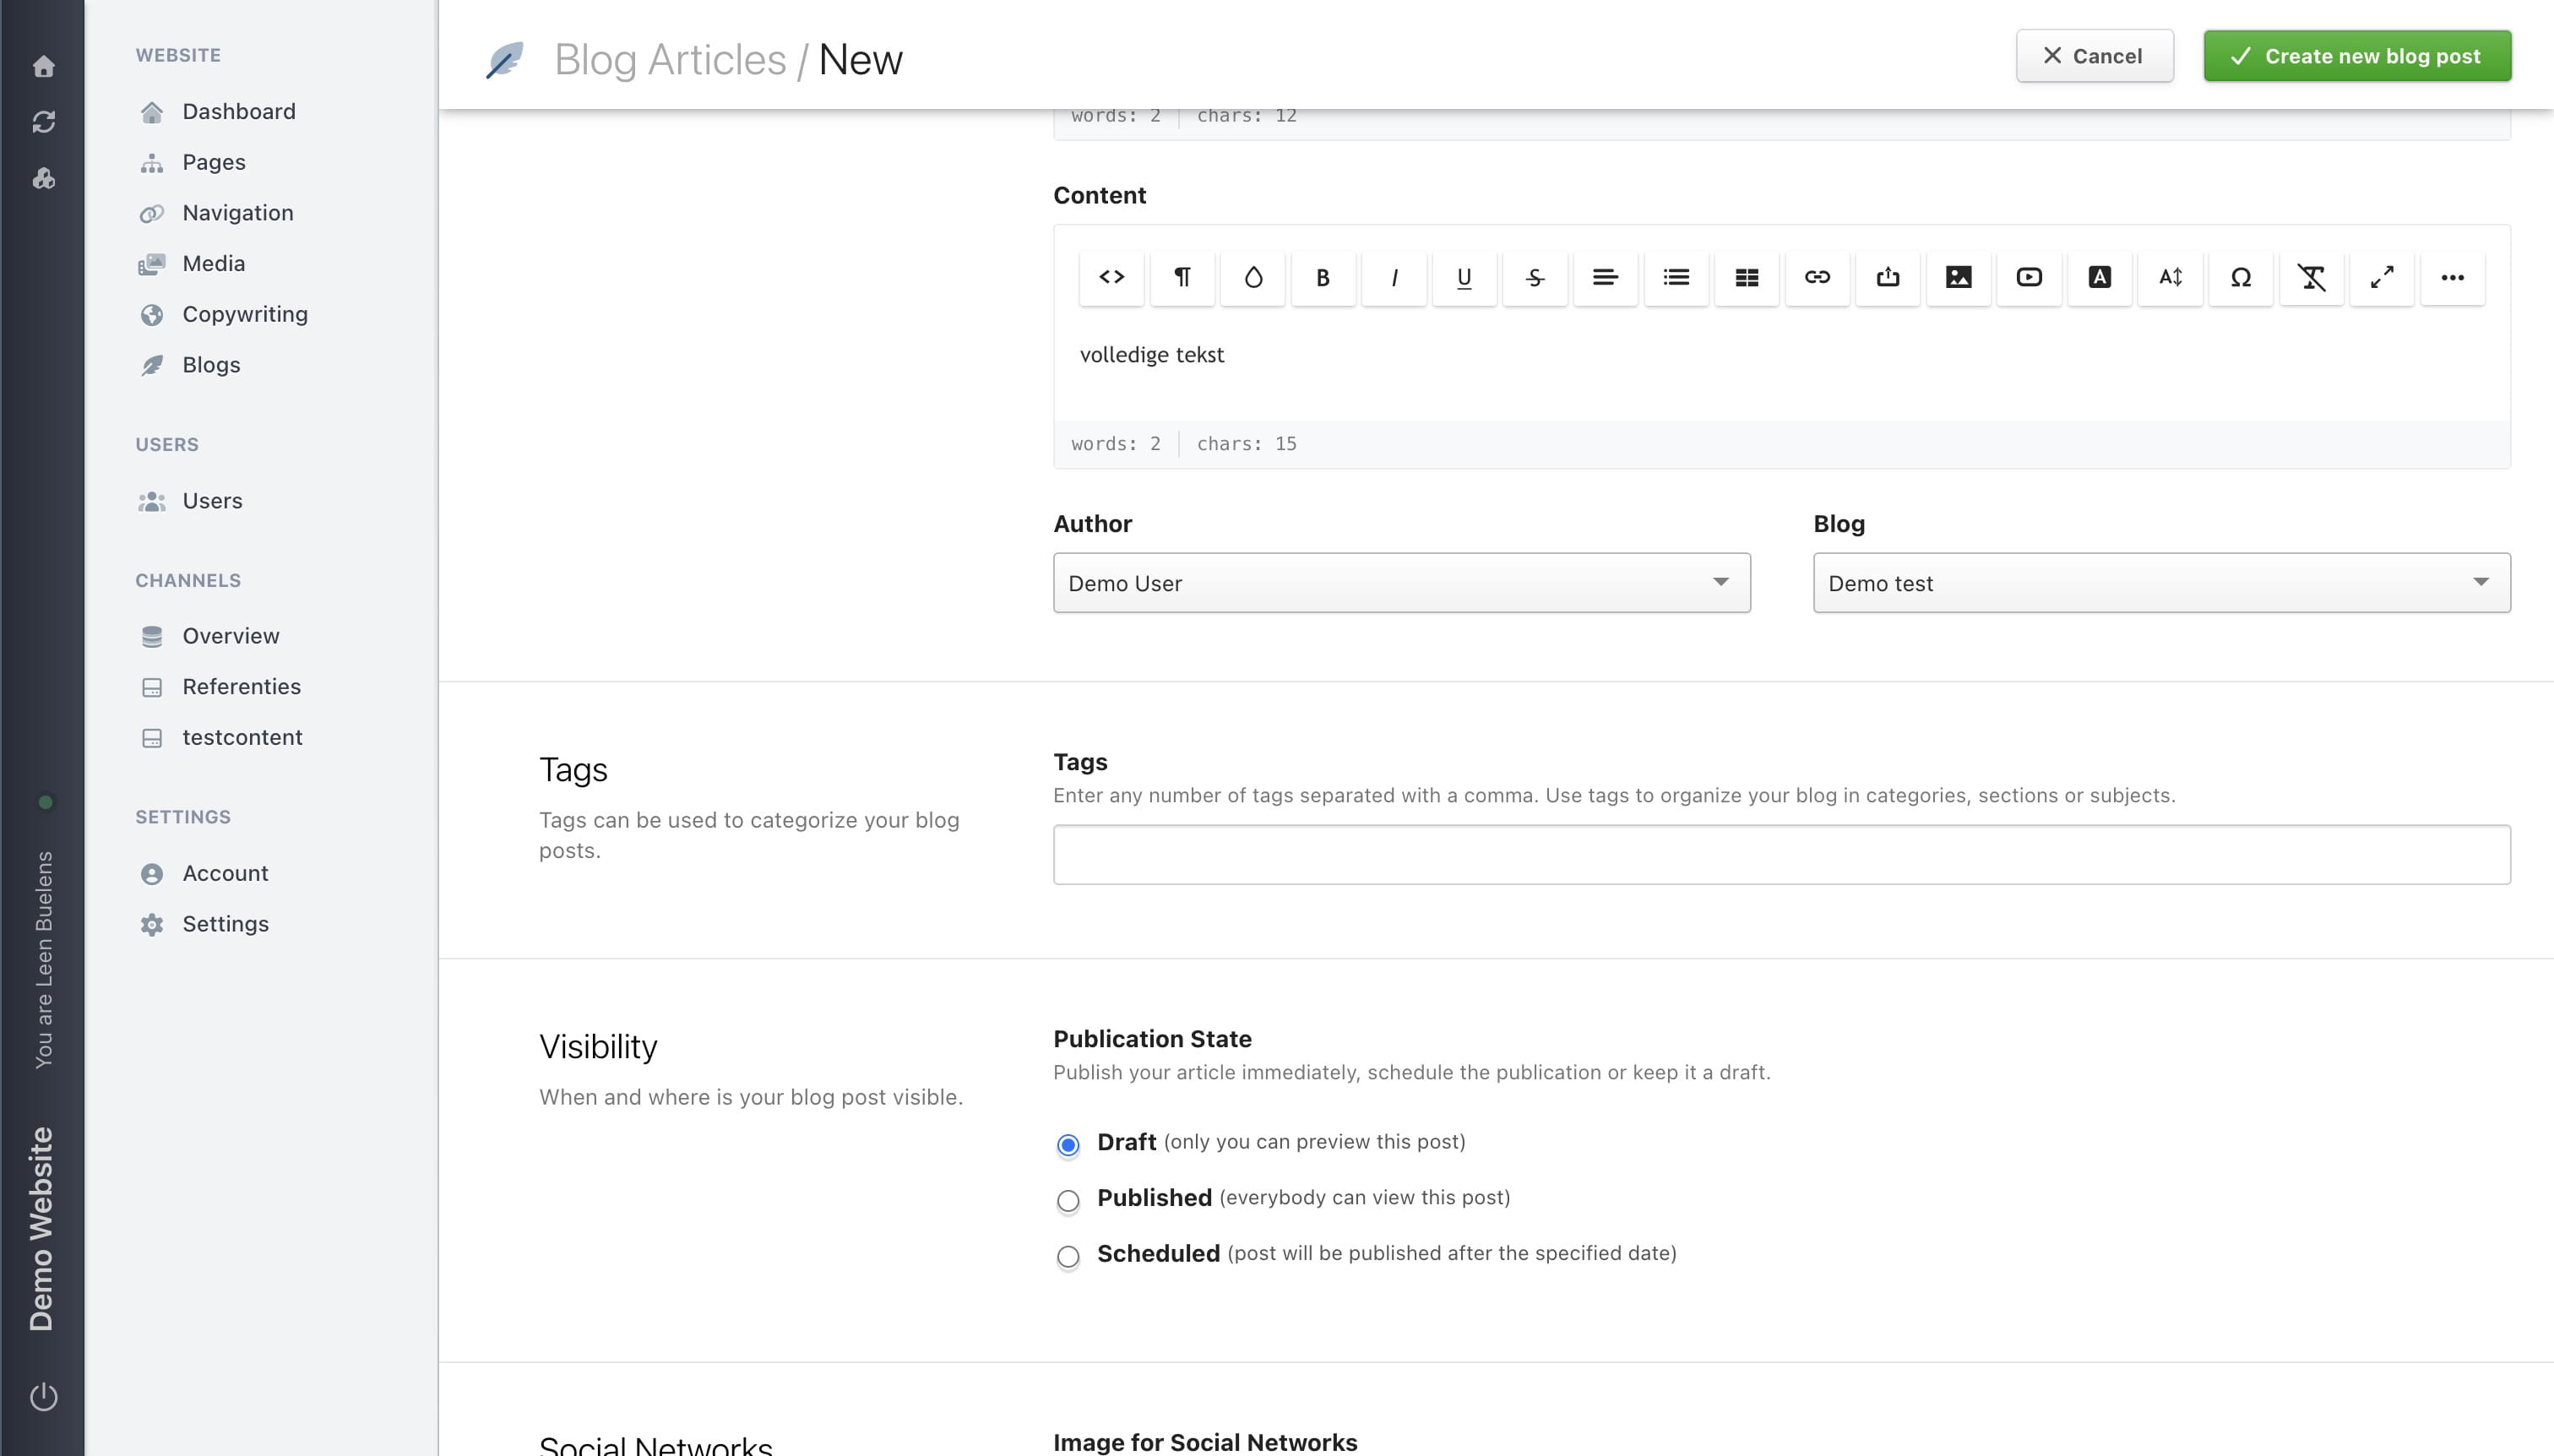
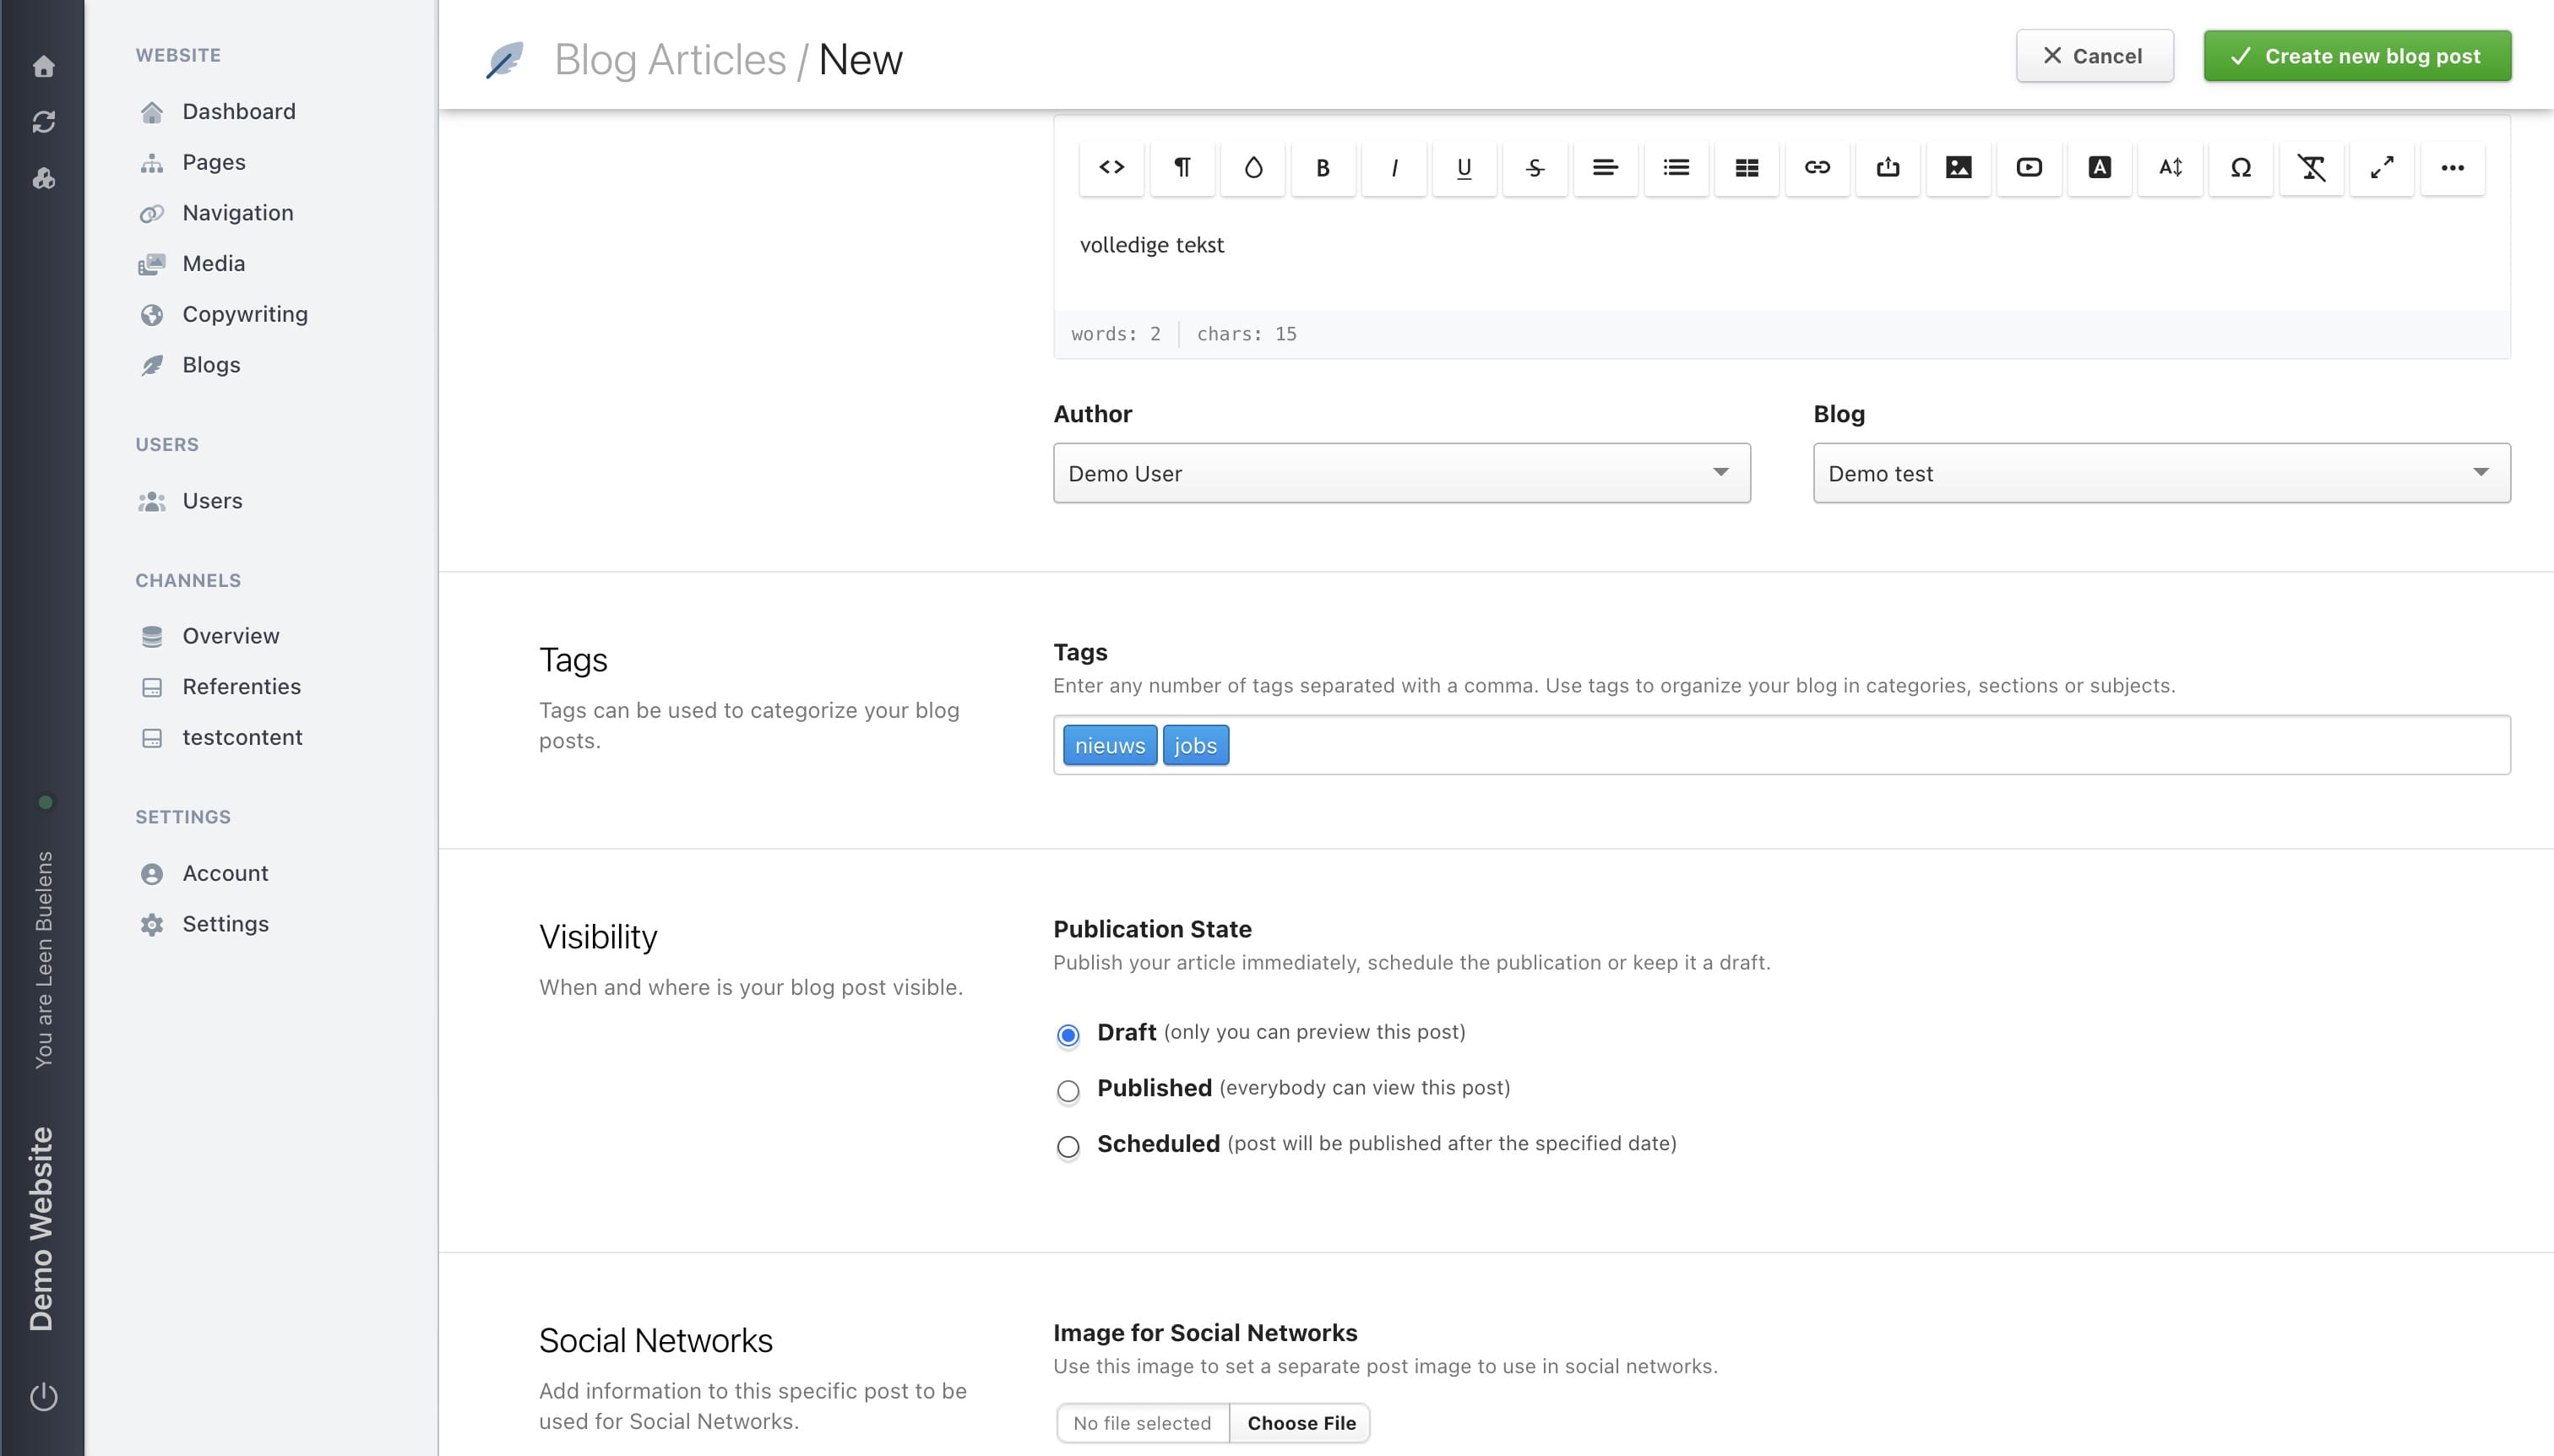
Select the author (not always shown on website - depends on your configuration)
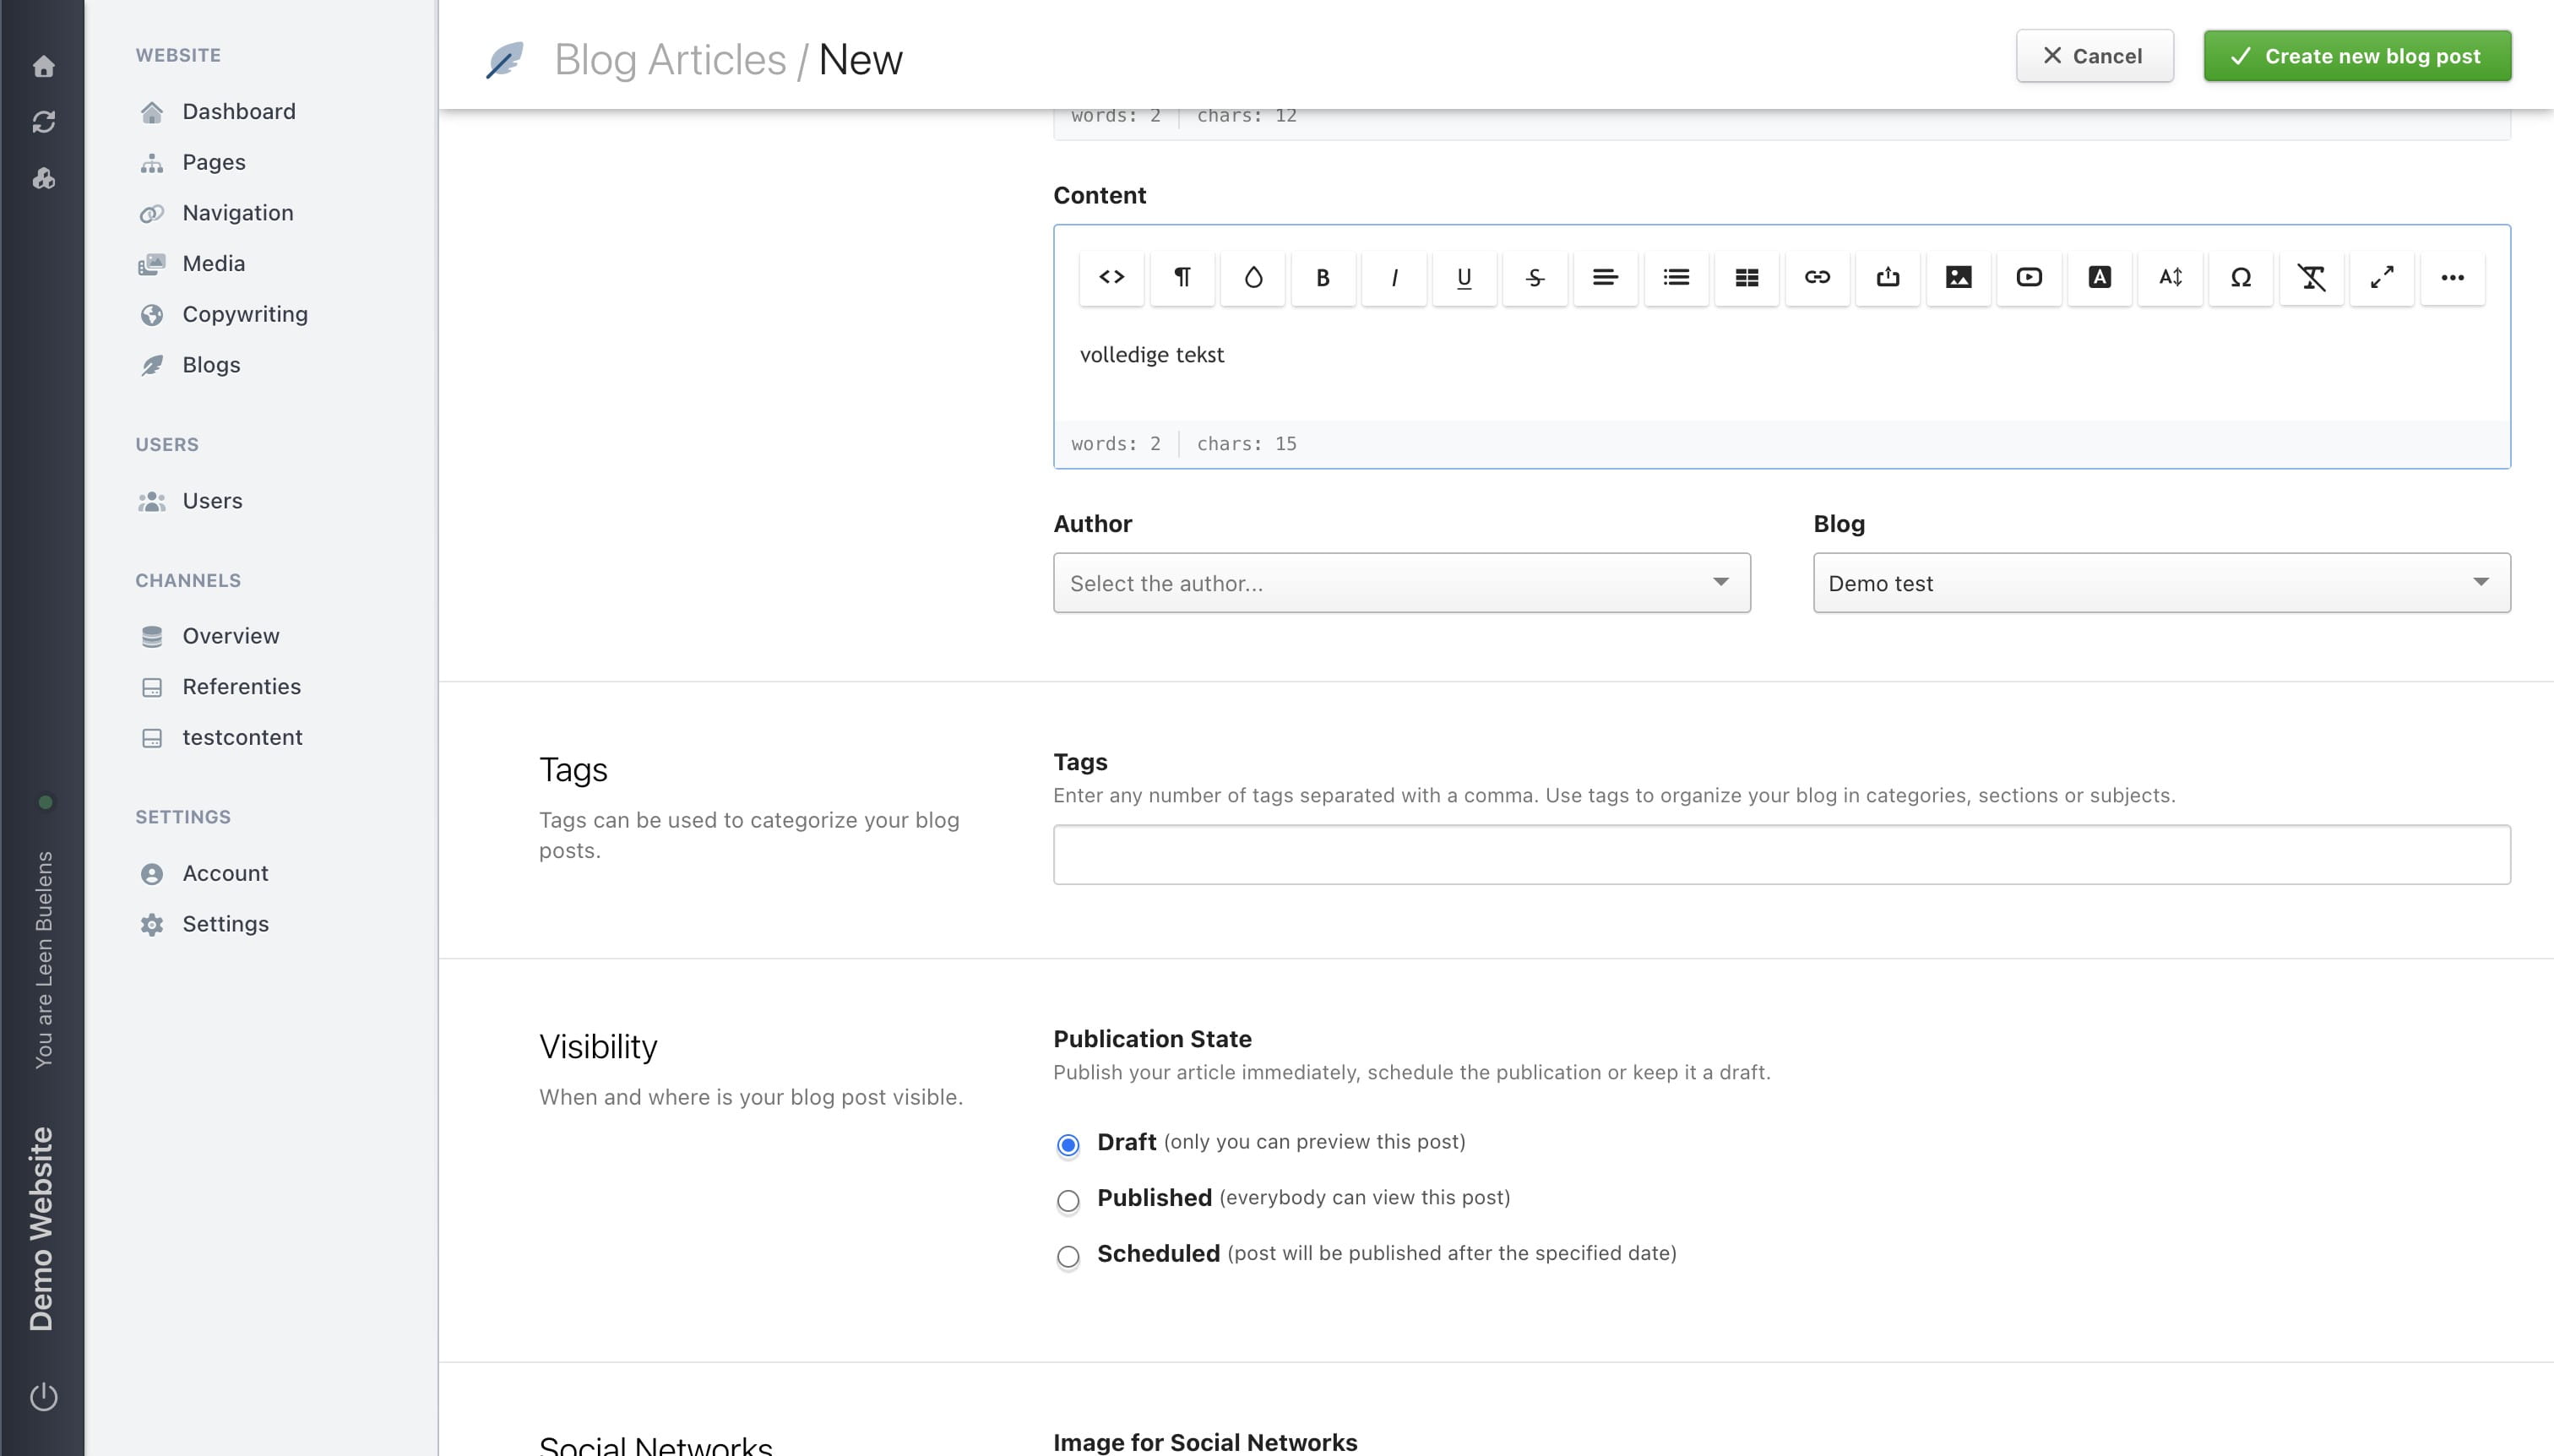
Enter tags in the Tags field, separated by commas. You can select previously used tags.
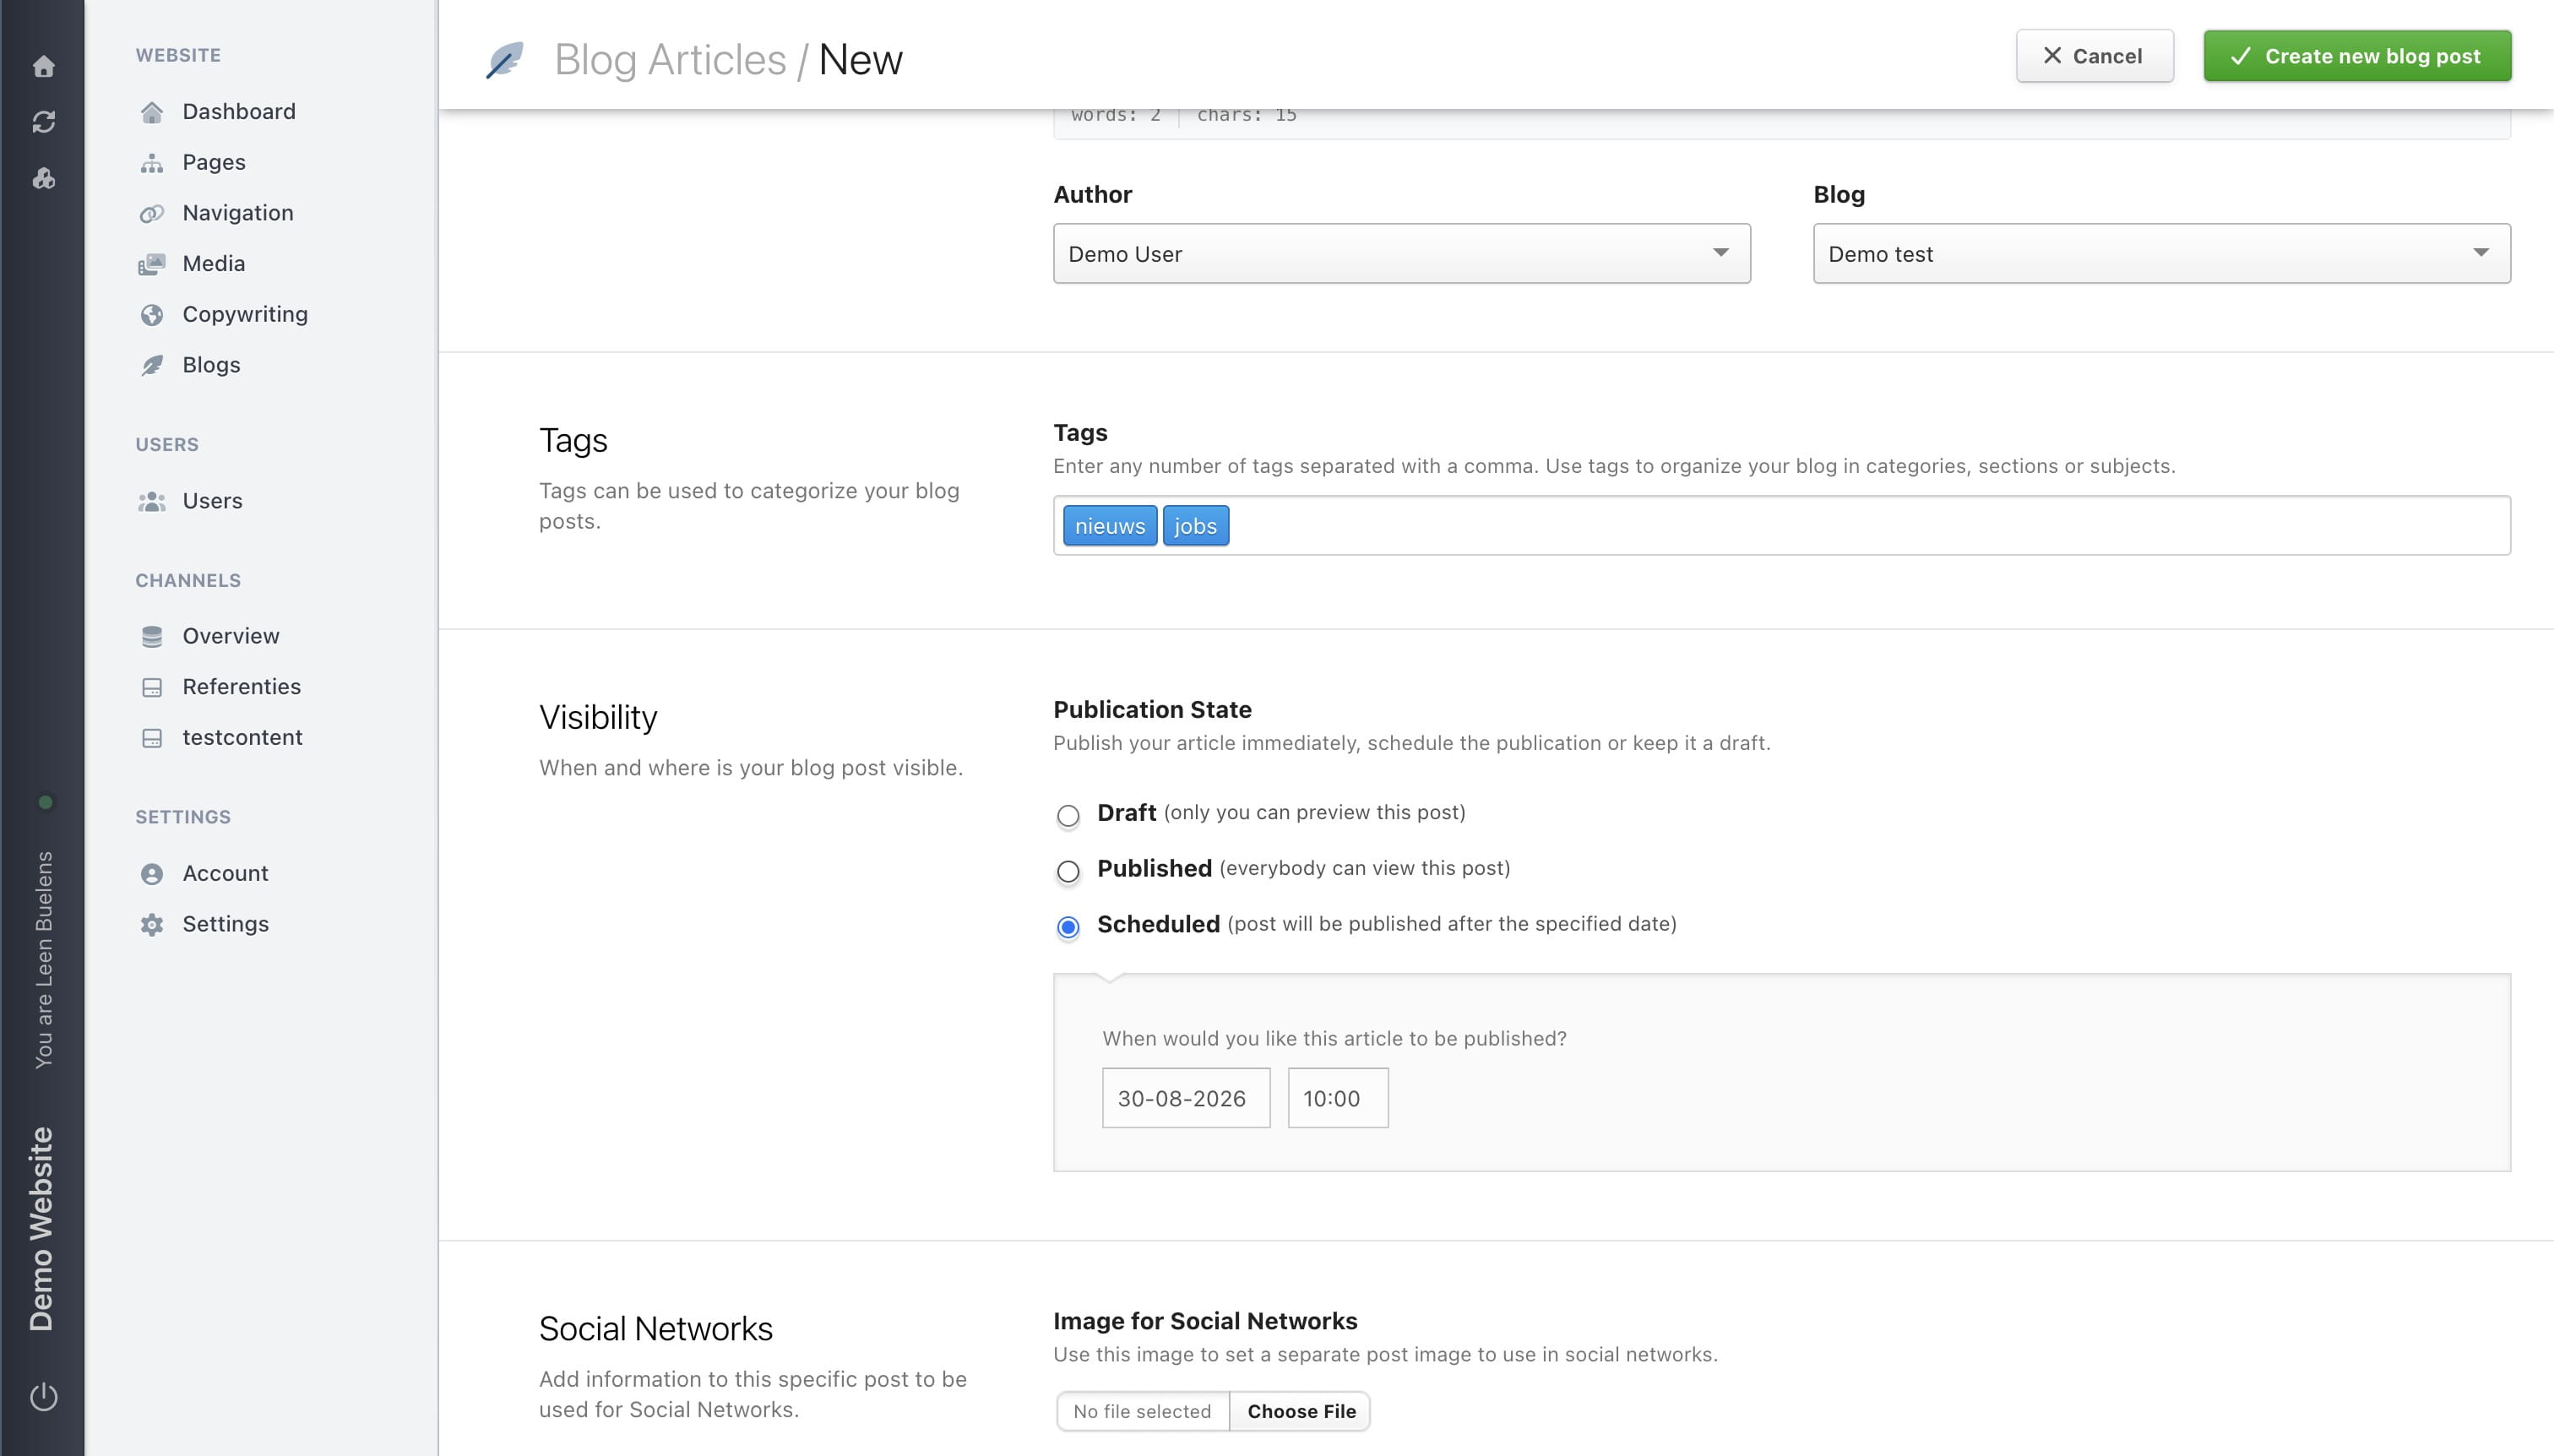
Schedule a post to be published in the future by selecting 'Scheduled' and setting the desired date.
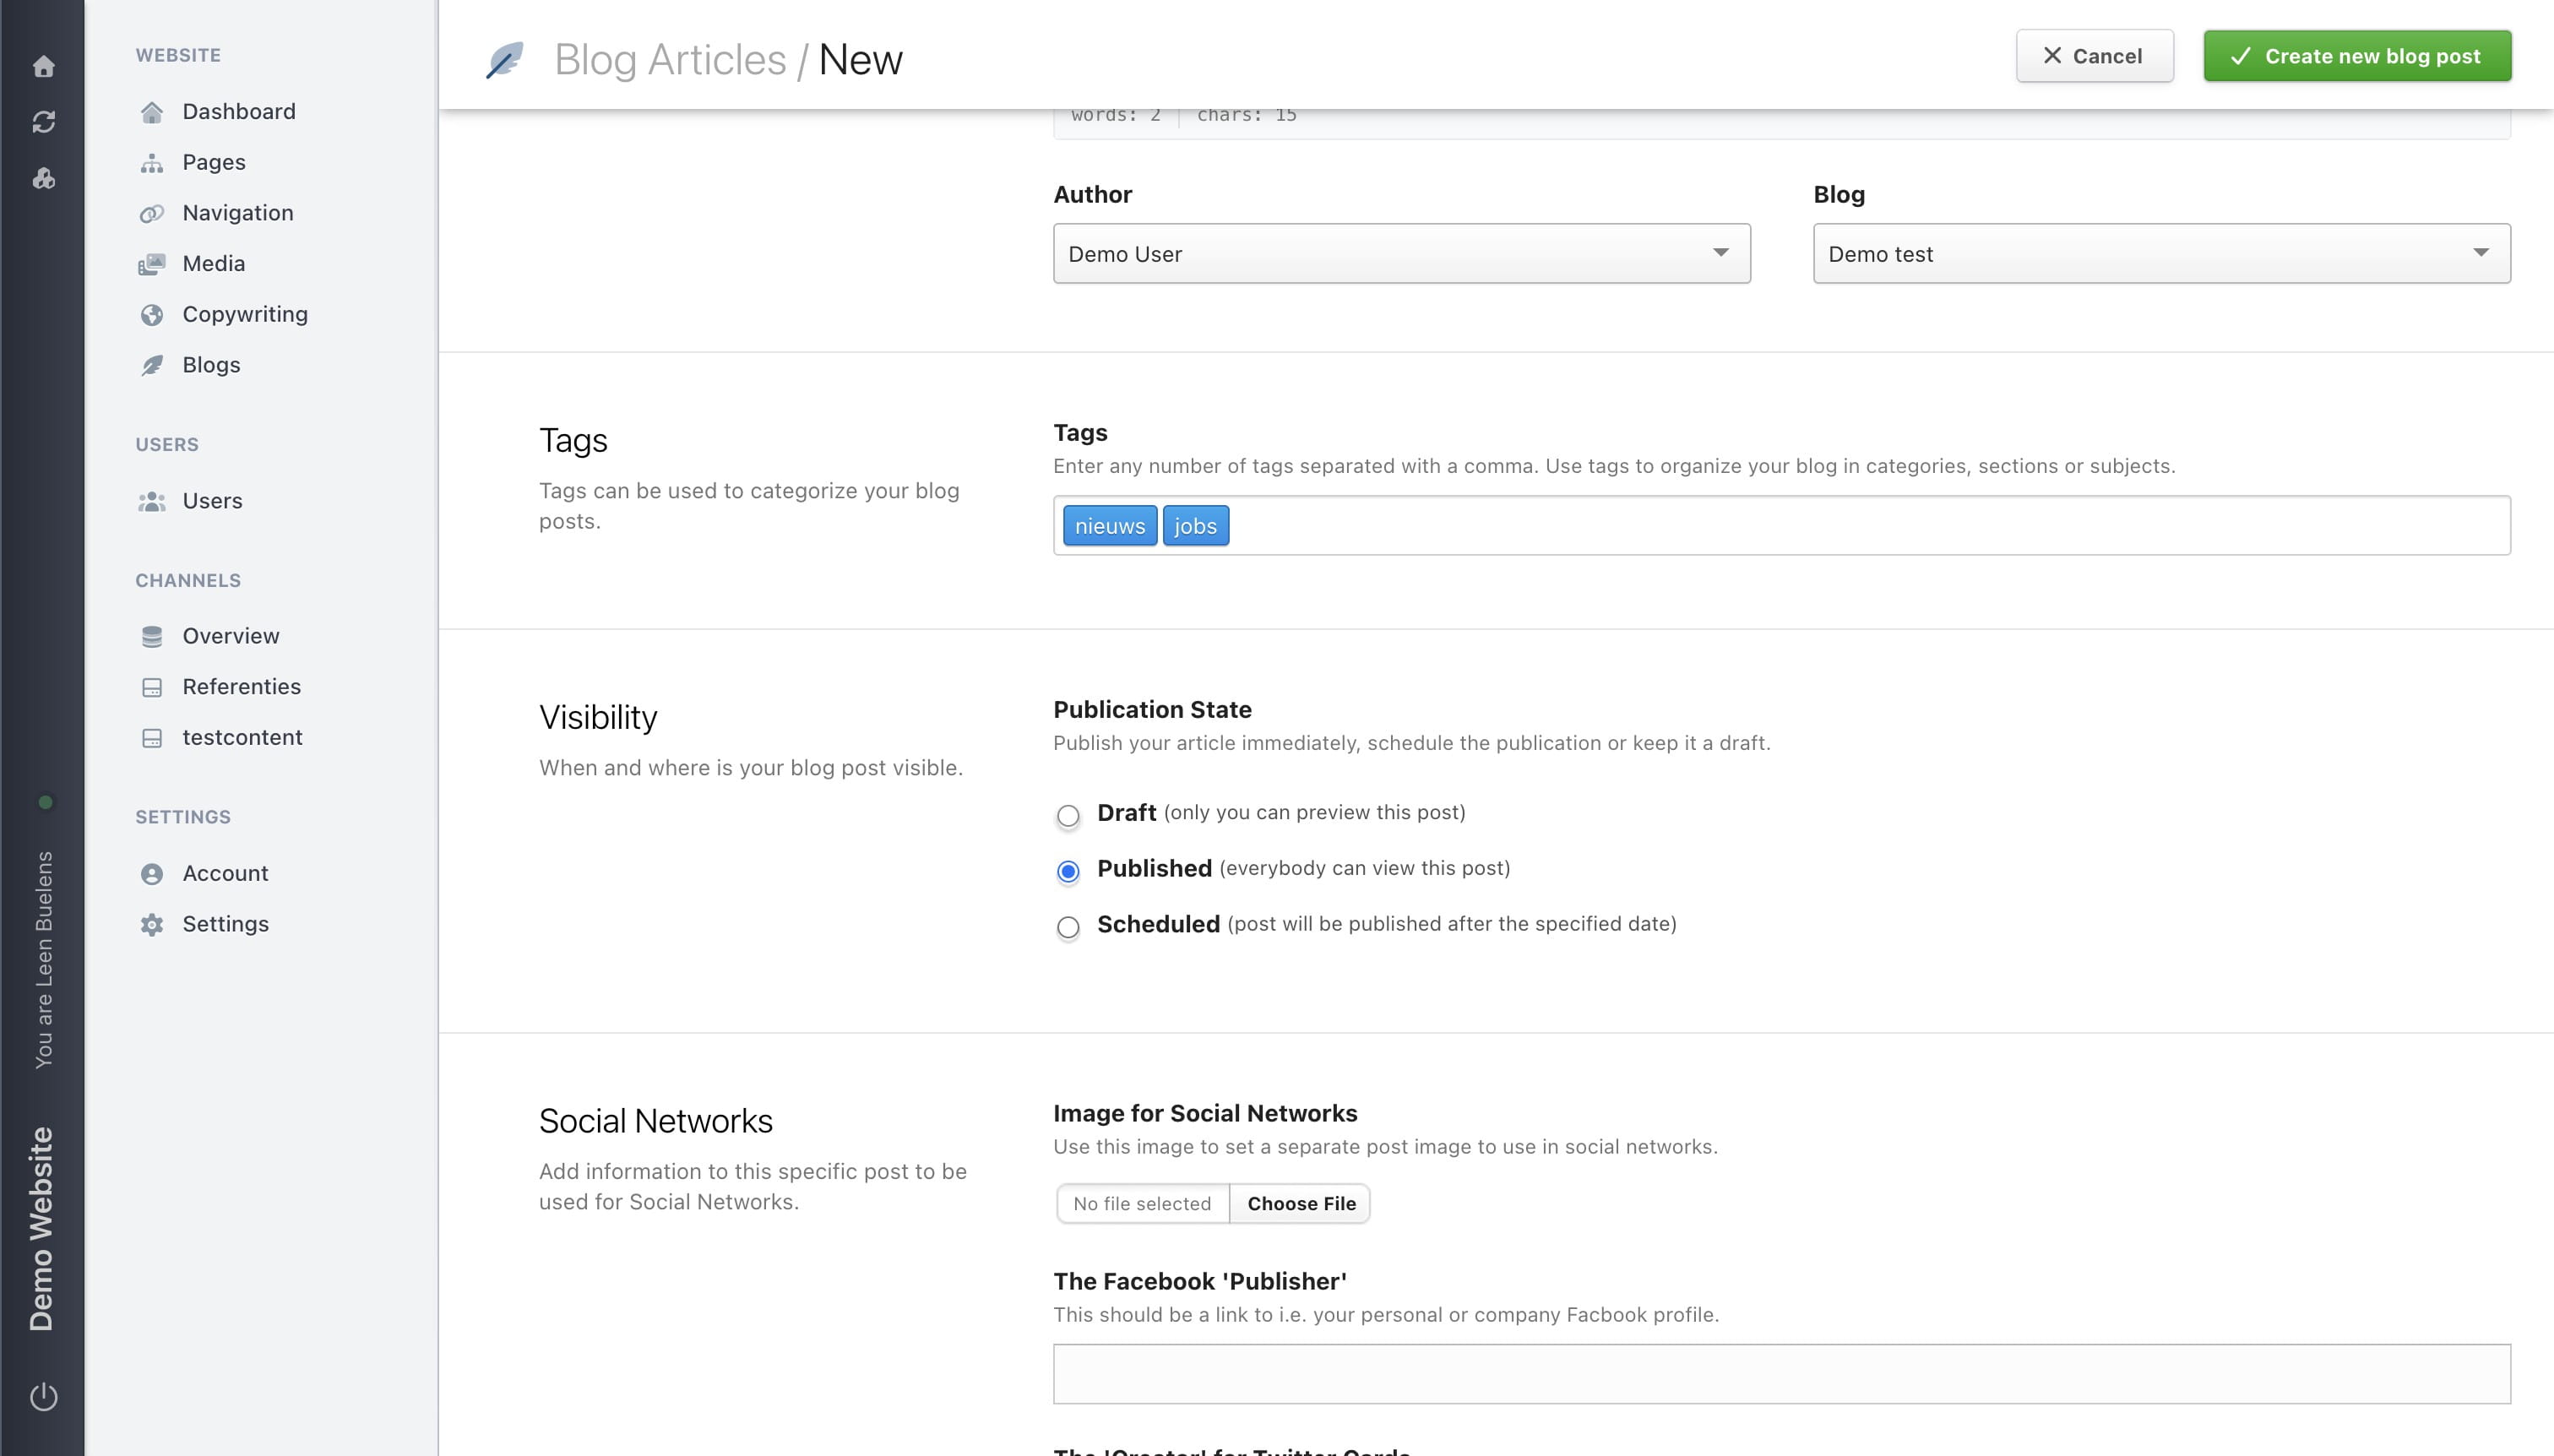
To publish a post immediately, select 'Published'. The blog post will automatically appear on the website.
Select the Draft radio option to keep a blog post in draft mode and work on it later or let it be reviewed first.
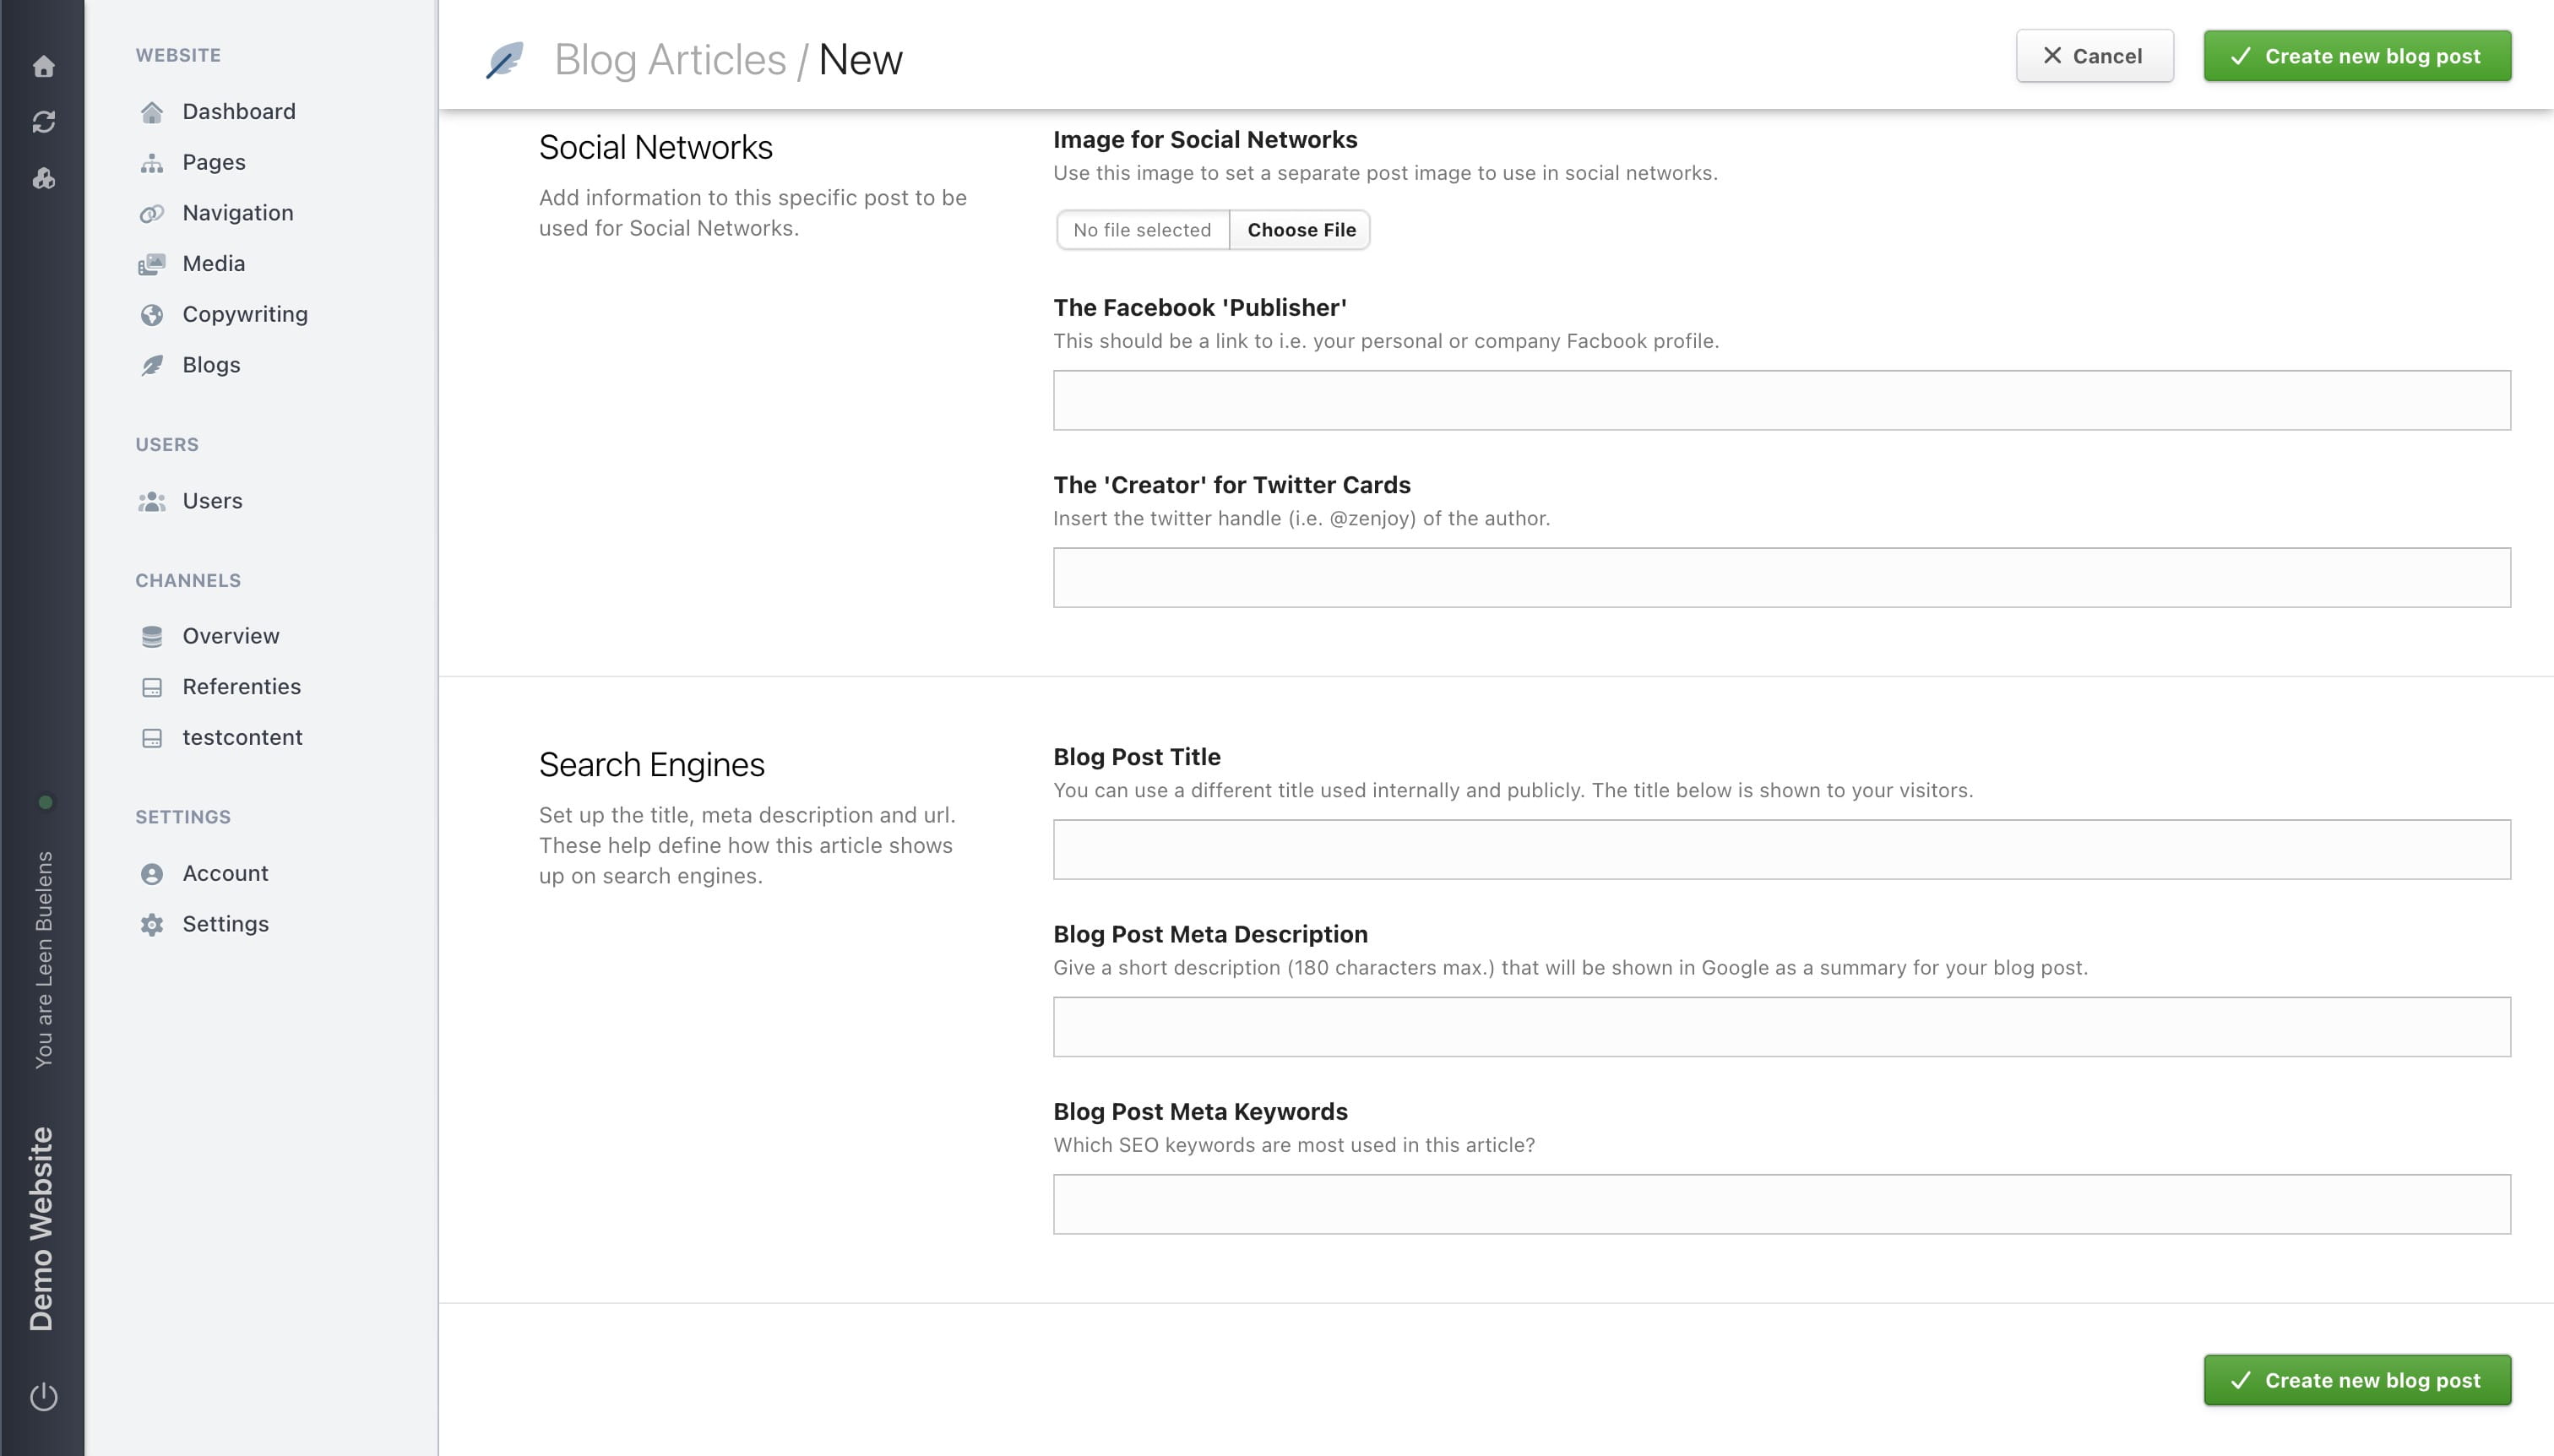
Click Create new blog post to finish your blog post (depending on the selected state).
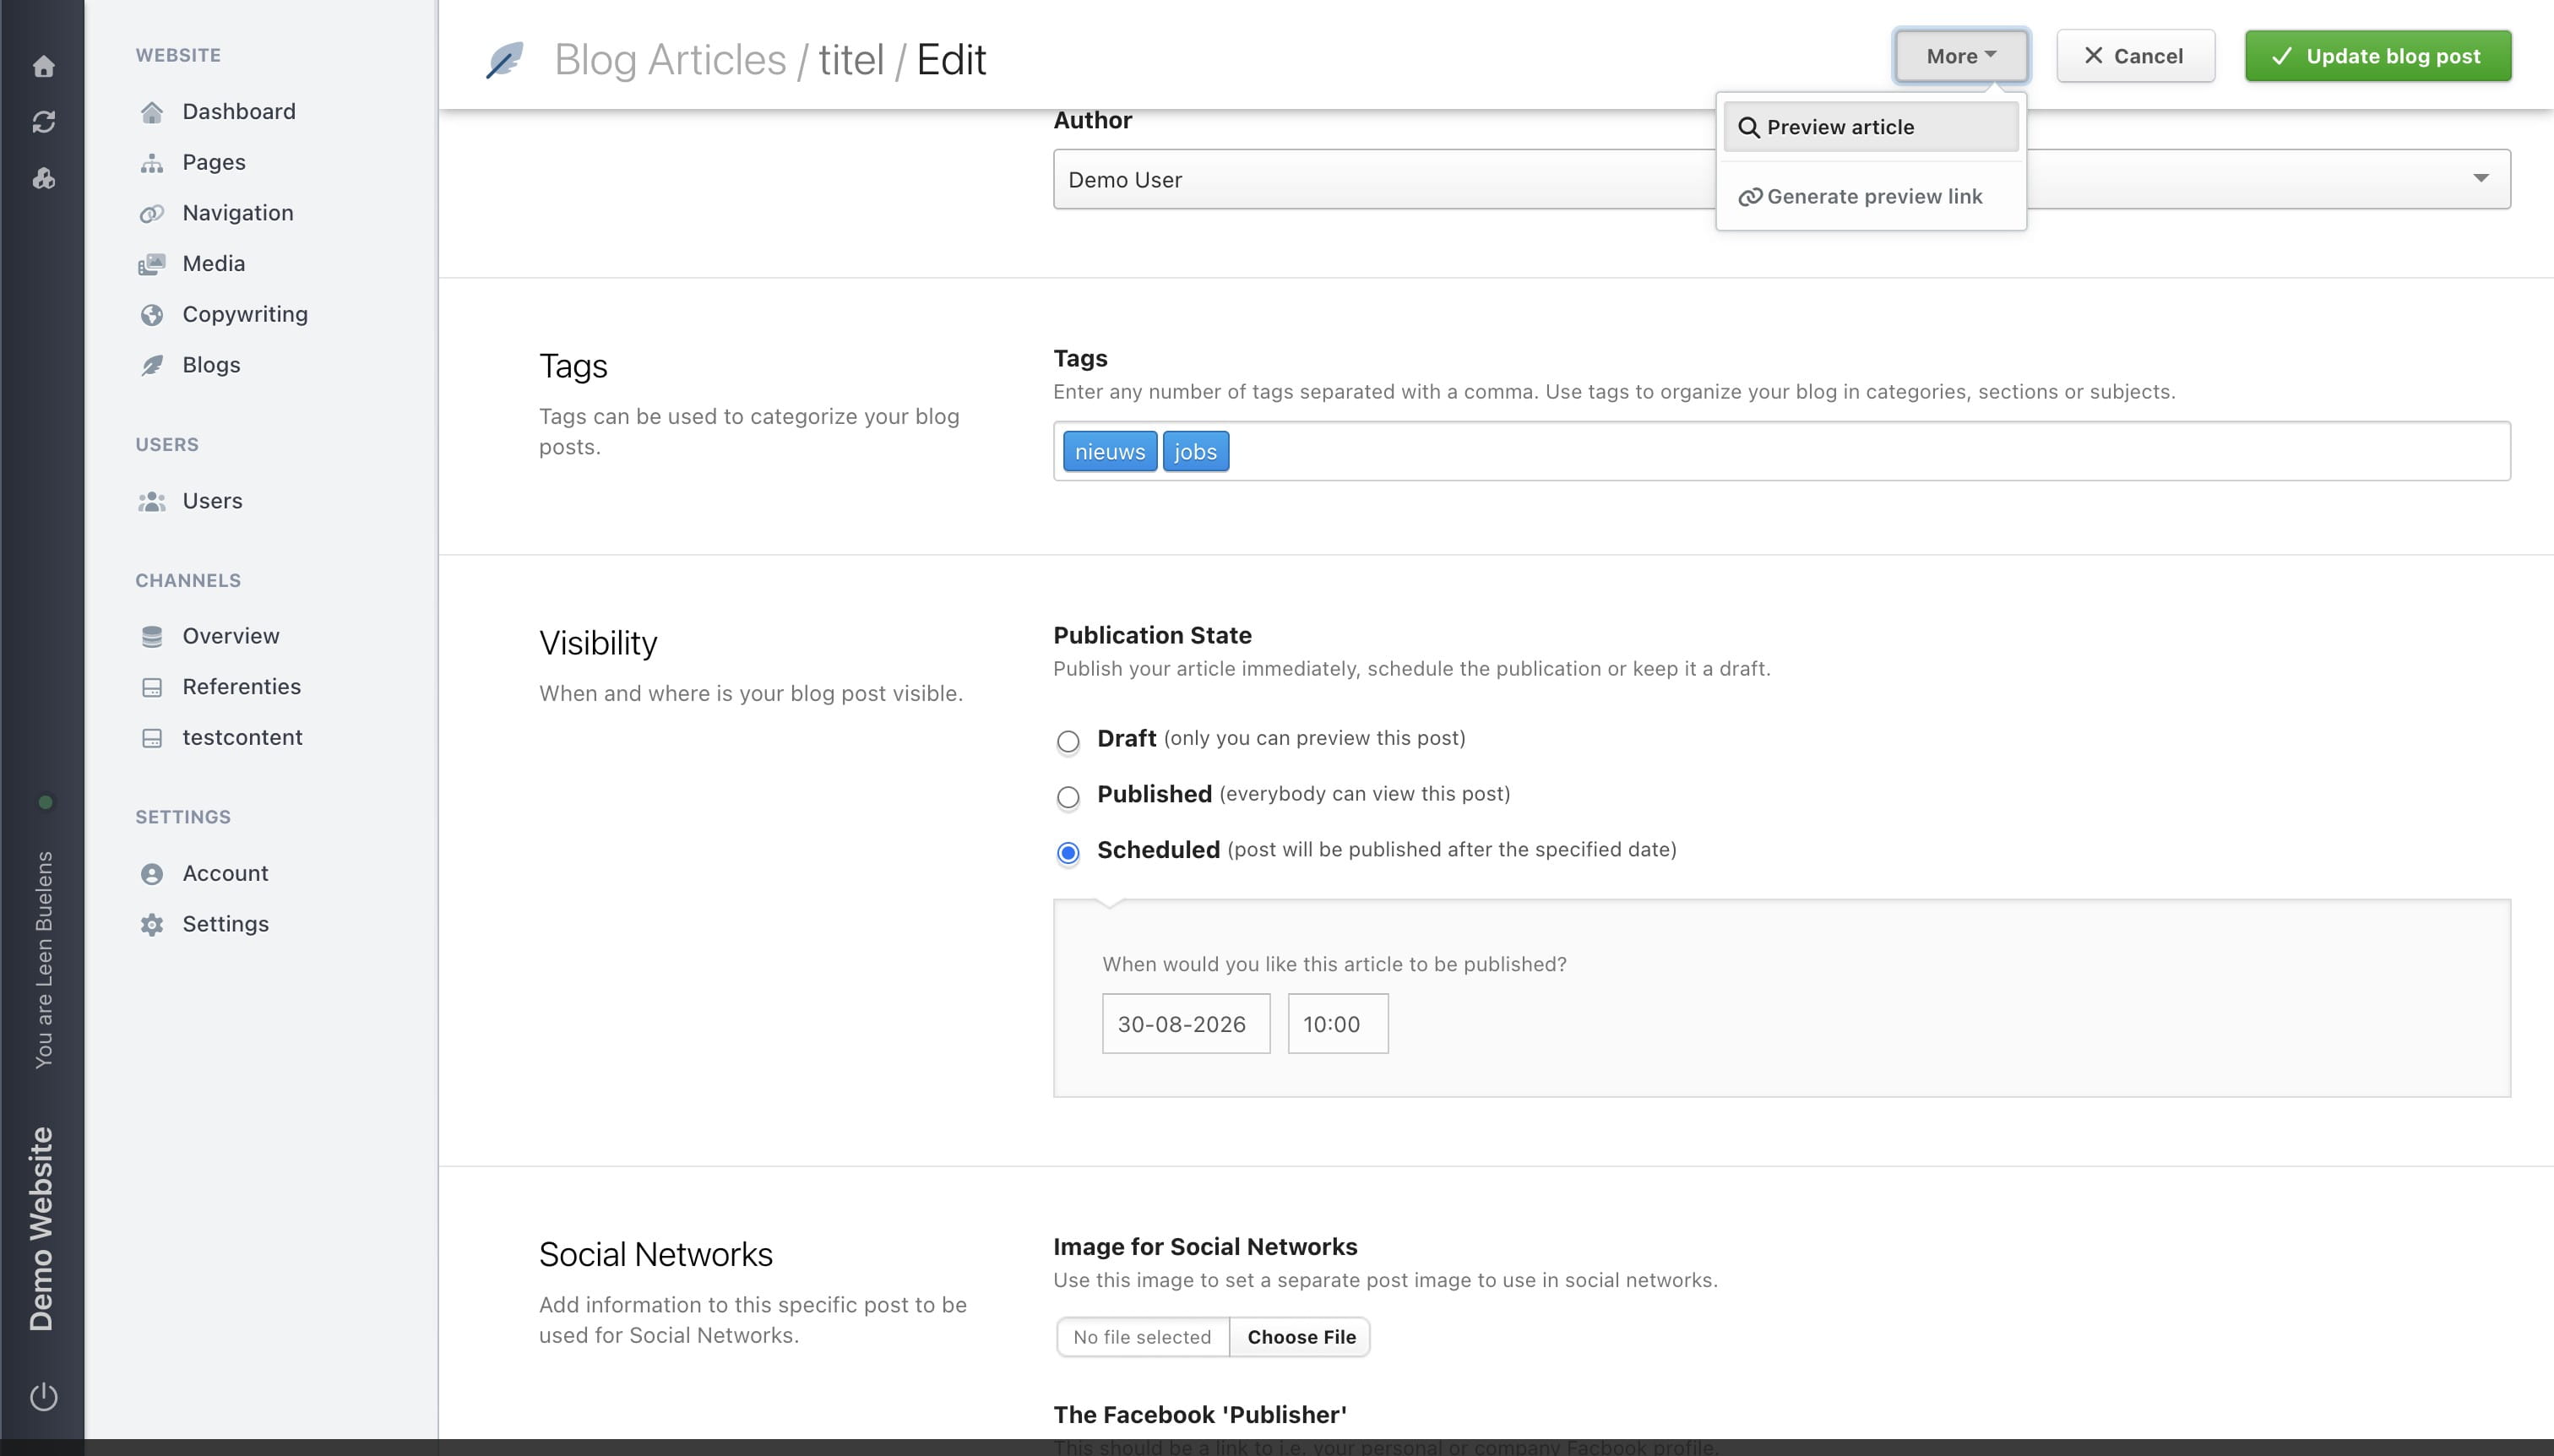
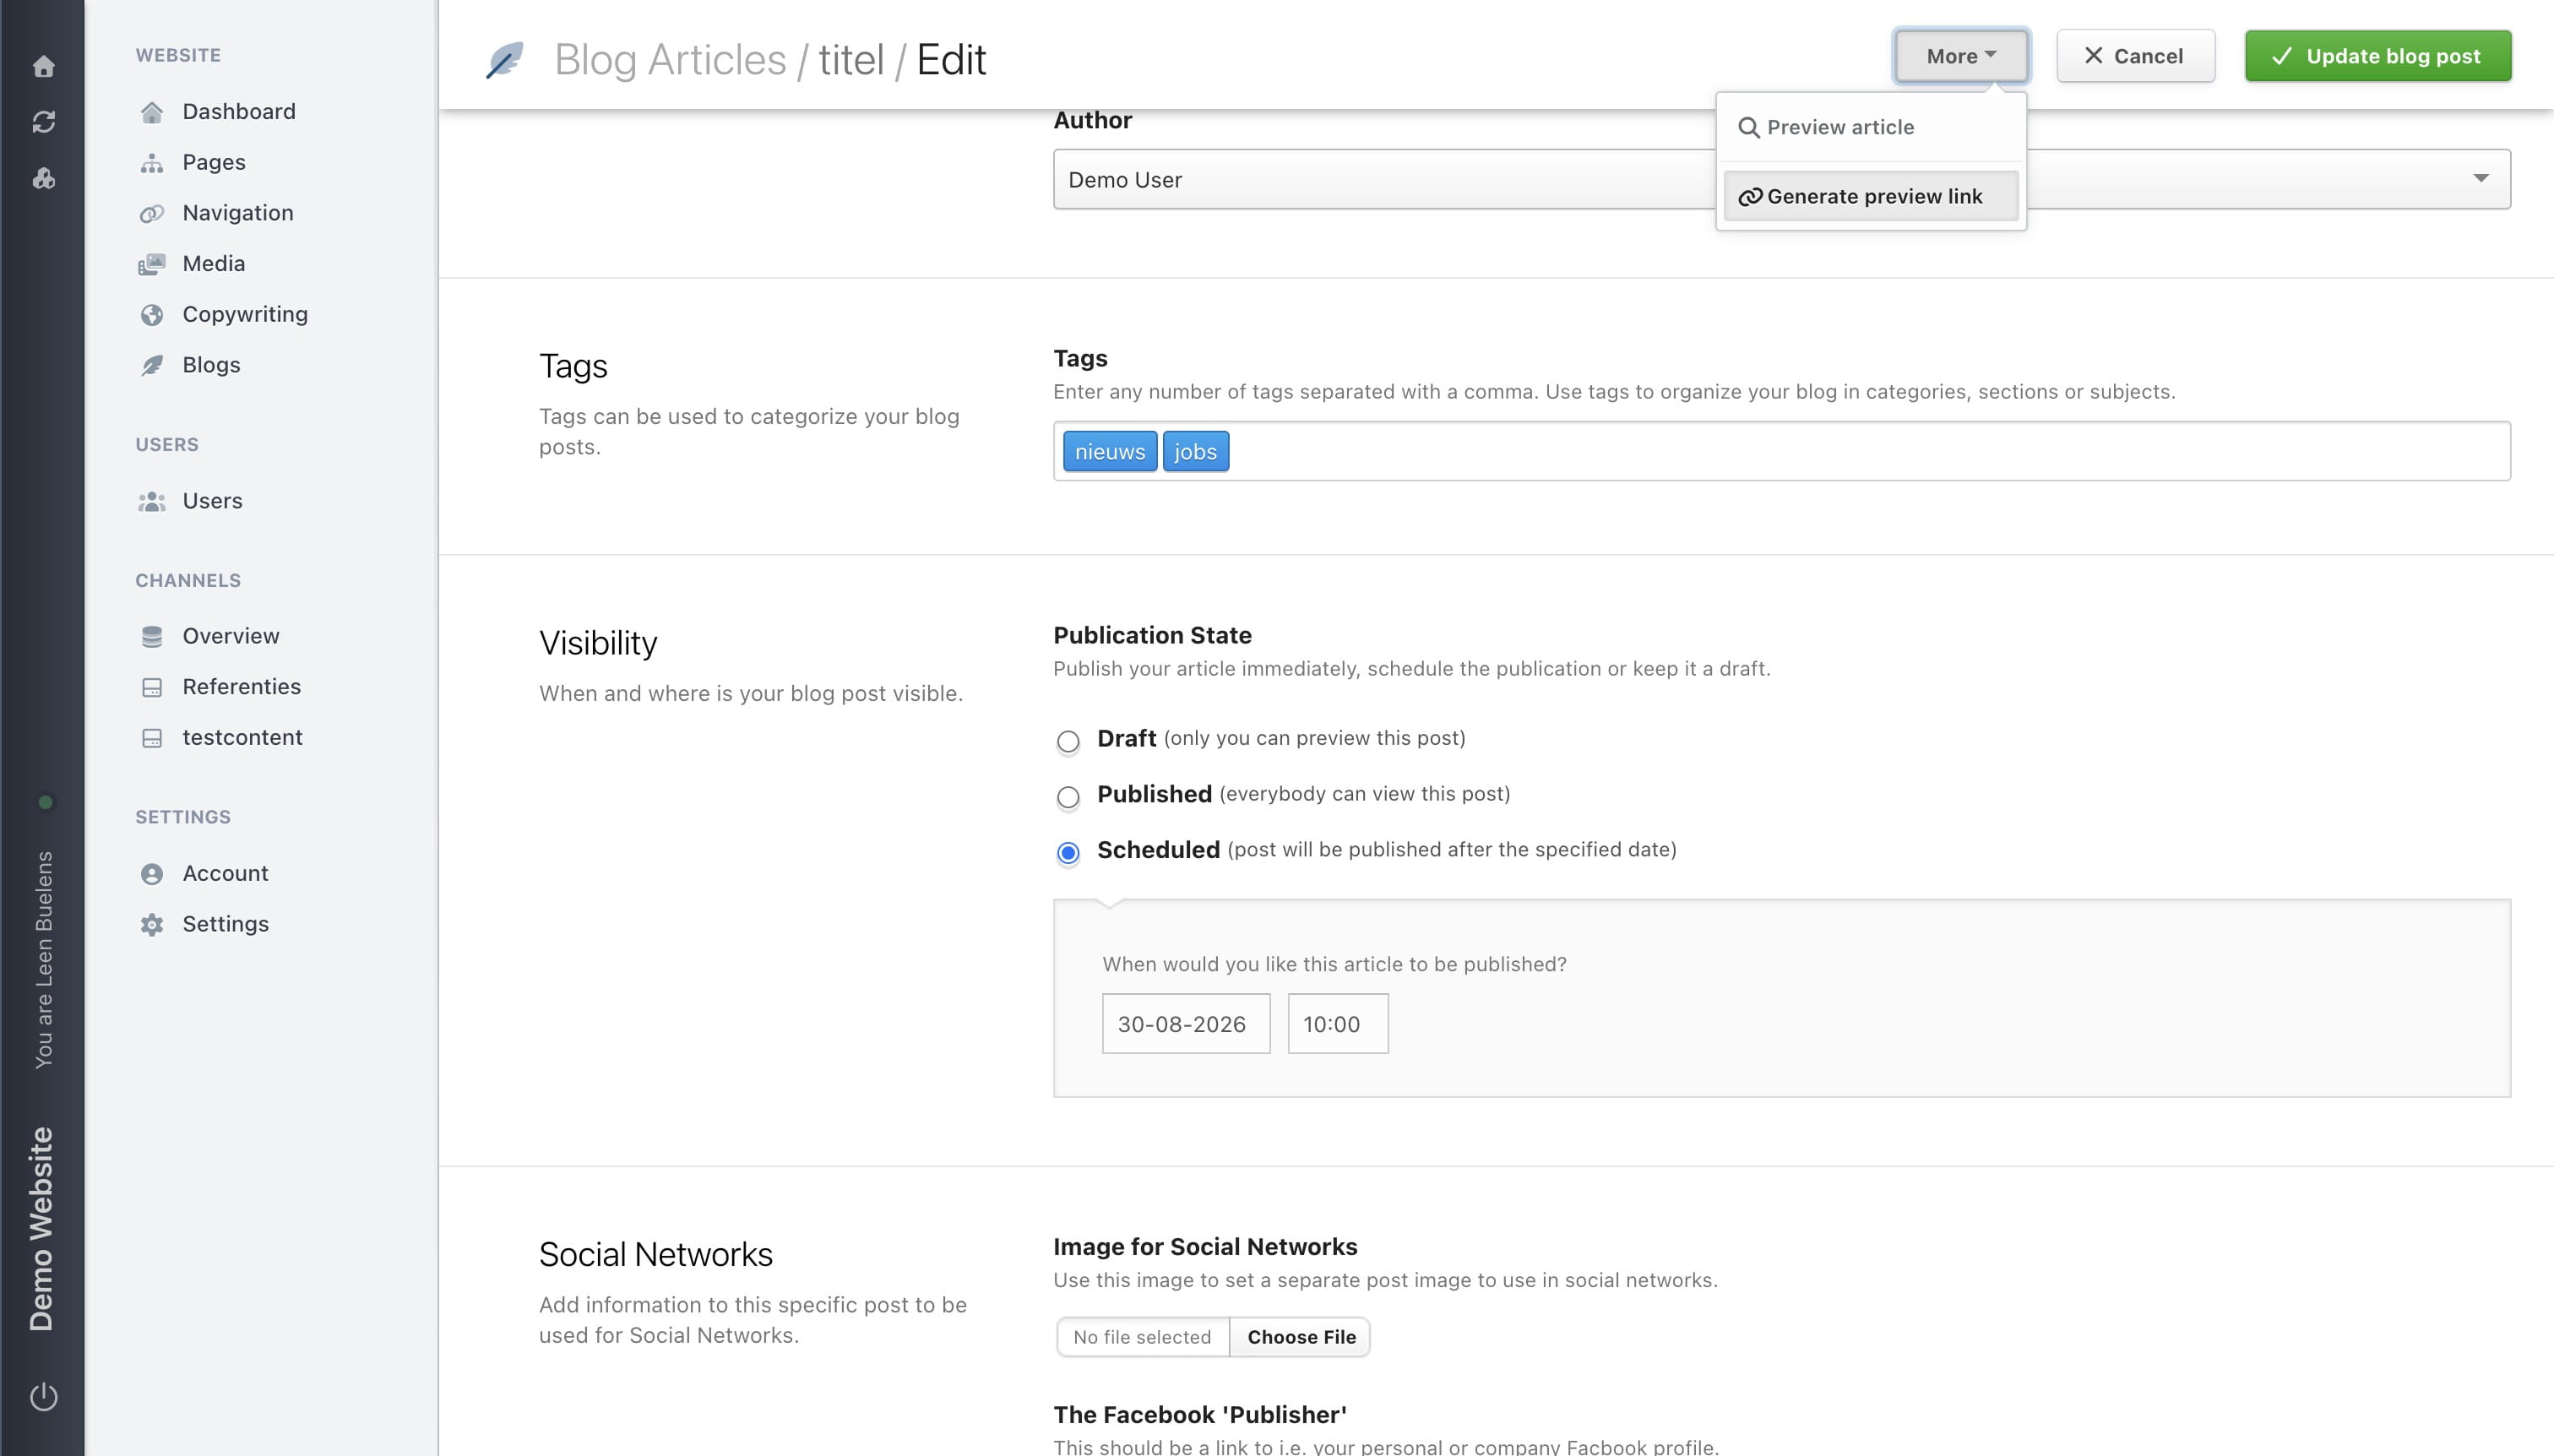
By clicking More, you can access extra features.
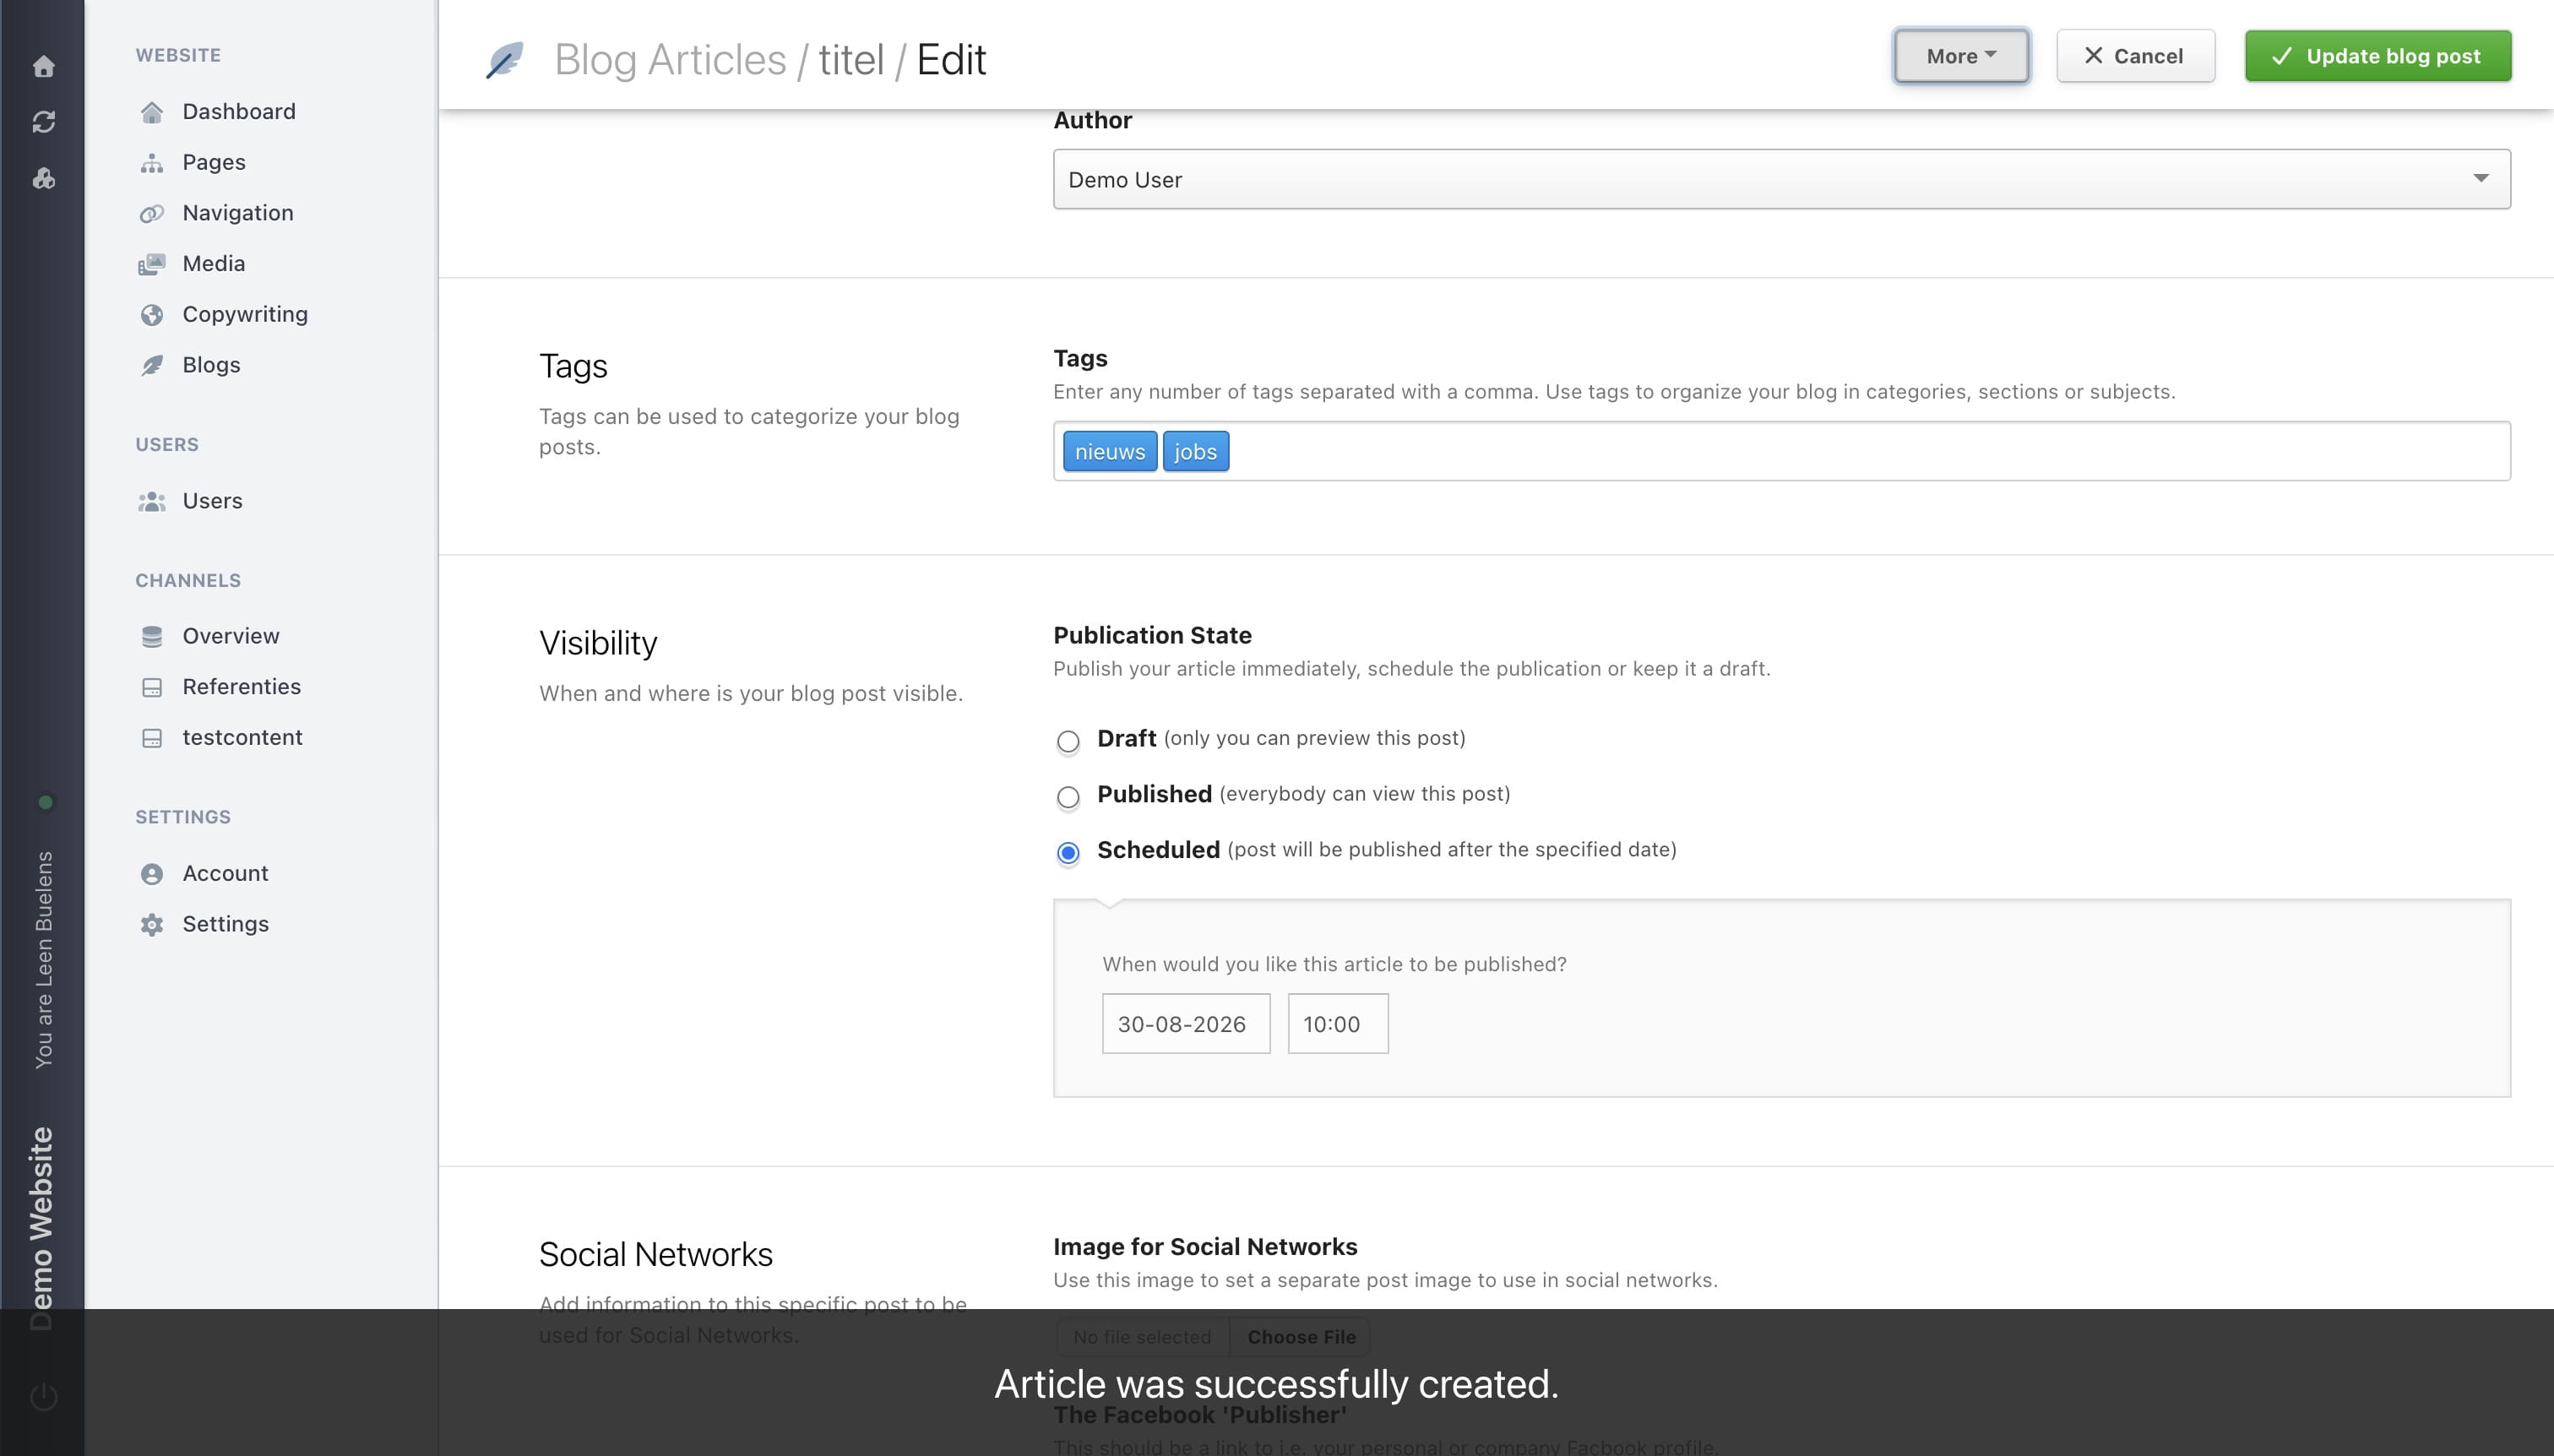
Select Generate preview article to preview what the blog post you created looks like in the website.
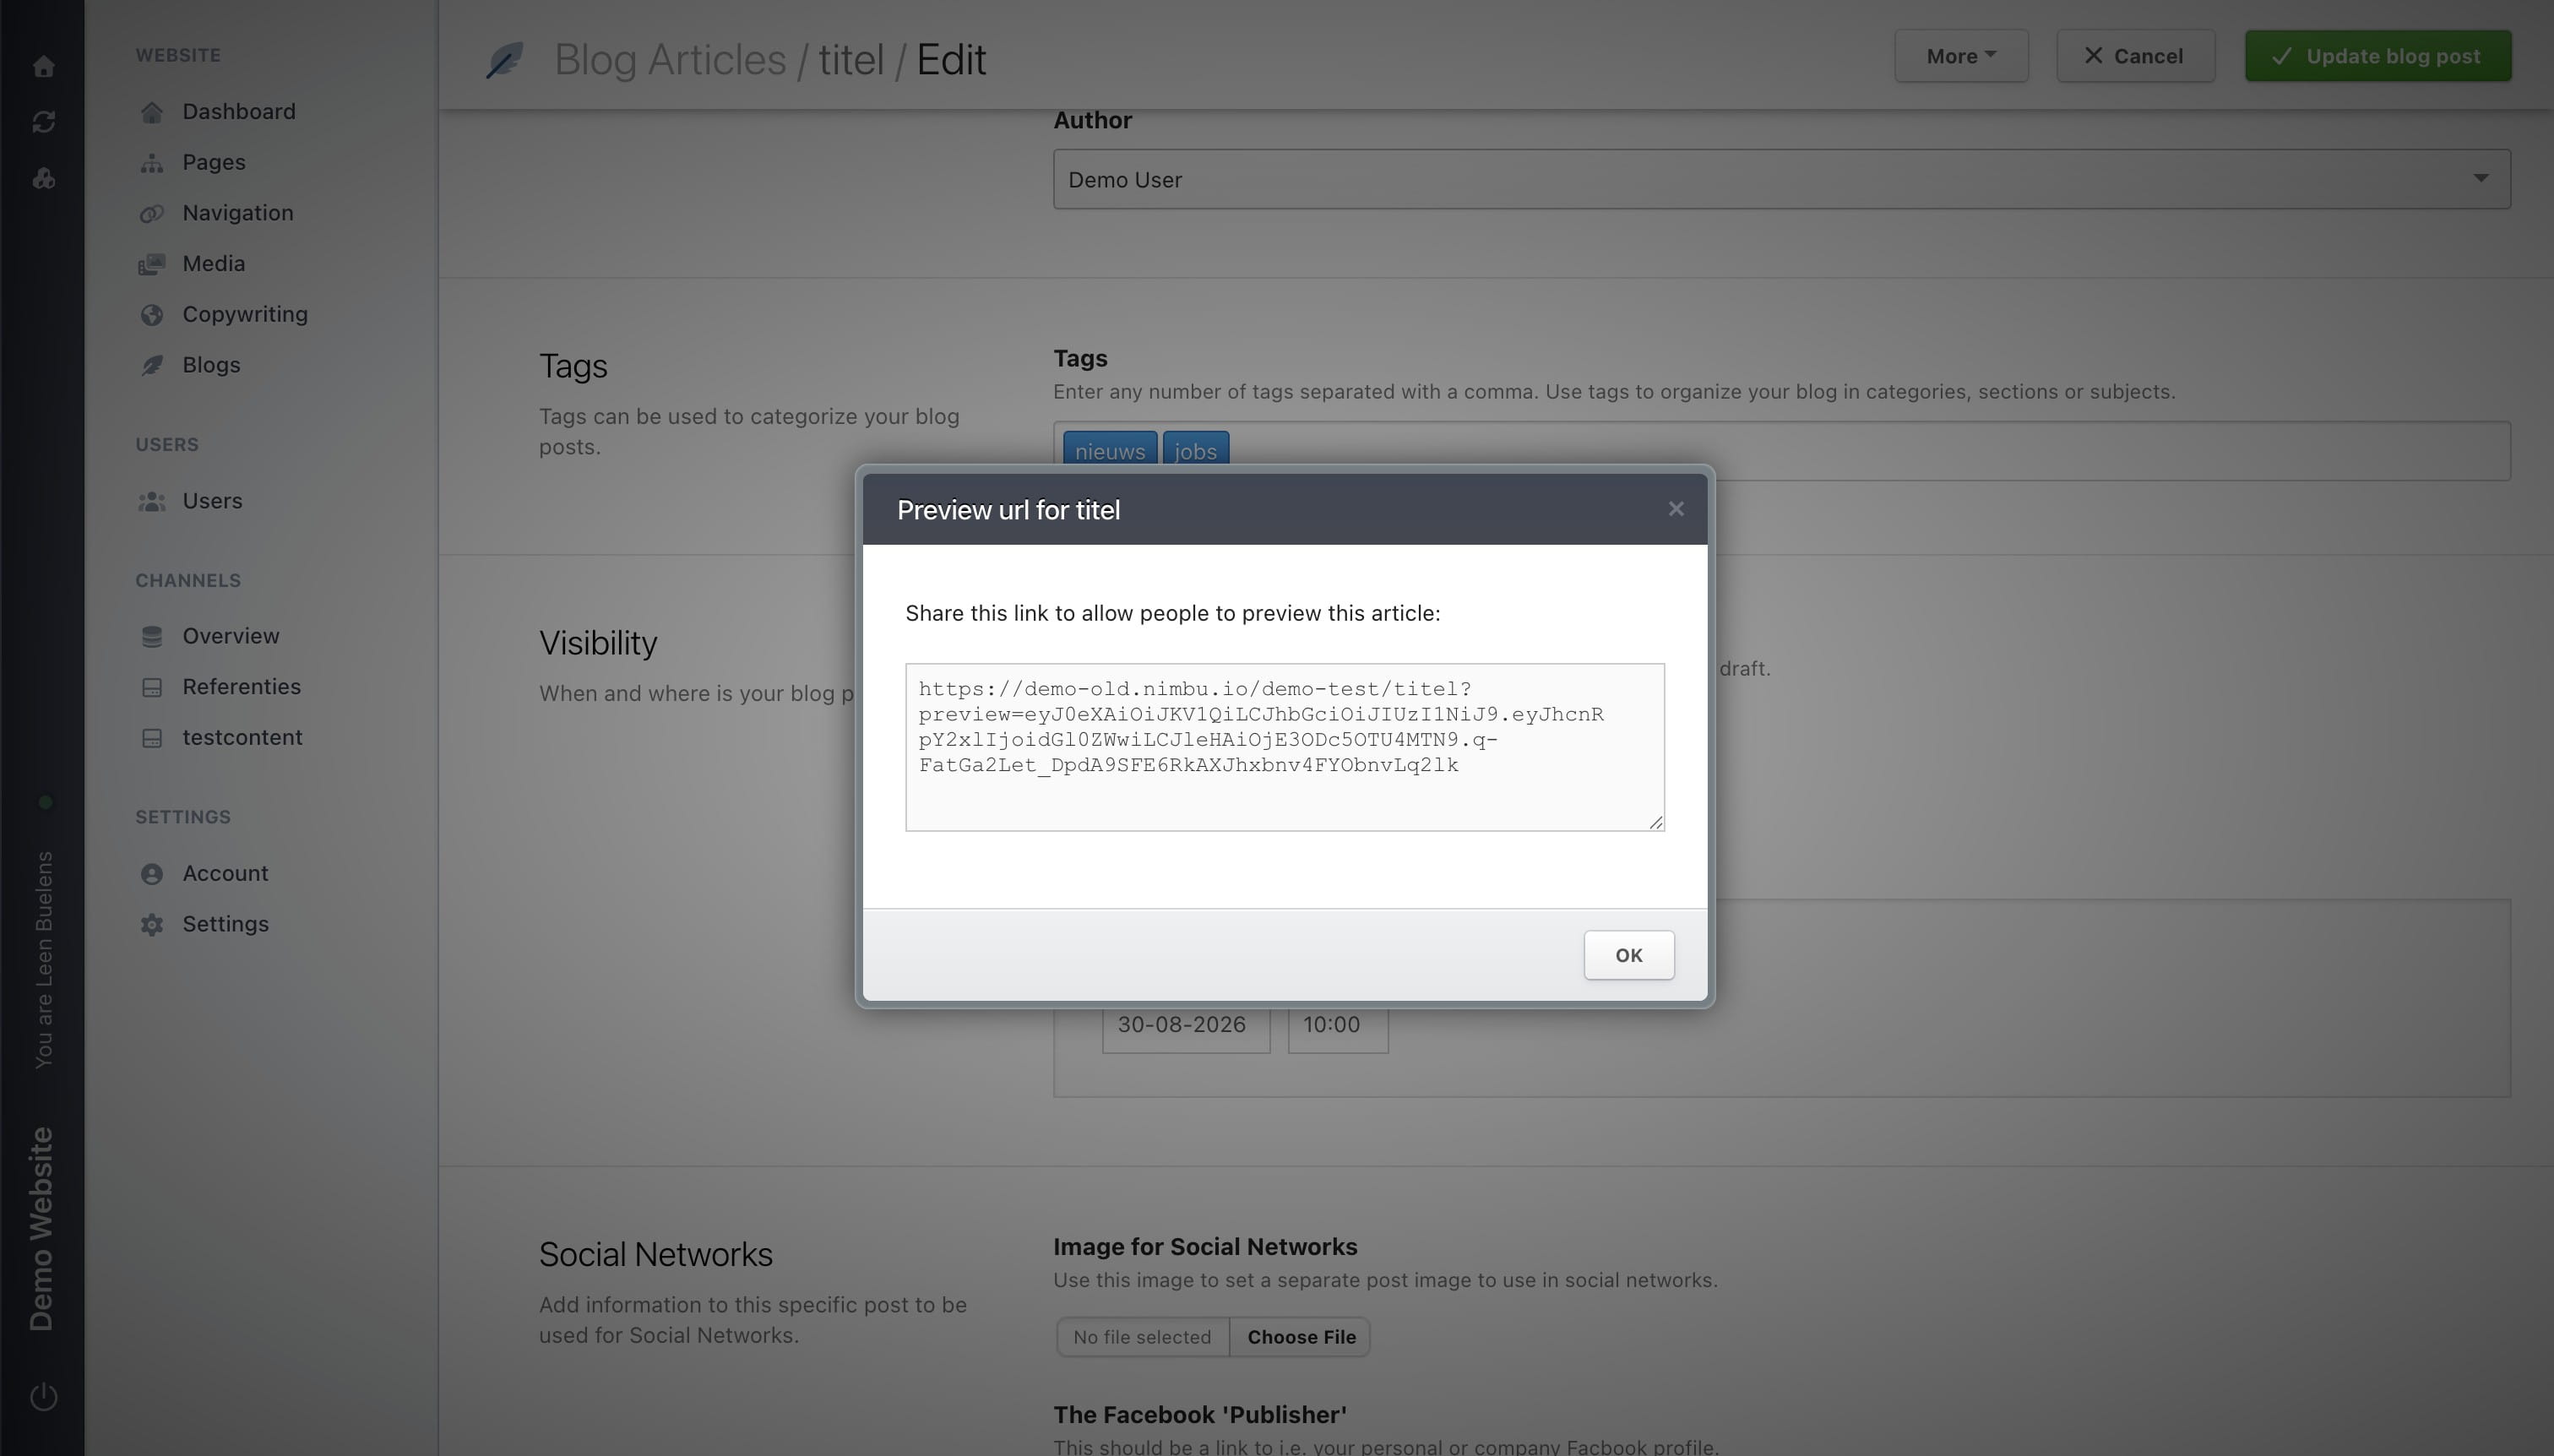
Select Generate preview link to create a unique url to send to someone to review your work.
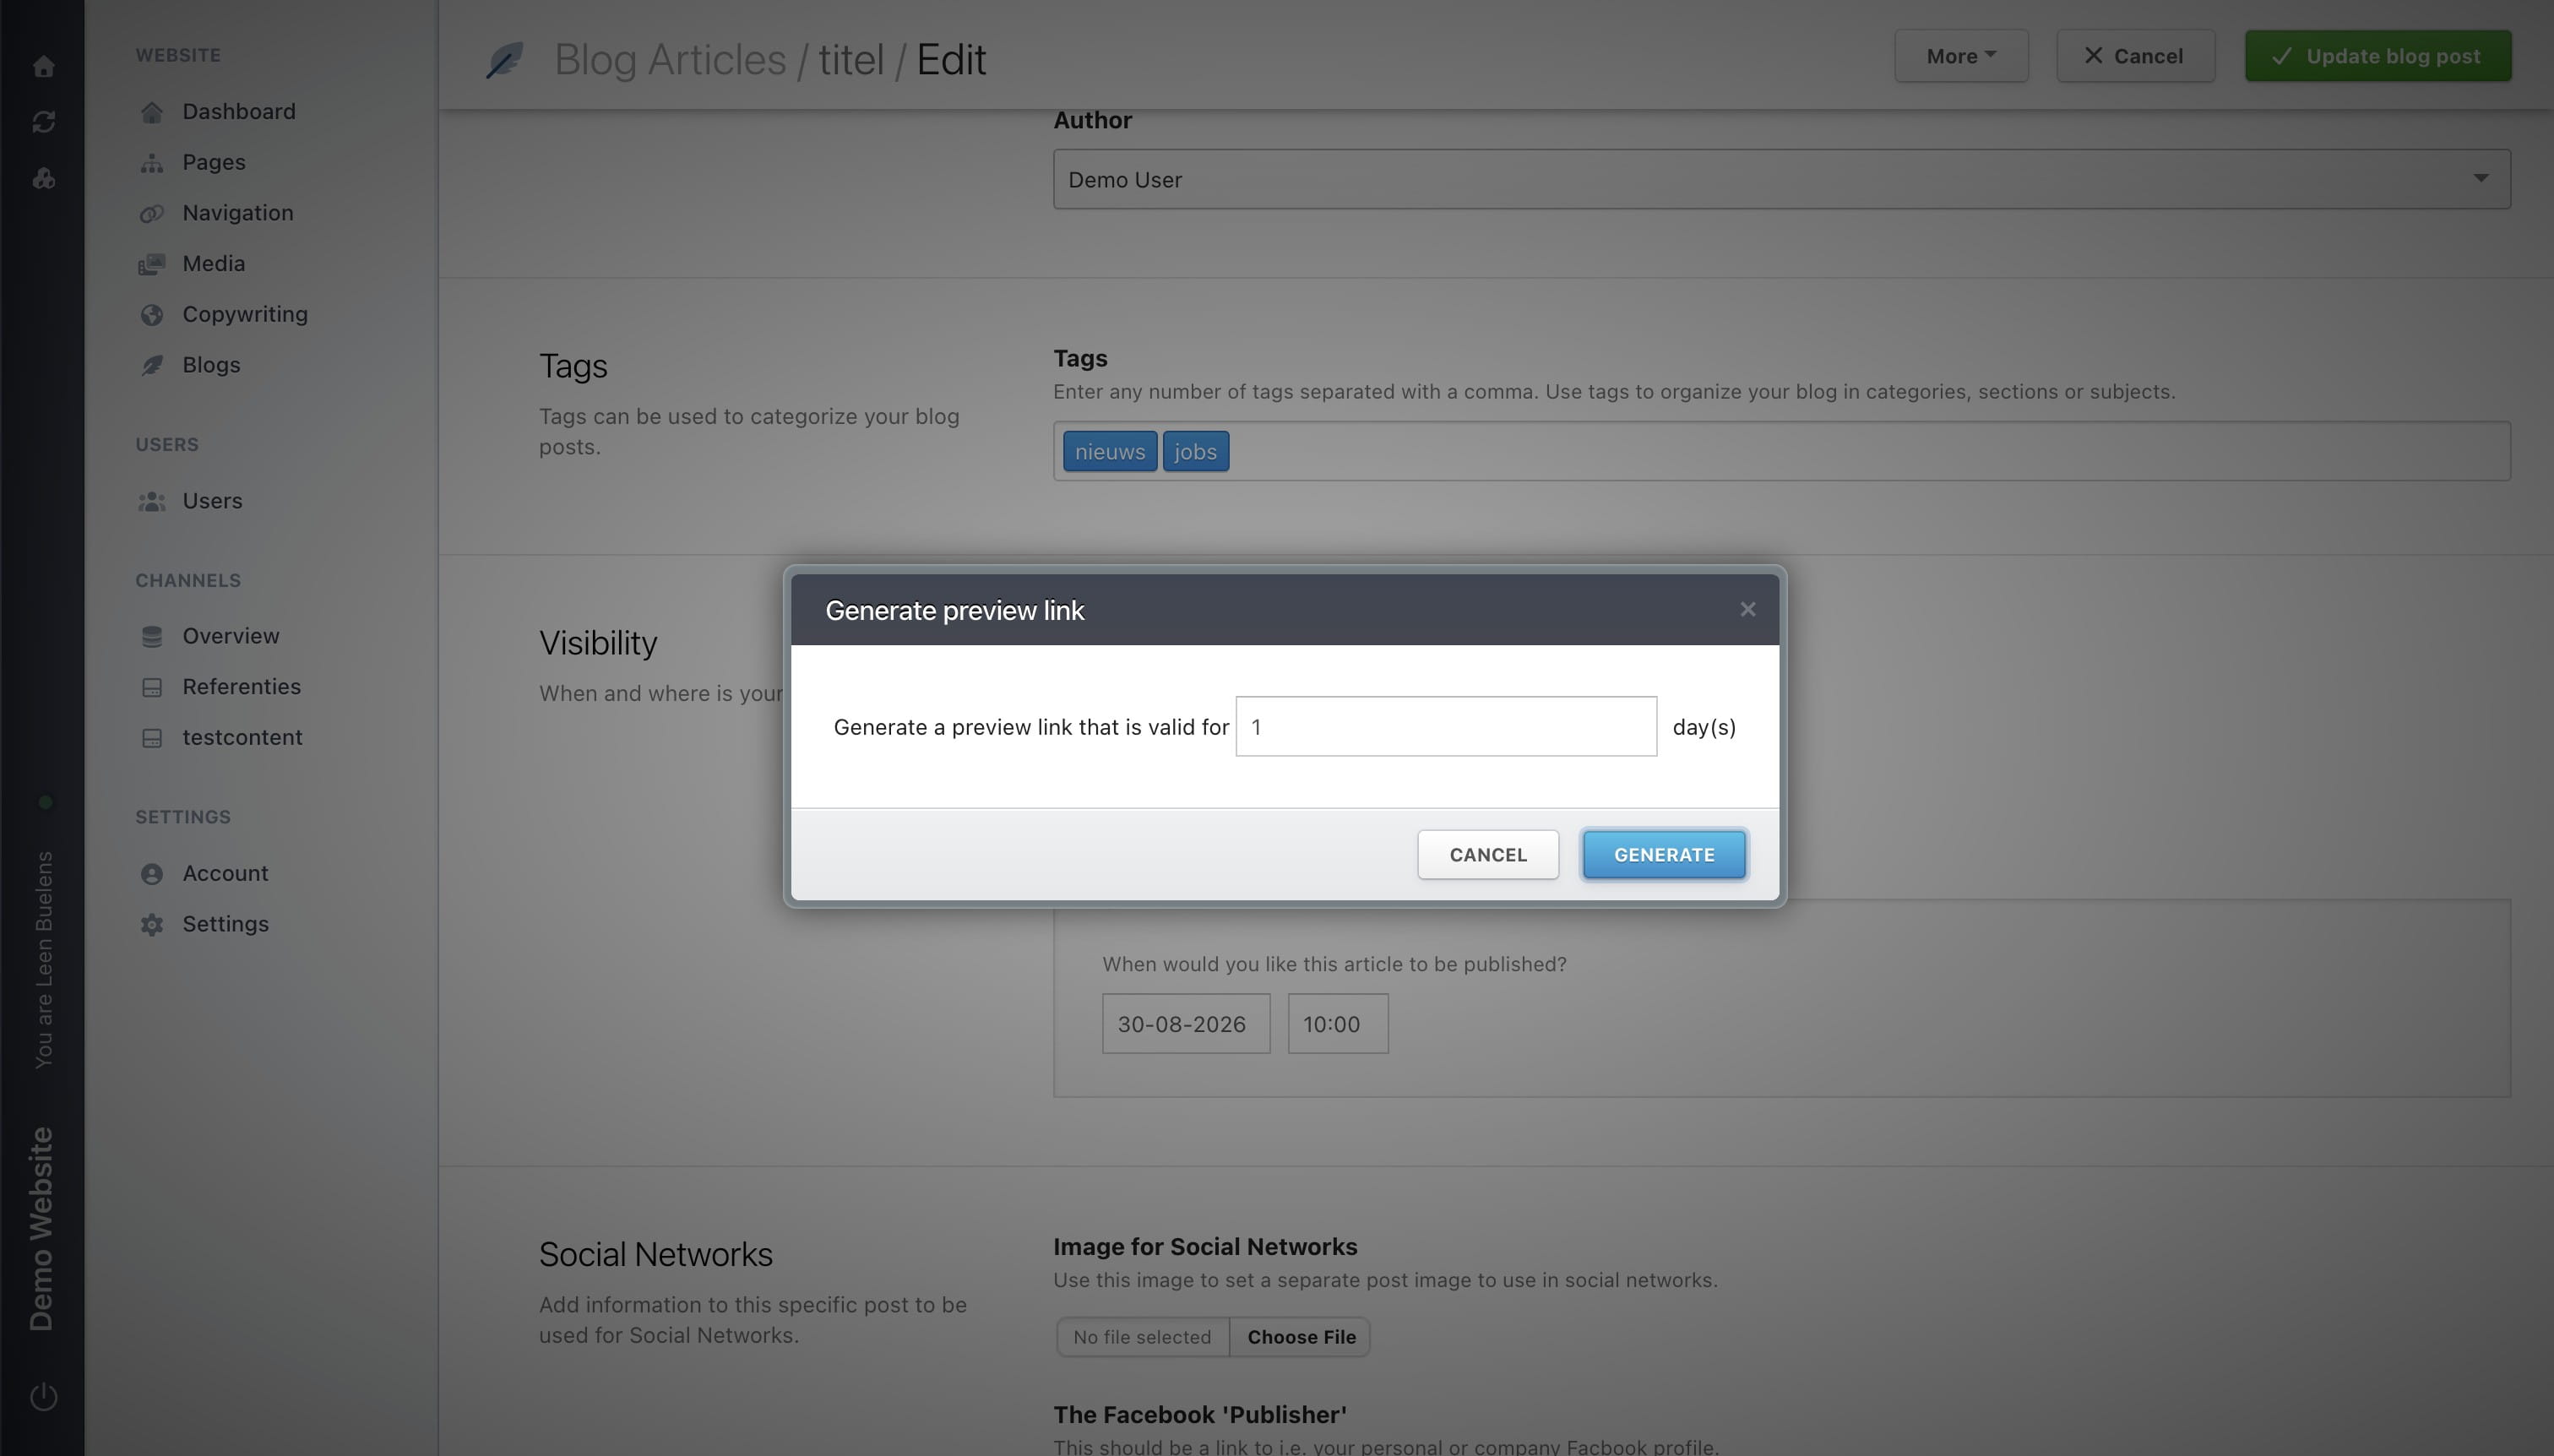
You can indicate how long the link is valid.
You can then copy the link and share it with others.
Done 🚀