Channel import
Make an import for a channel with a .xlsx or .csv file.
Navigate to https://[YOUR DOMAIN].nimbu.io/admin
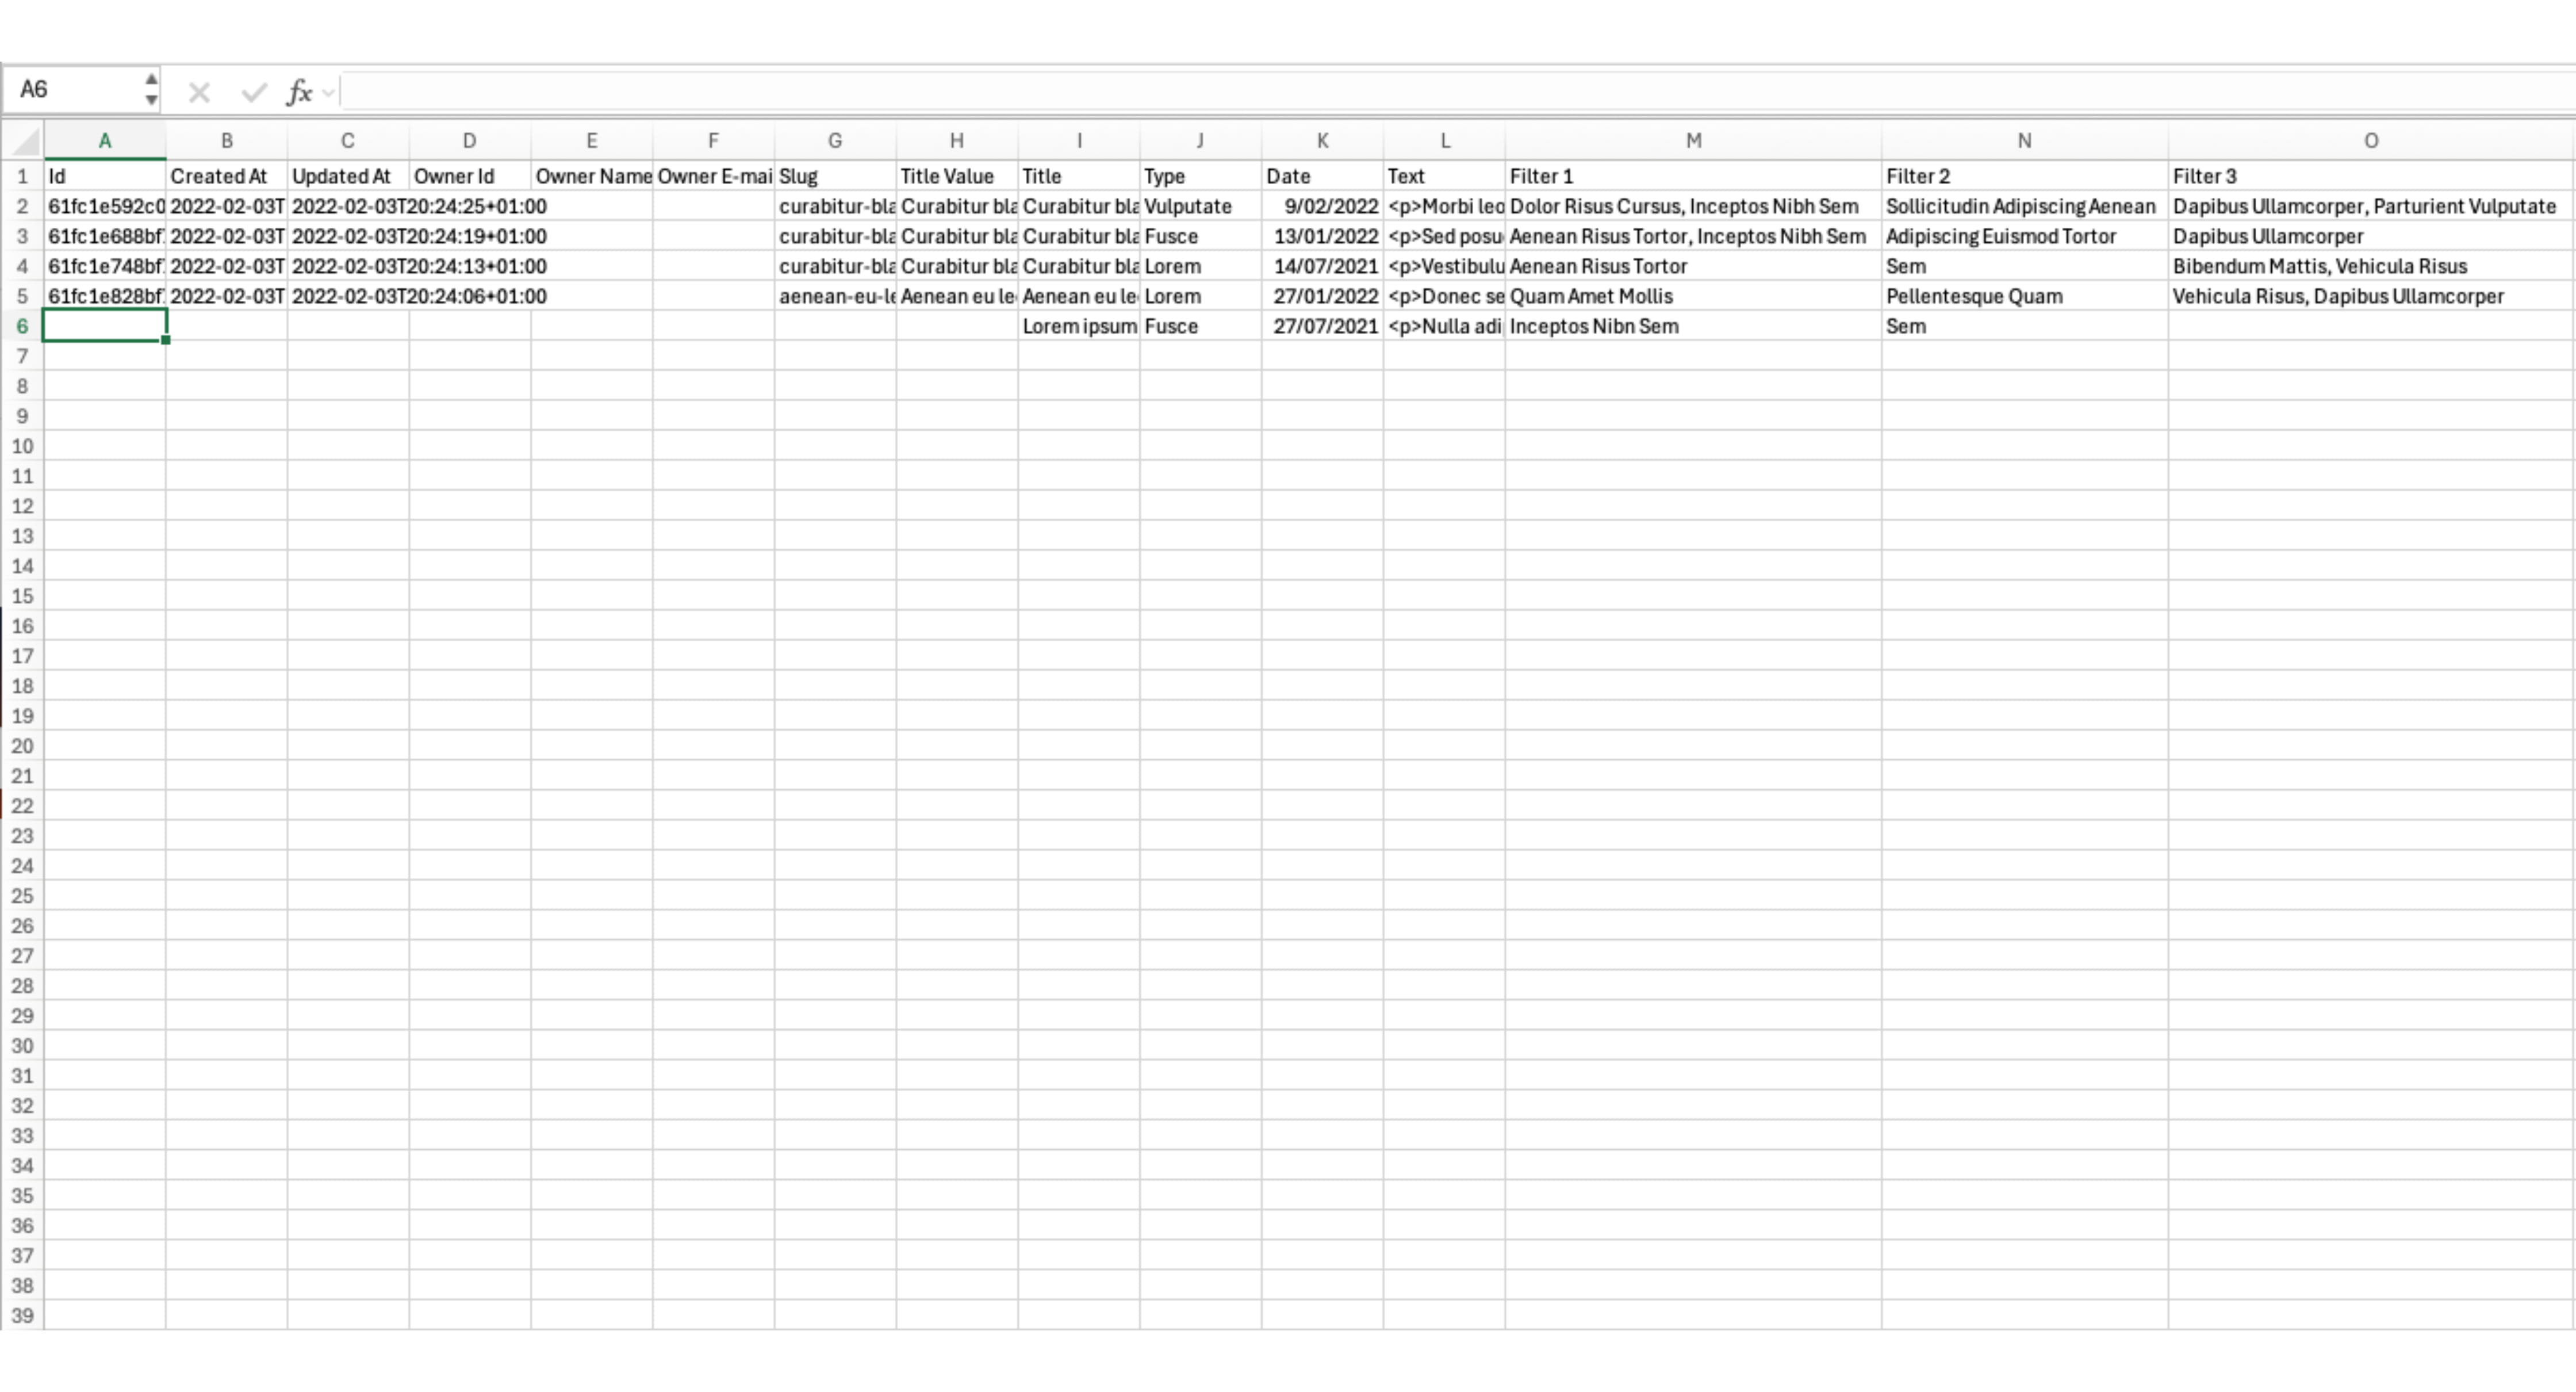
Update the export of your channel or use a custom file. In this example, we use an updated version of a previous export. Line 5 contains some changes, and line 6 is newly added. As shown, not all fields need to be filled in. The first eight fields (A through G) are set by Nimbu and, in most cases, do not need to be filled in.
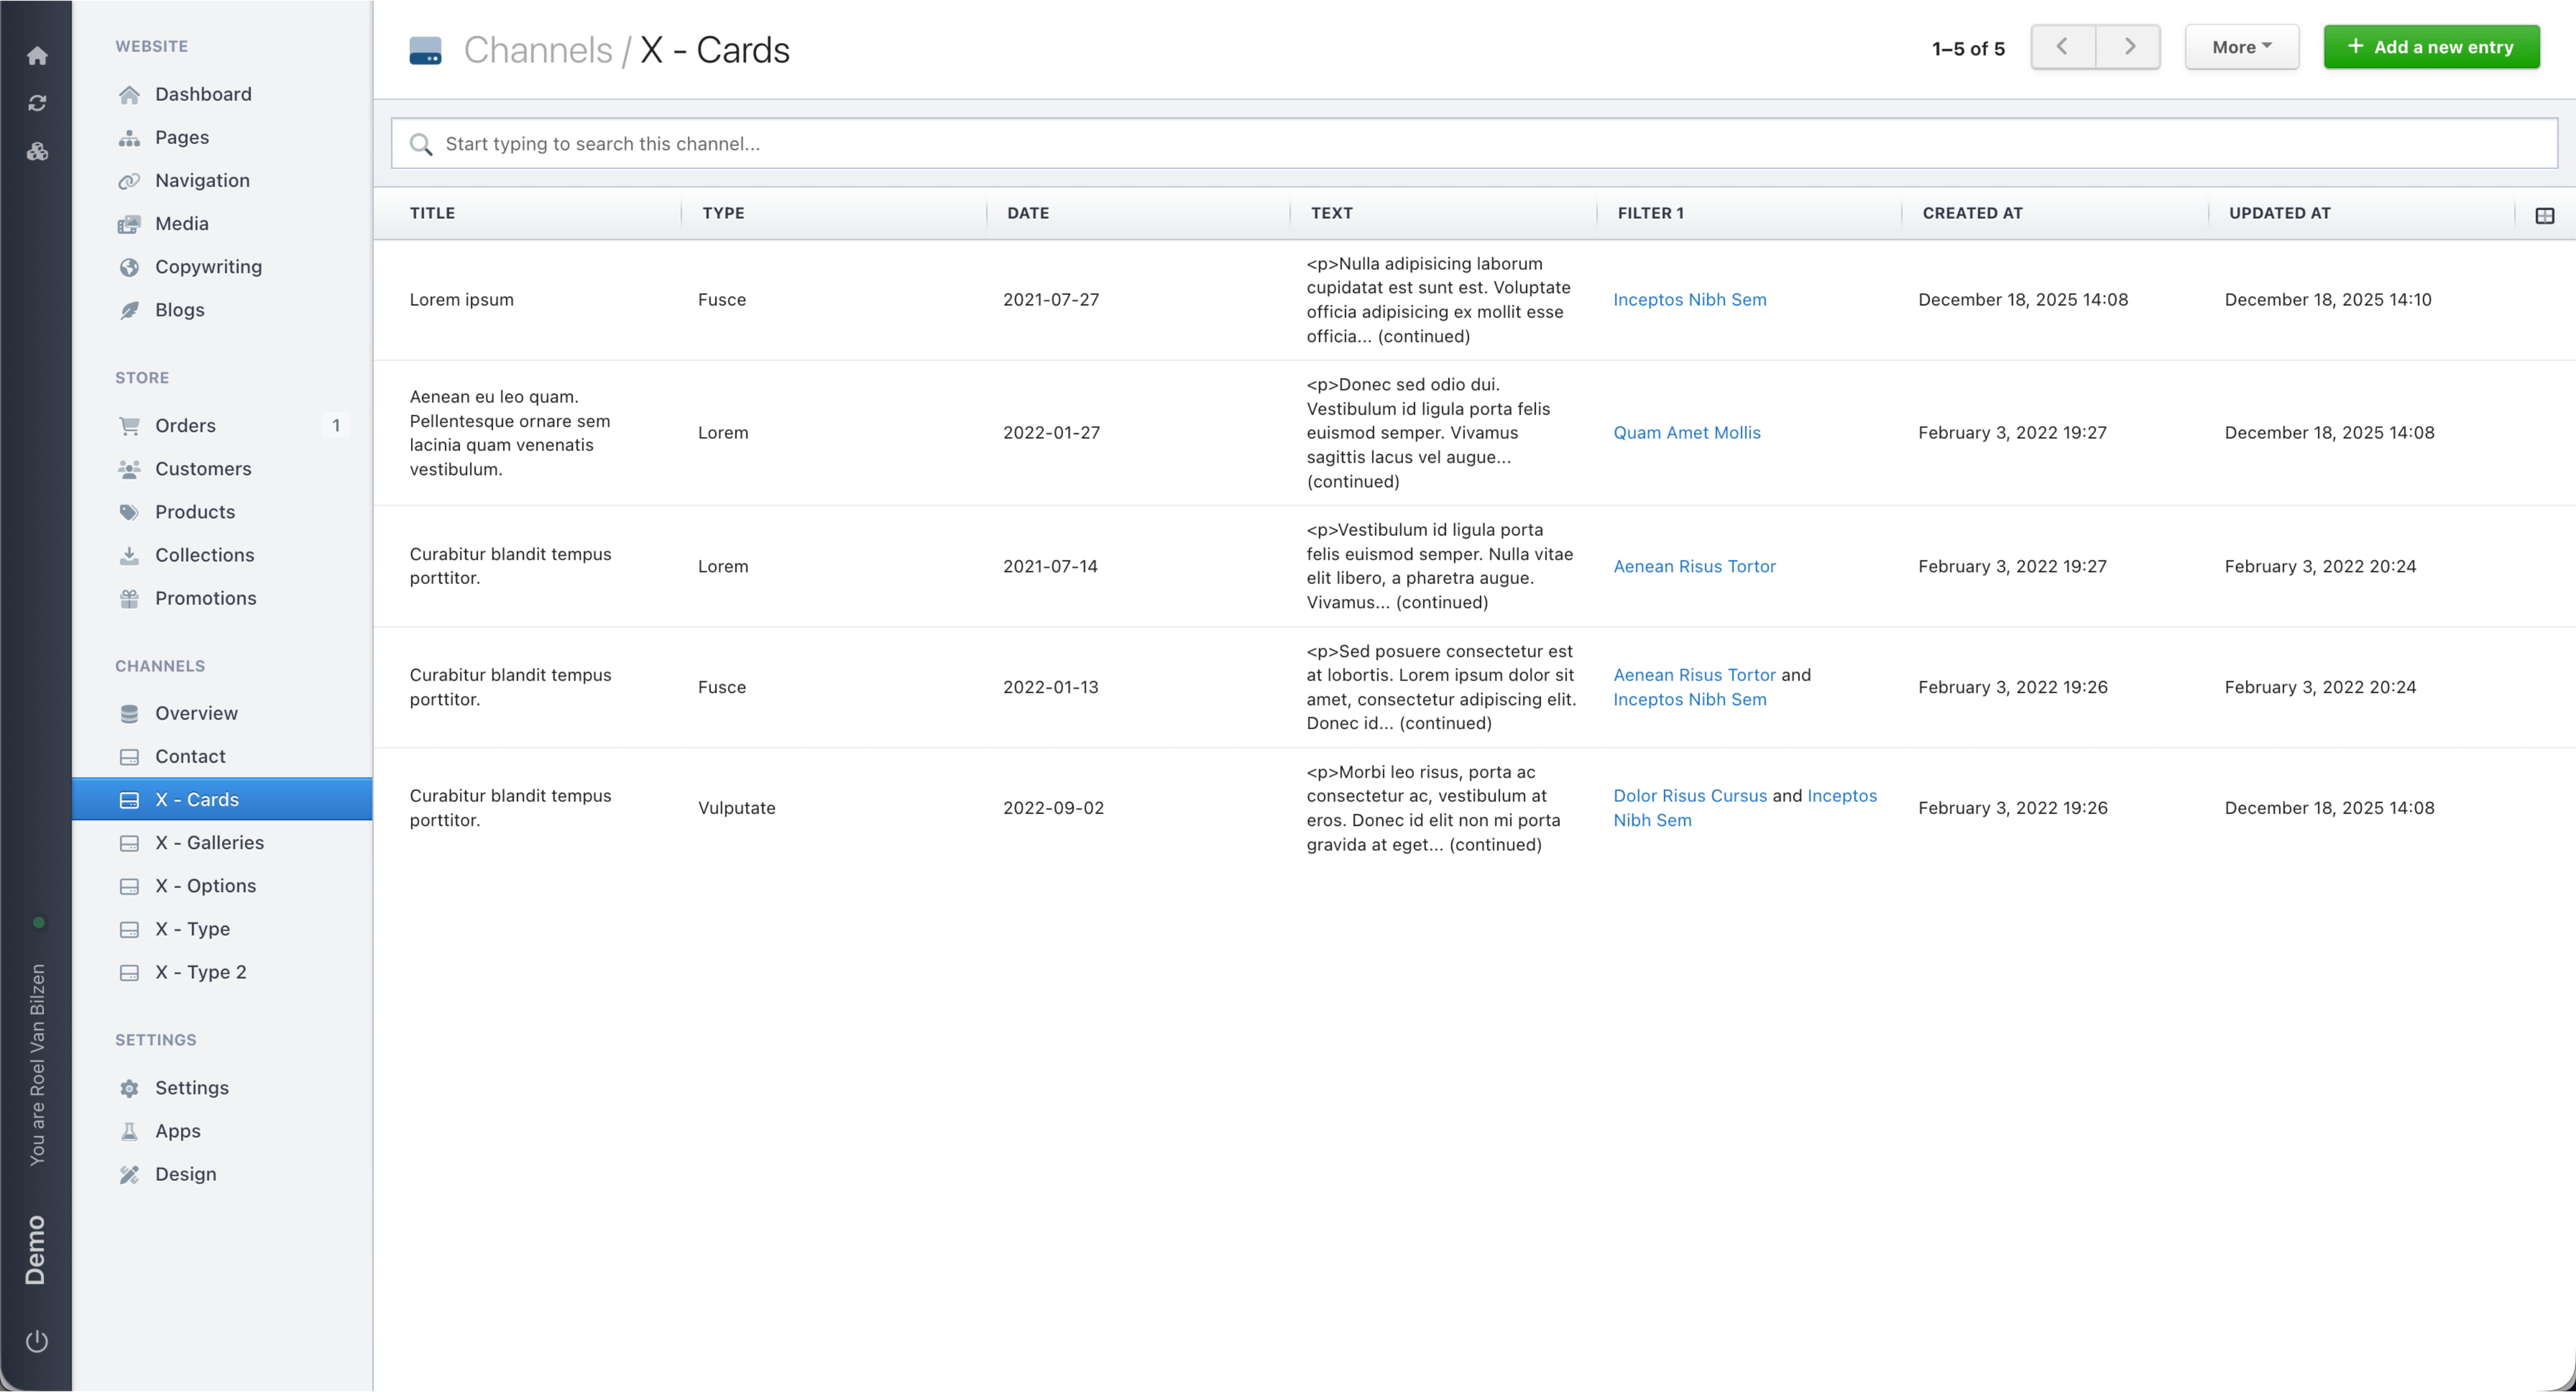
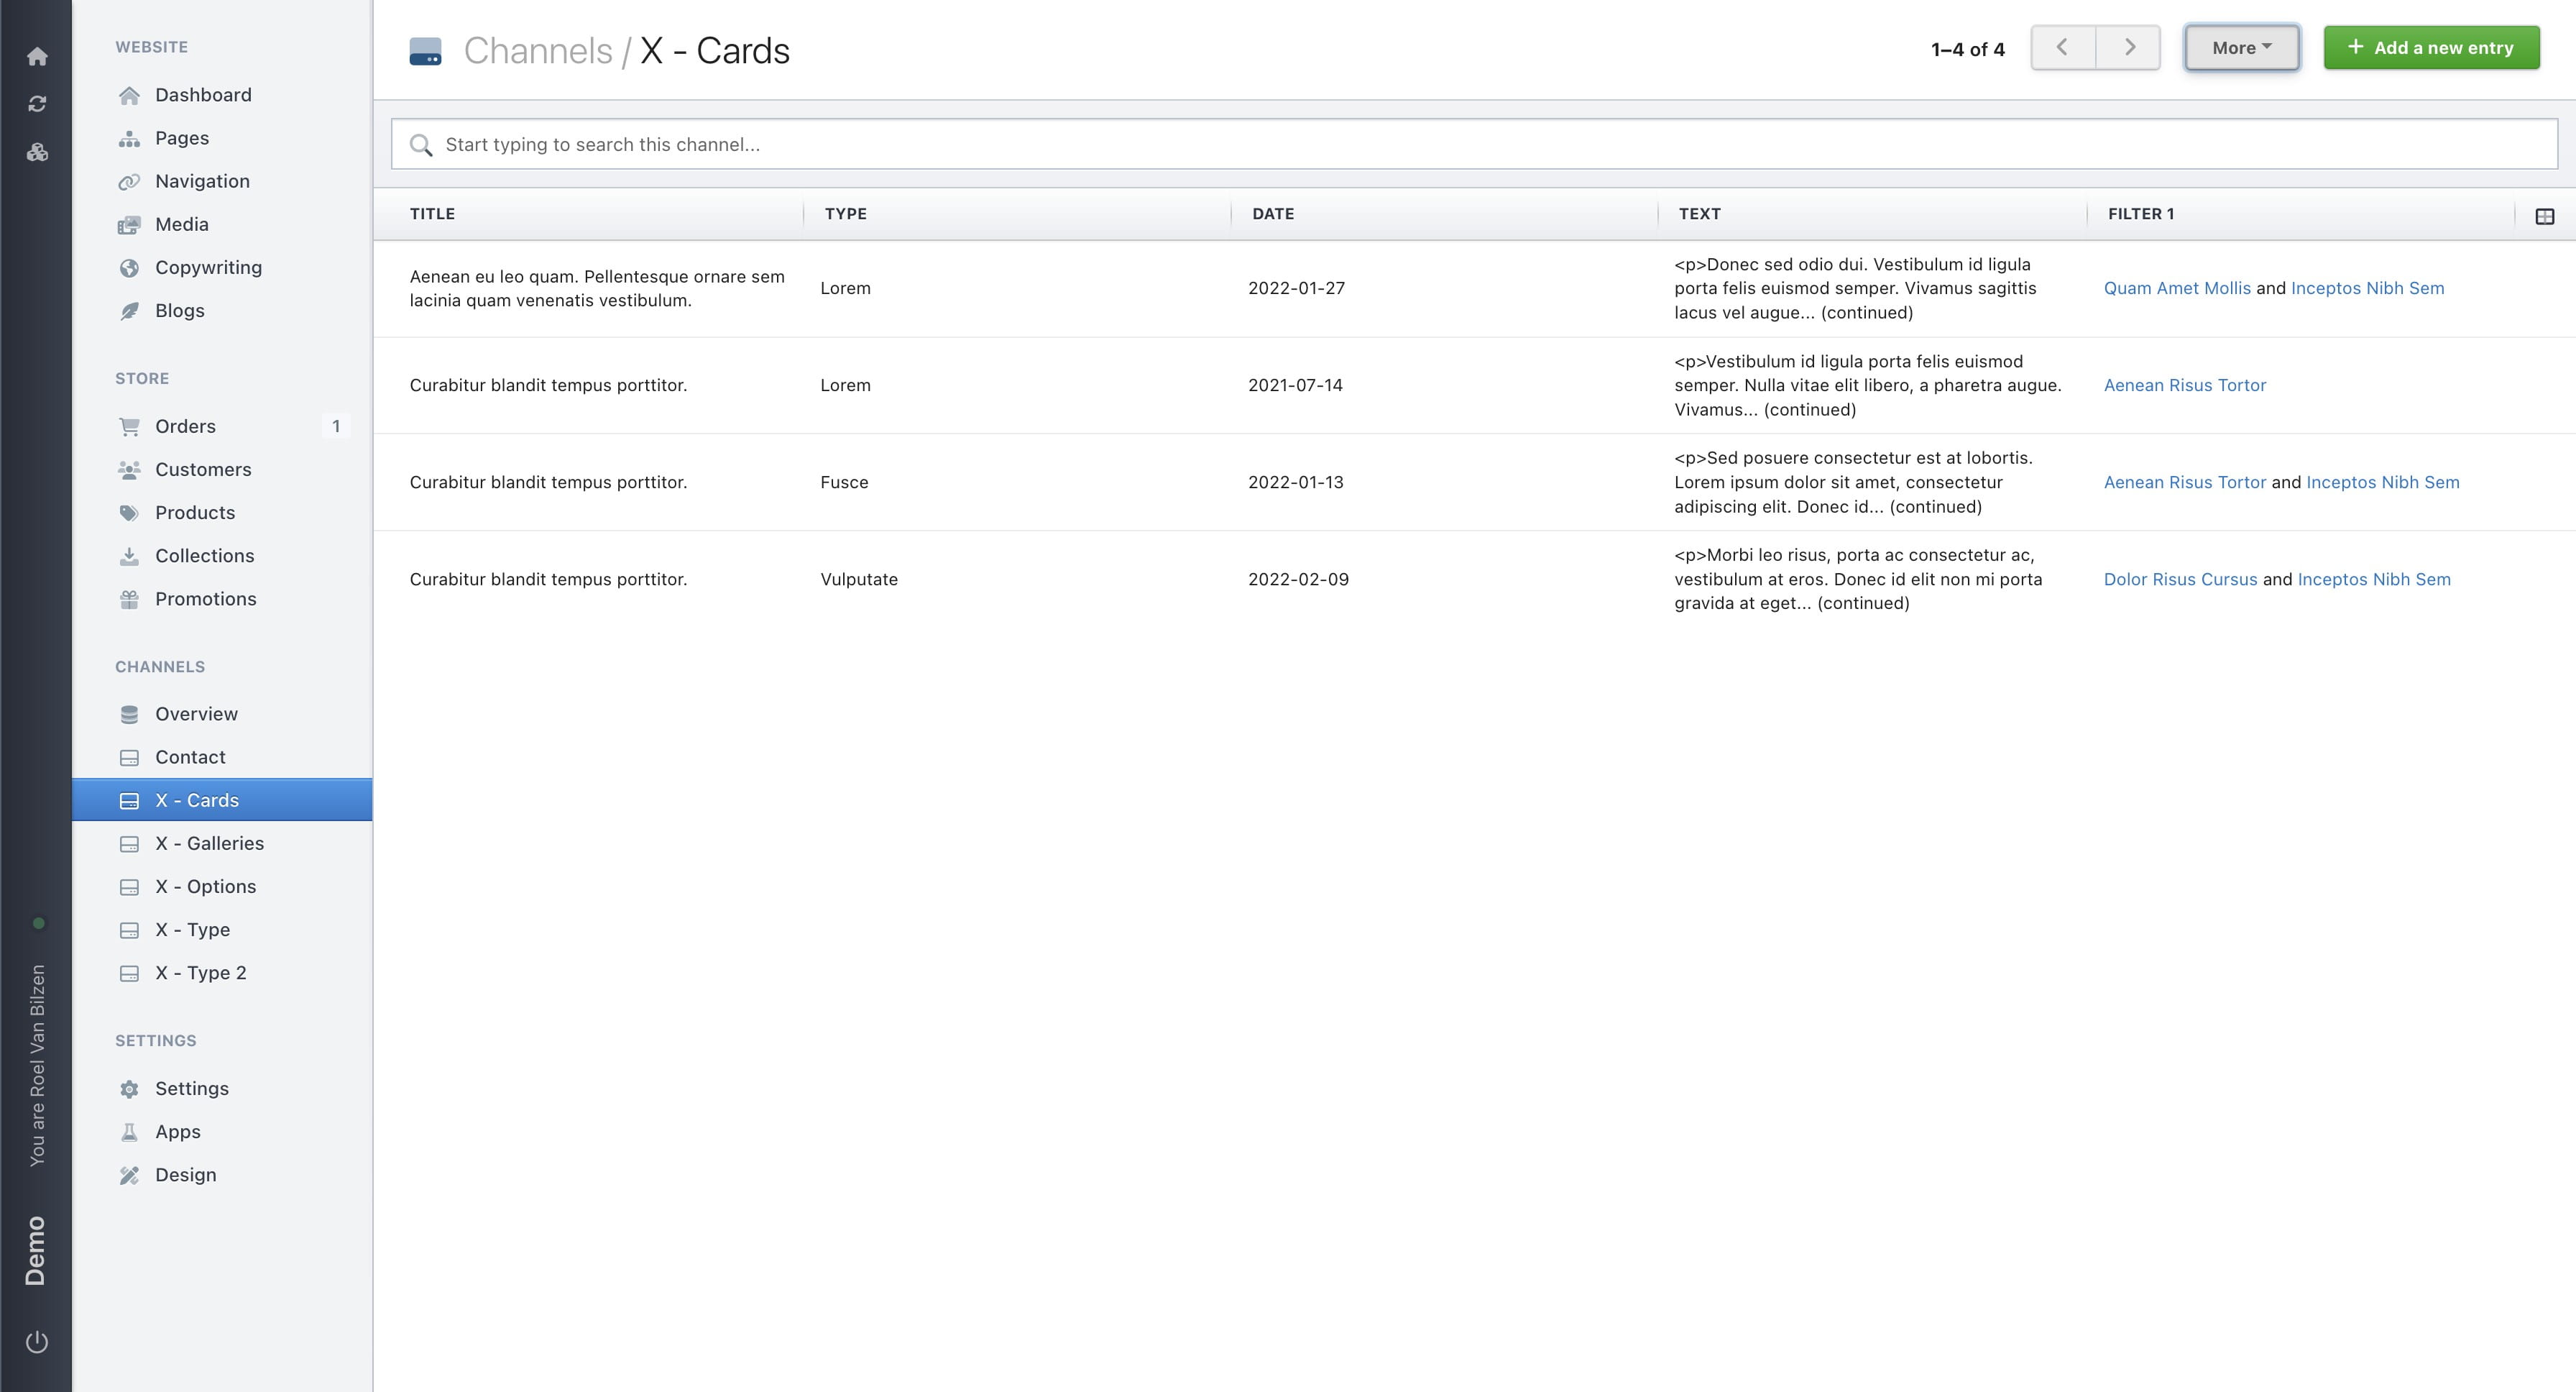
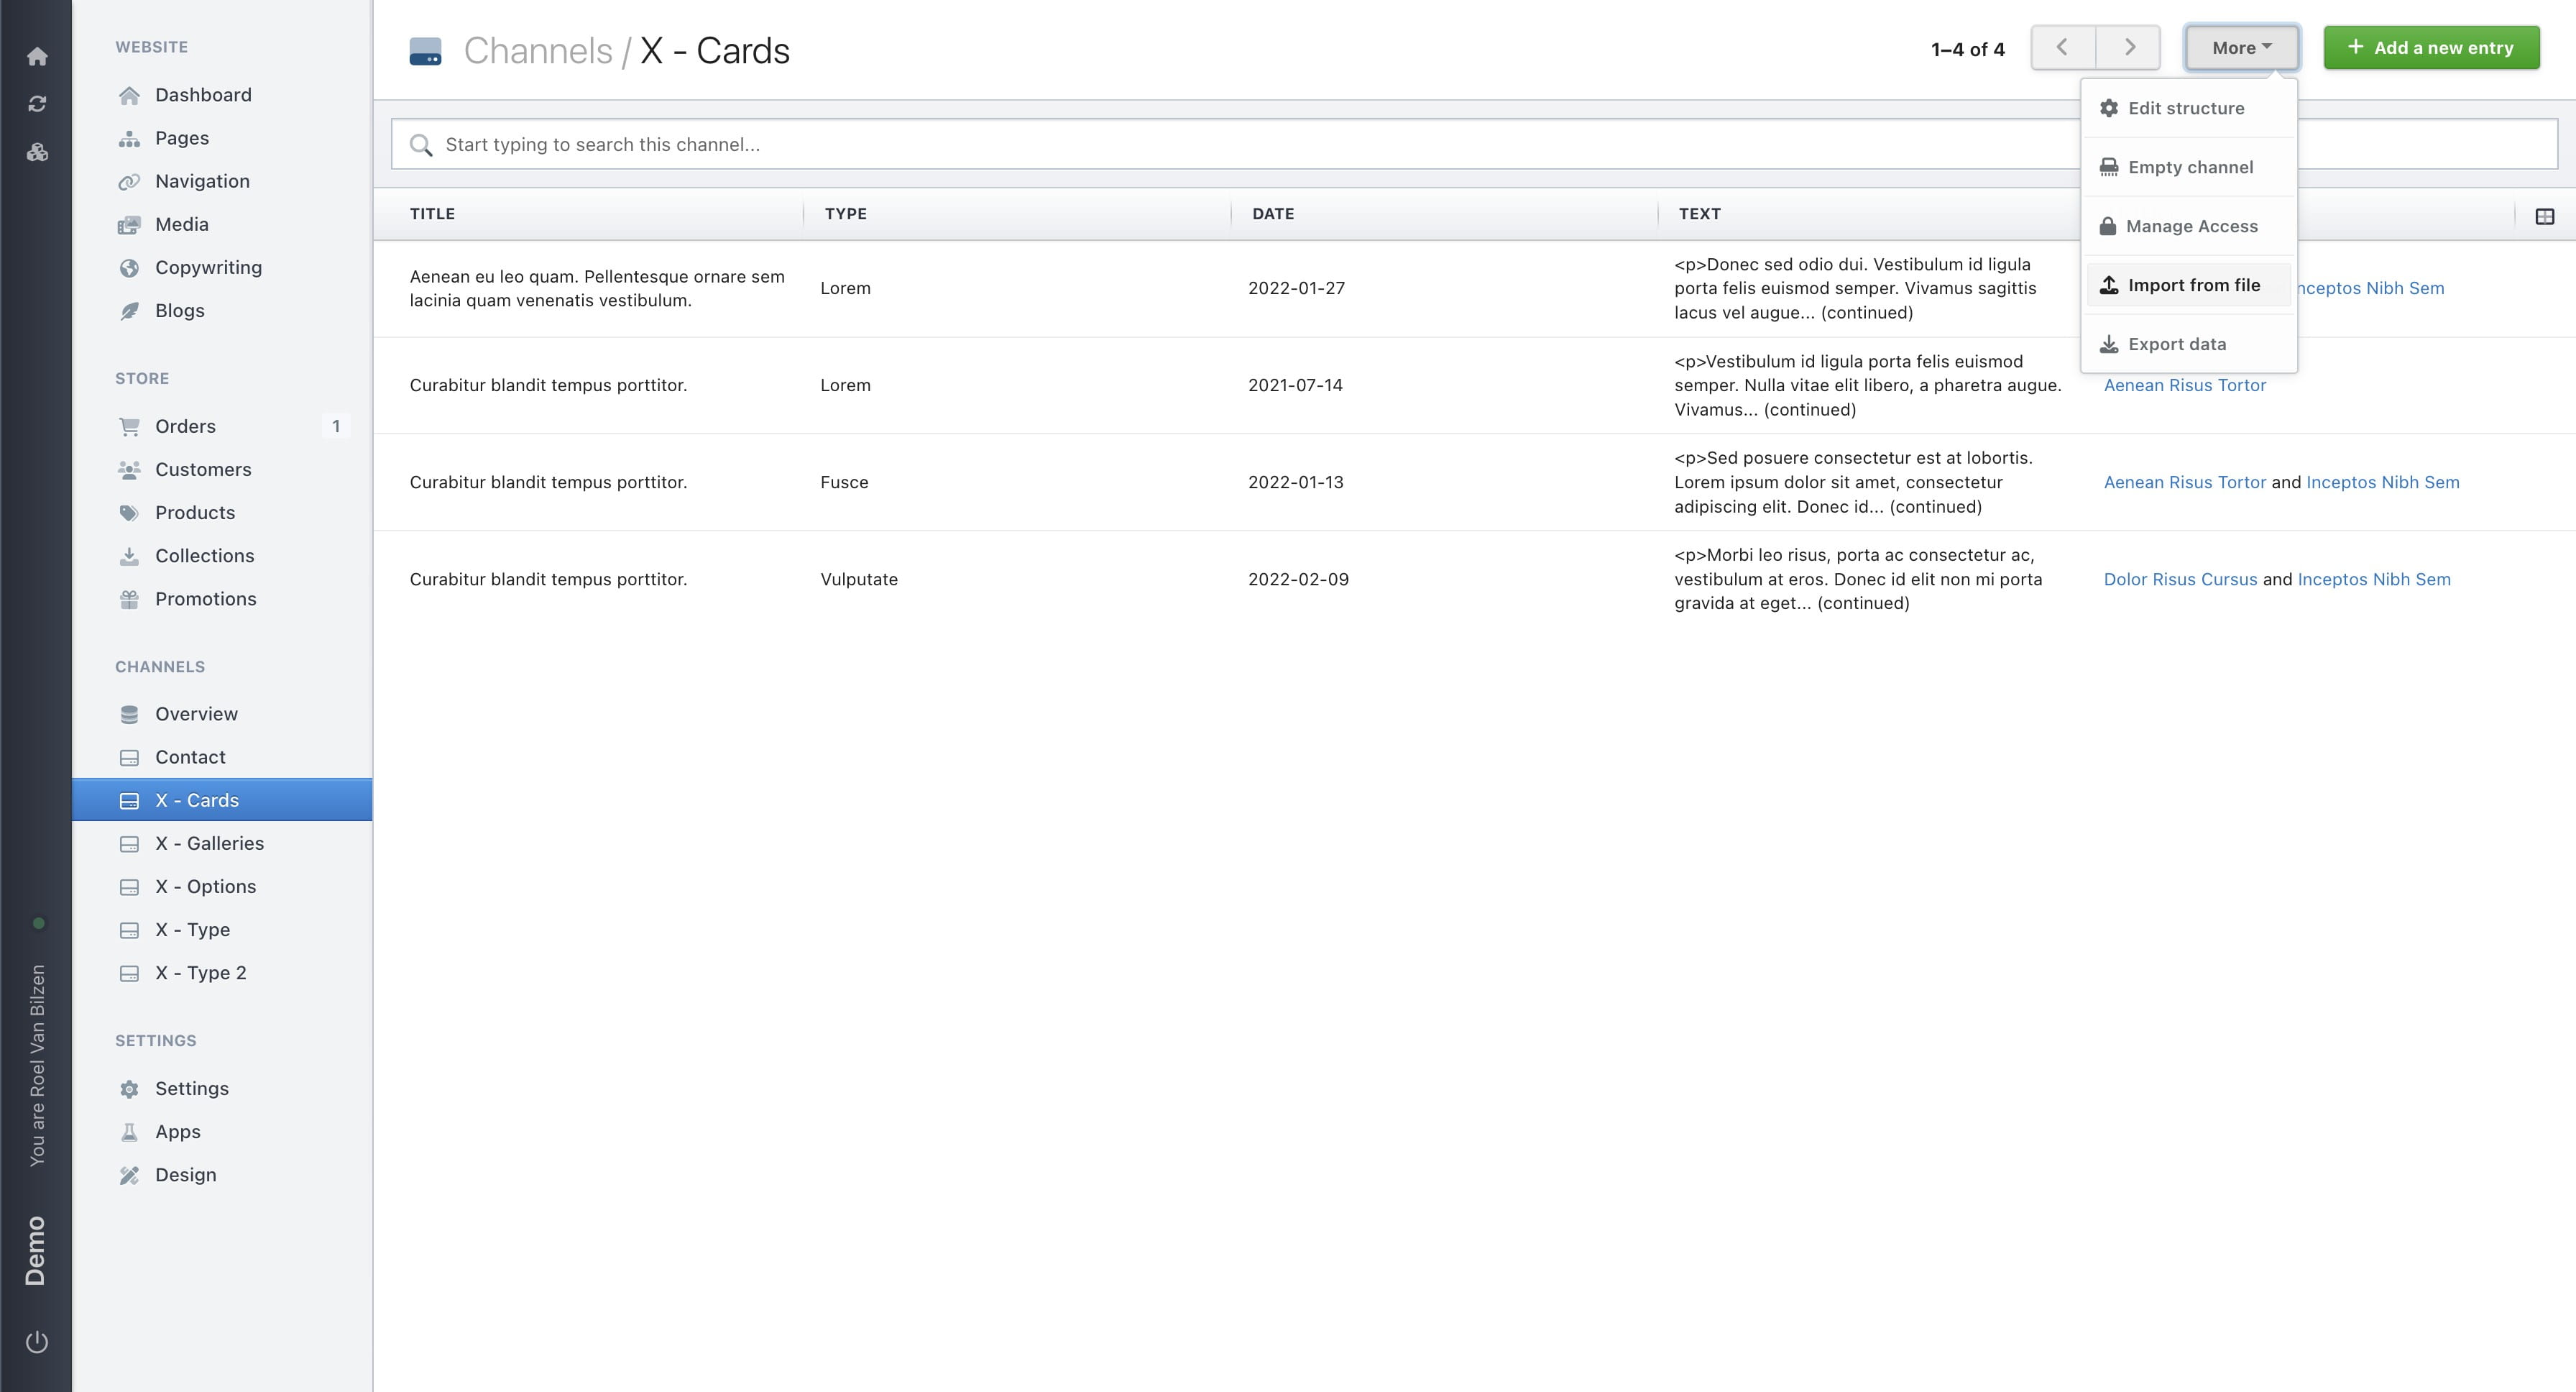
Click on the channel where you want to import new or updated data.
Click on "More"
Click on "Import from file"
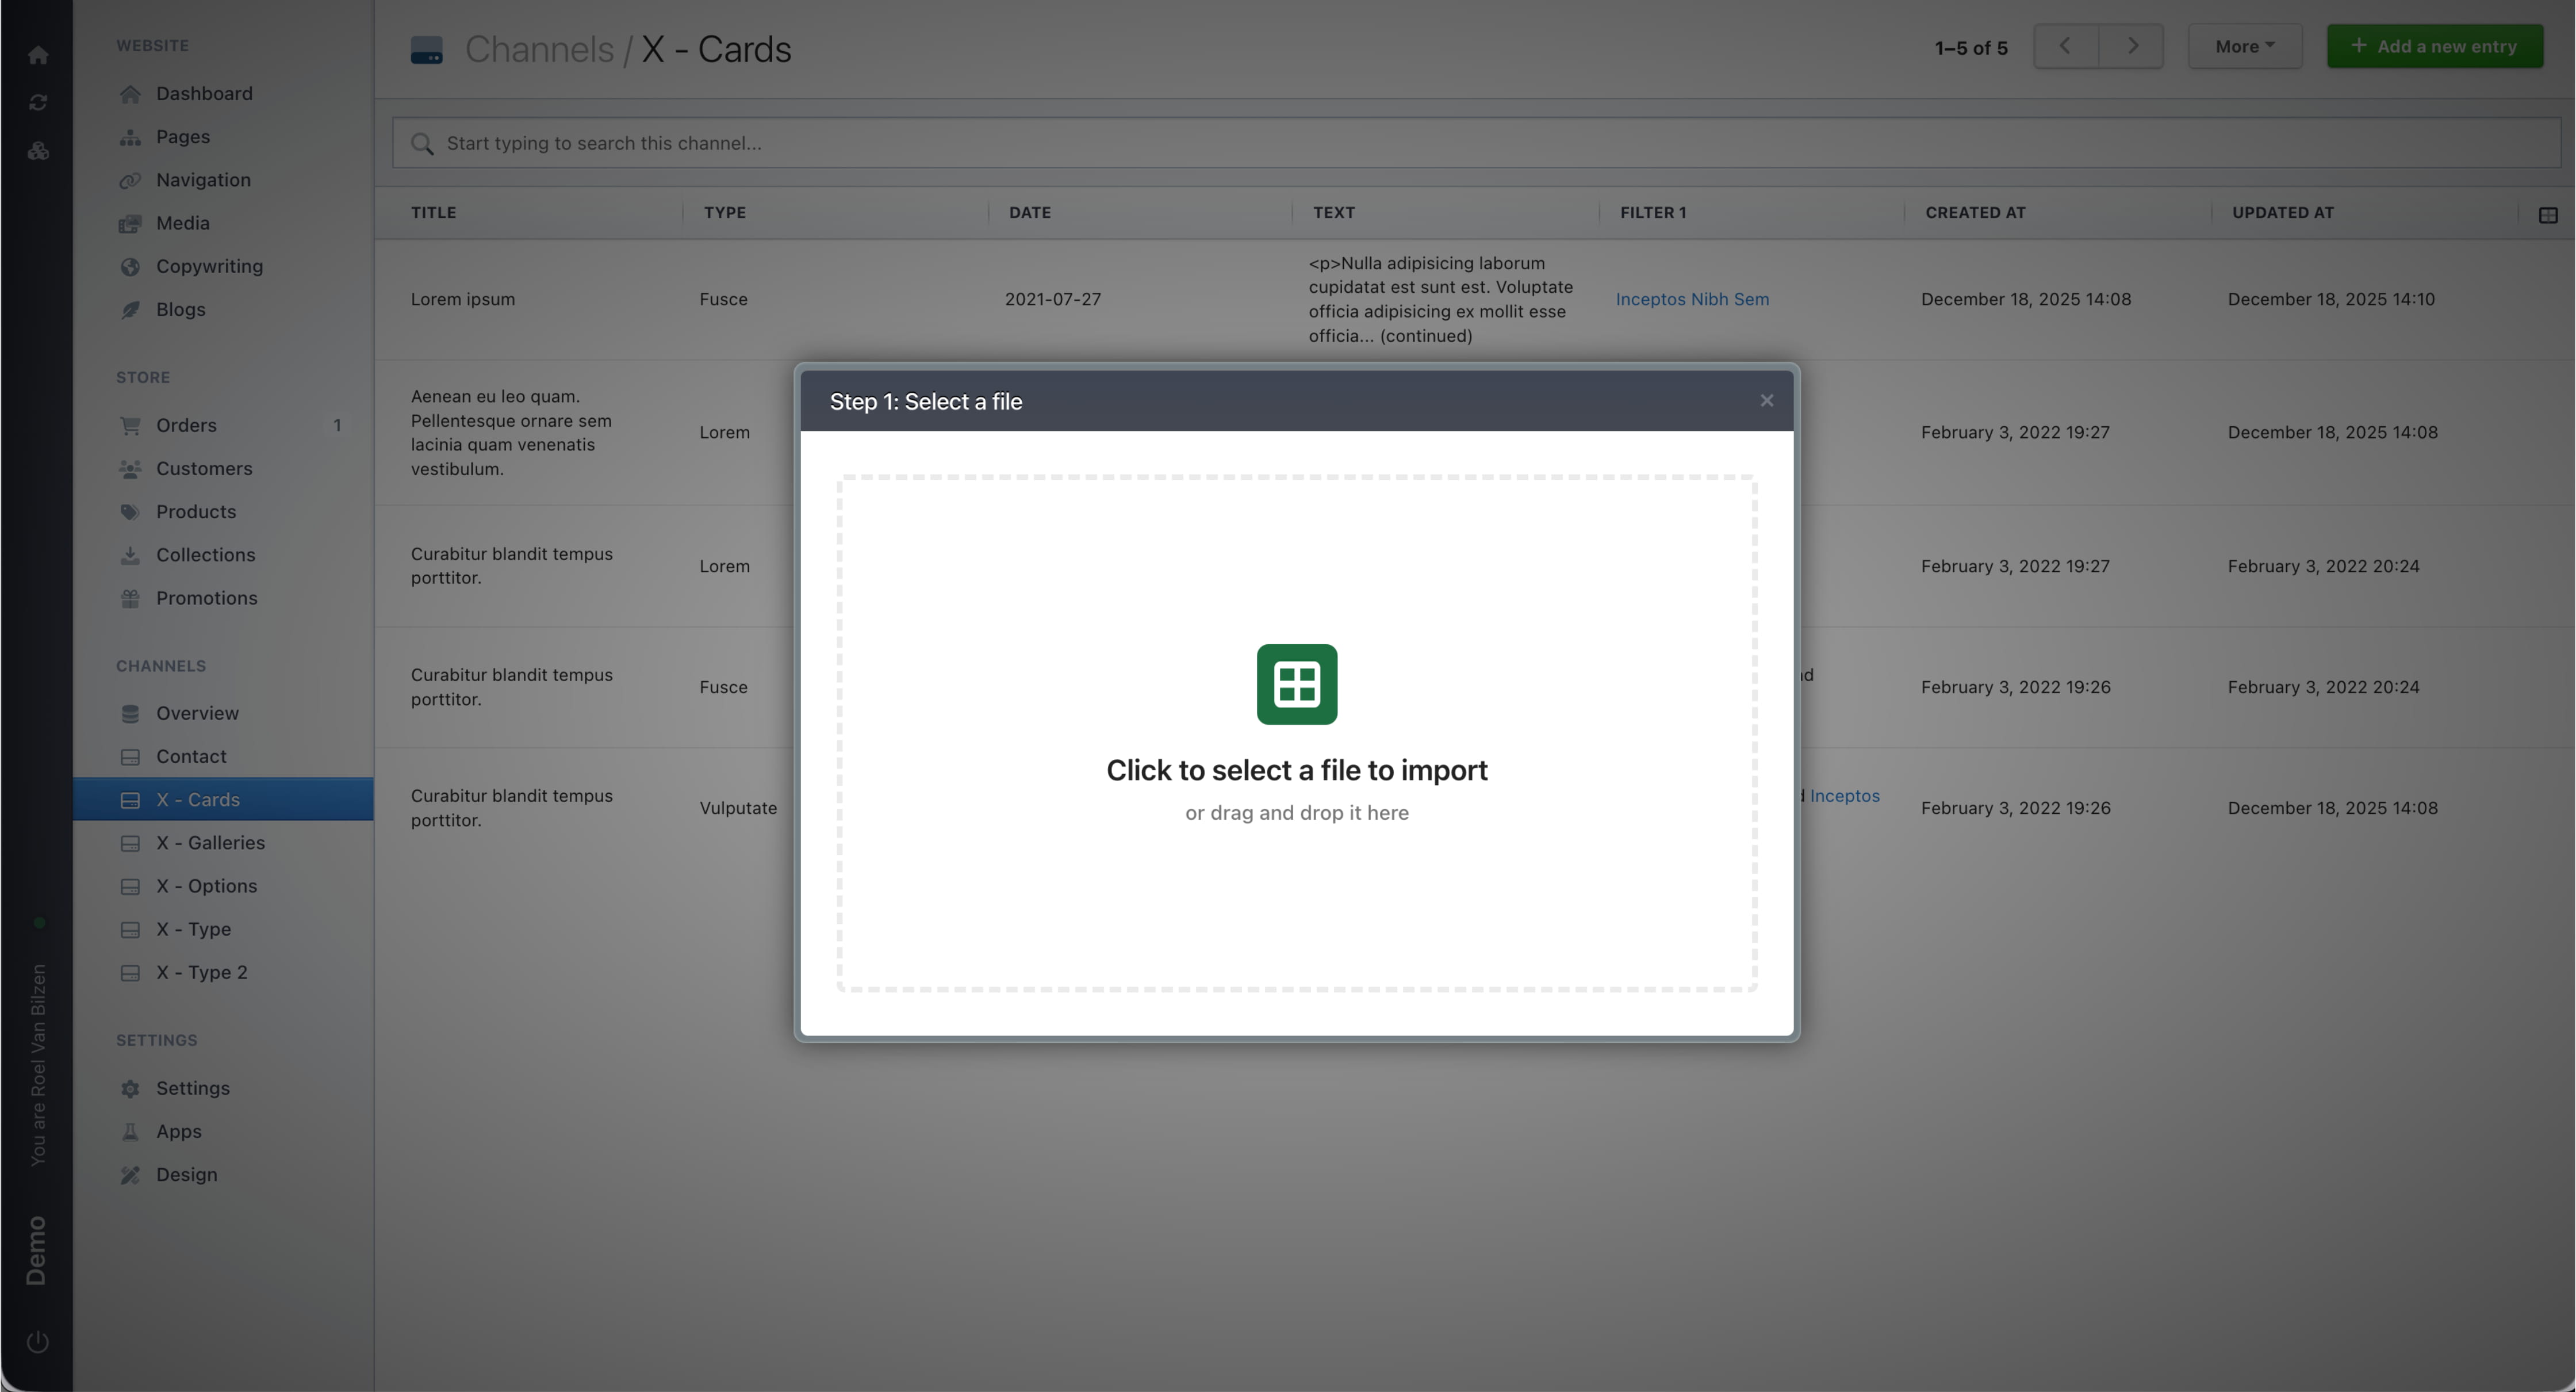
Select a file to import or drag and drop it in the pop-up.
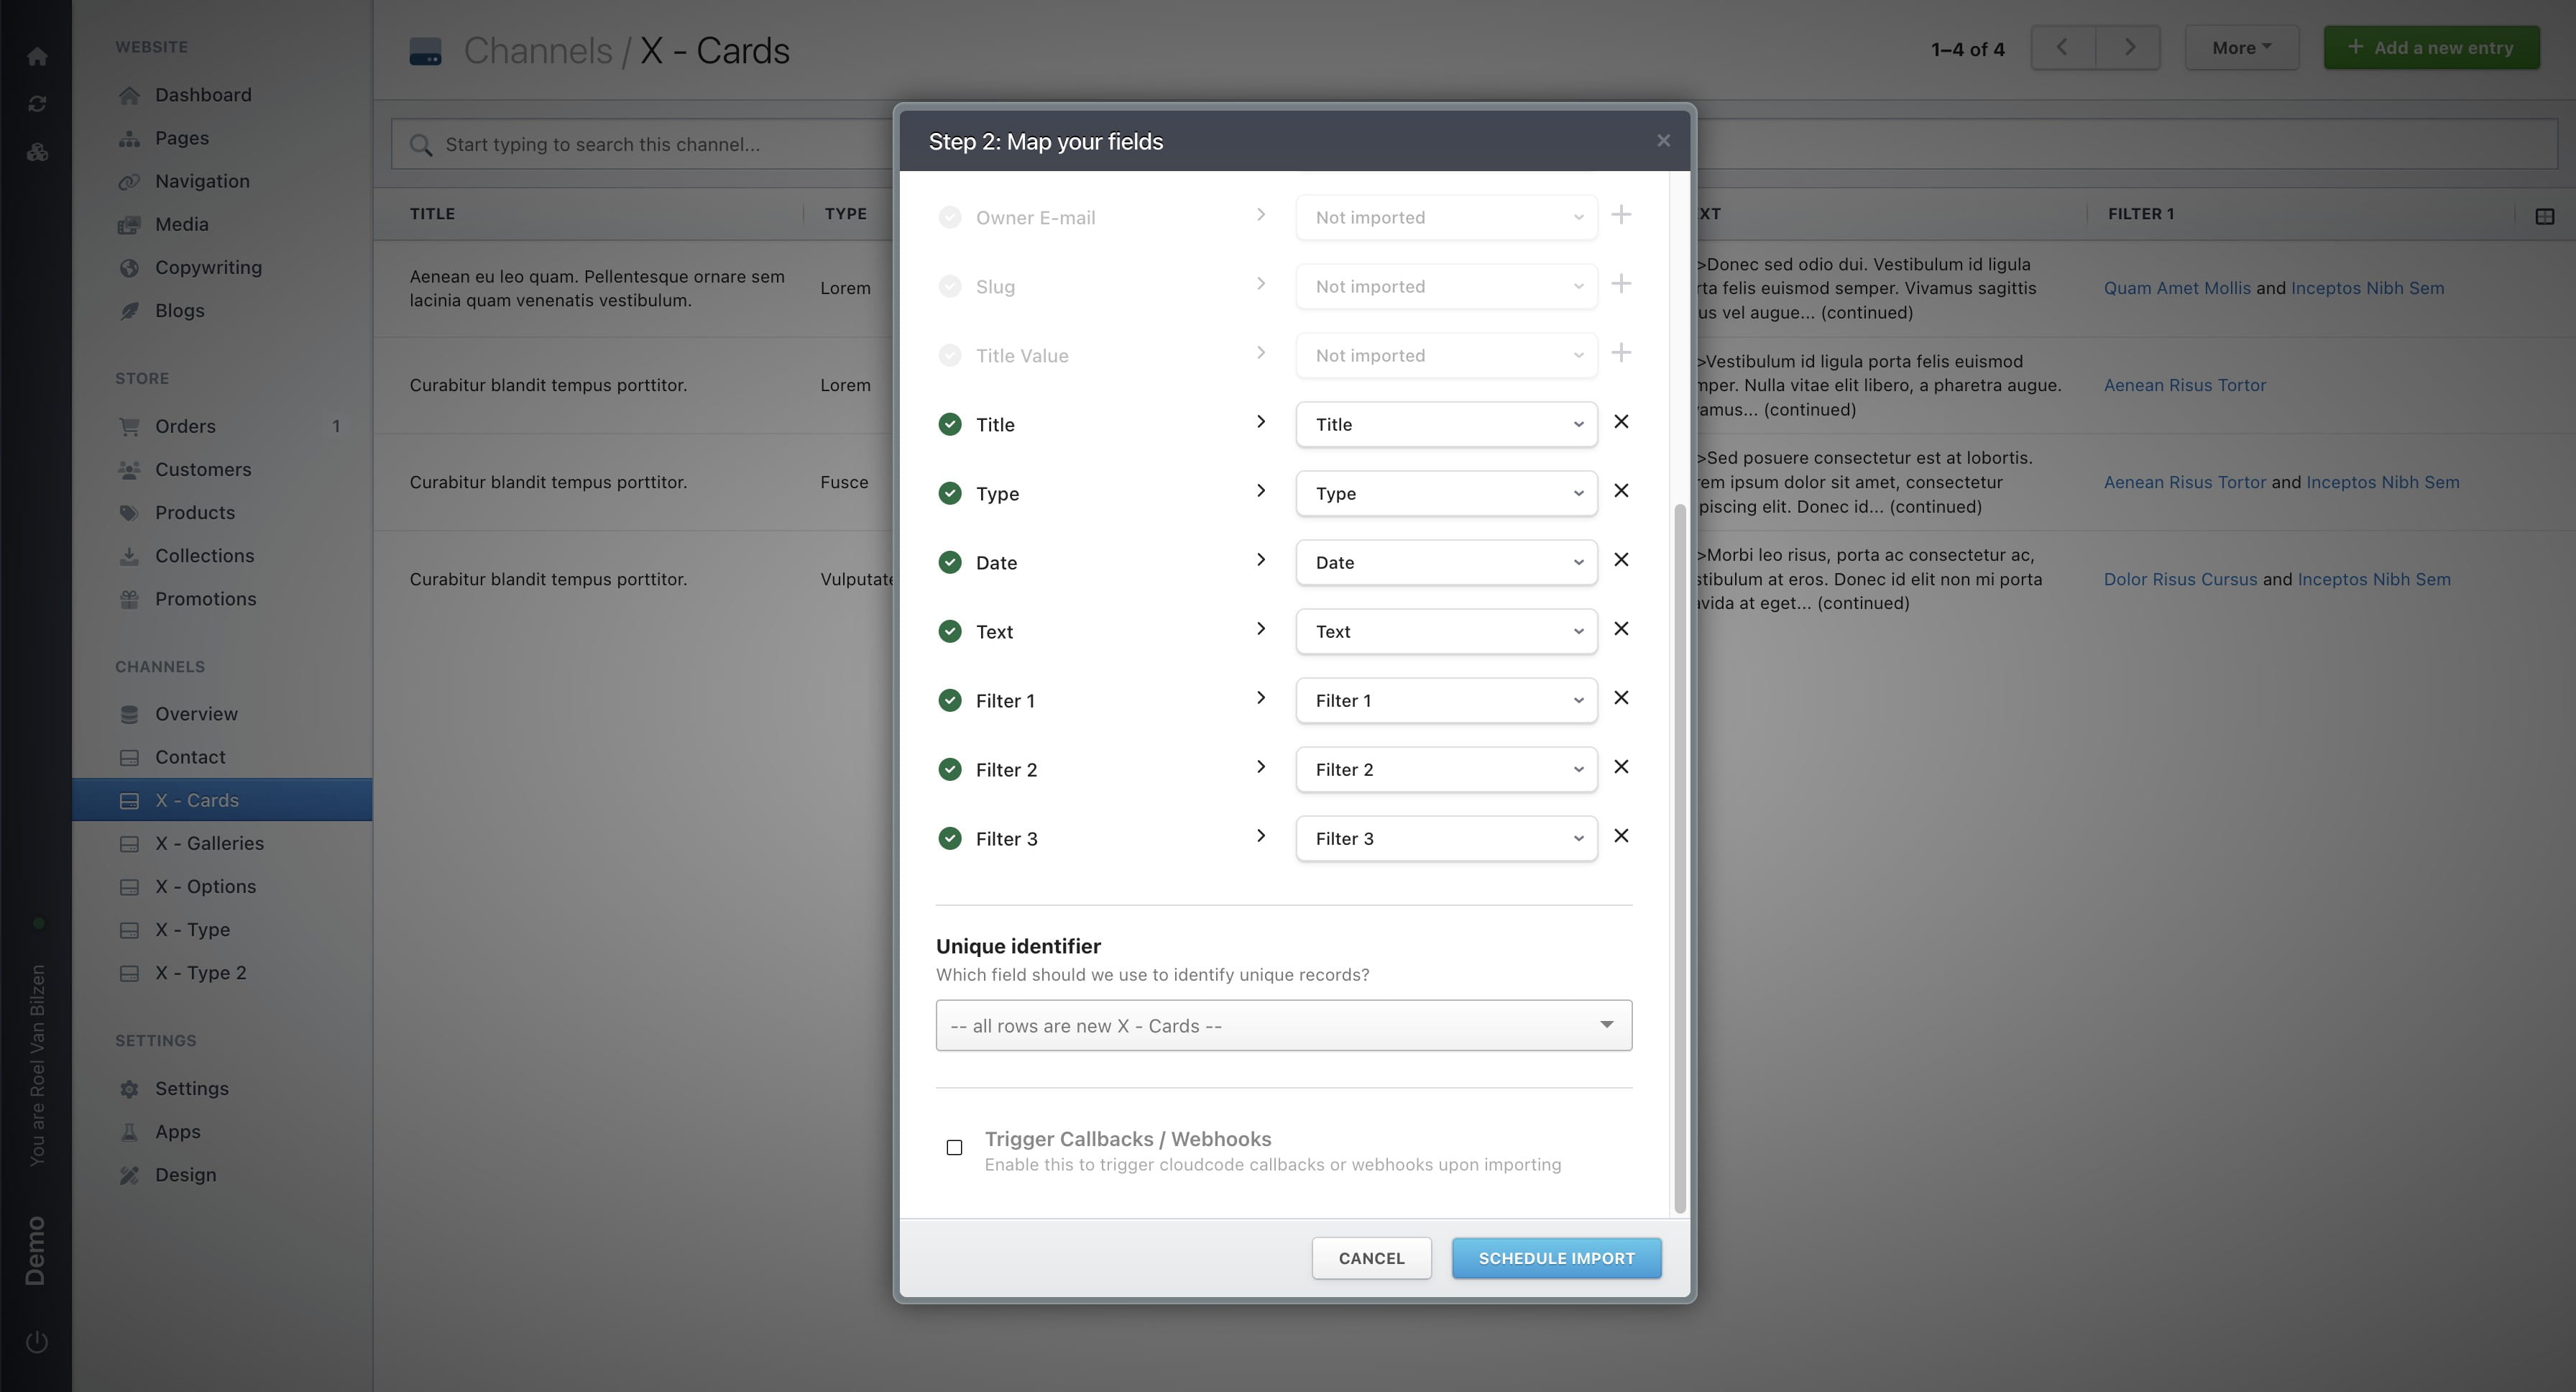
Once the file is uploaded, you will be able to map the fields to connect the columns in your file with the corresponding fields in the channel. On the left, you’ll see the columns from your file; on the right, the fields in Nimbu. Where possible, the correct connections are made automatically. Only connected fields will be used and updated. Deselected fields will be ignored during this process.
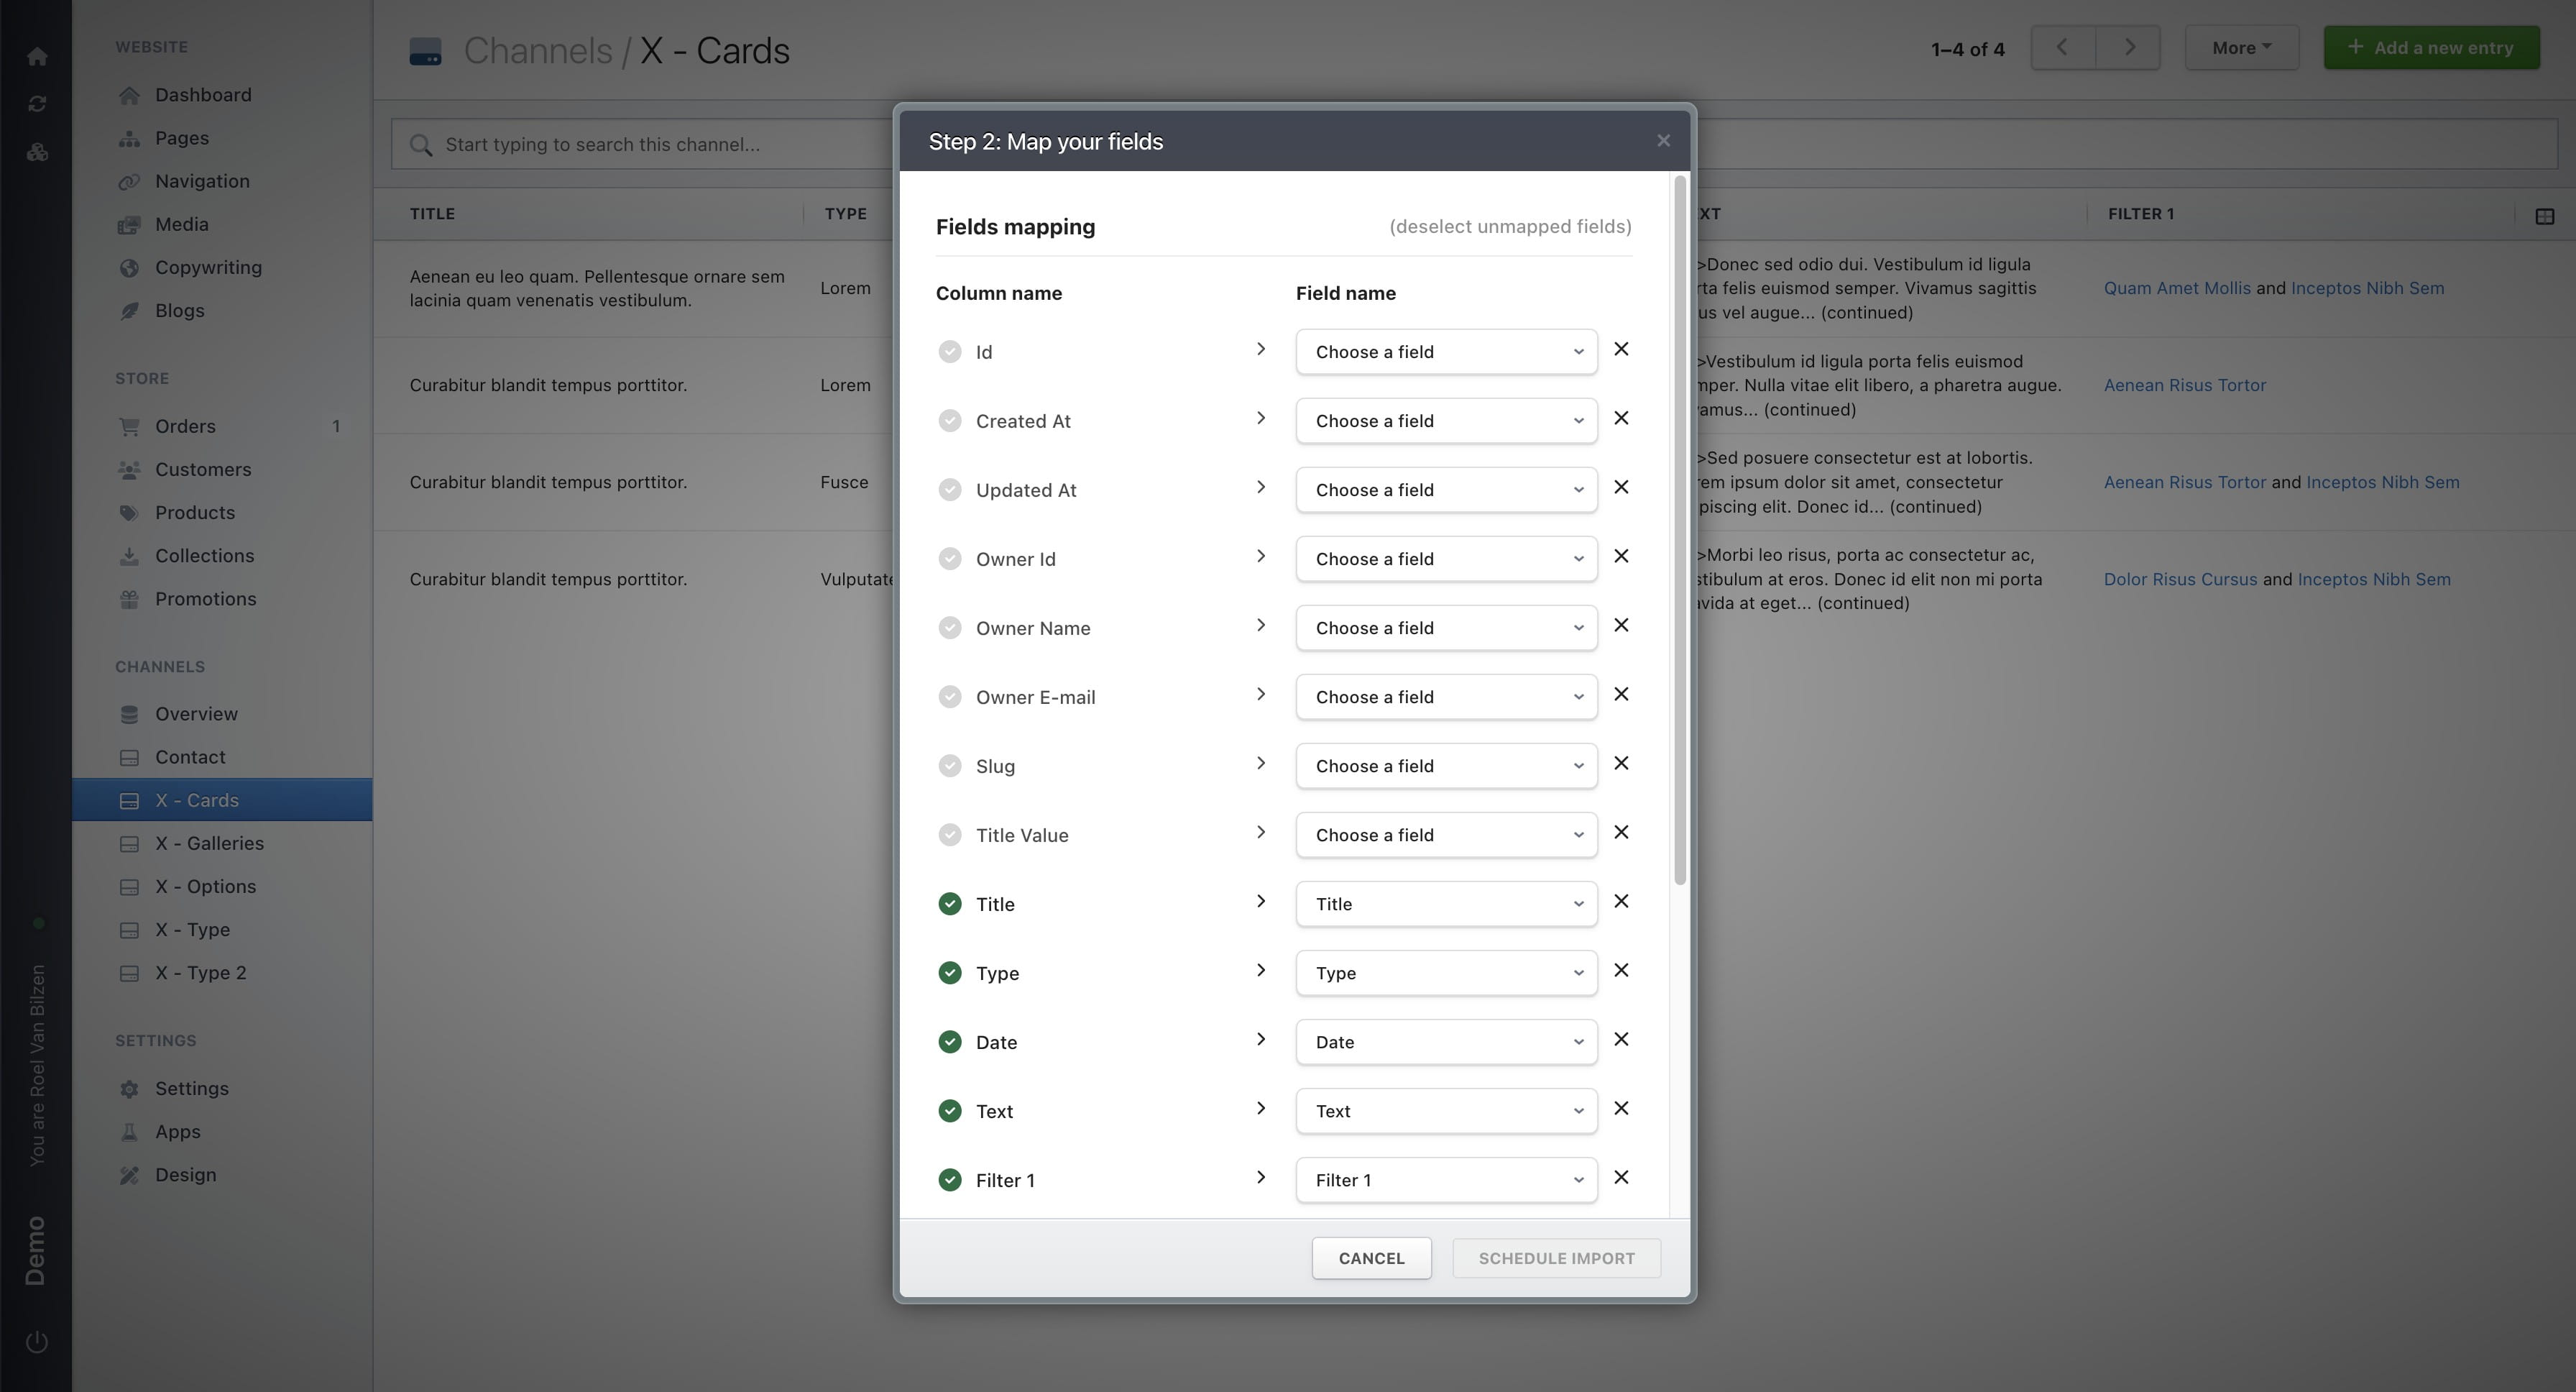
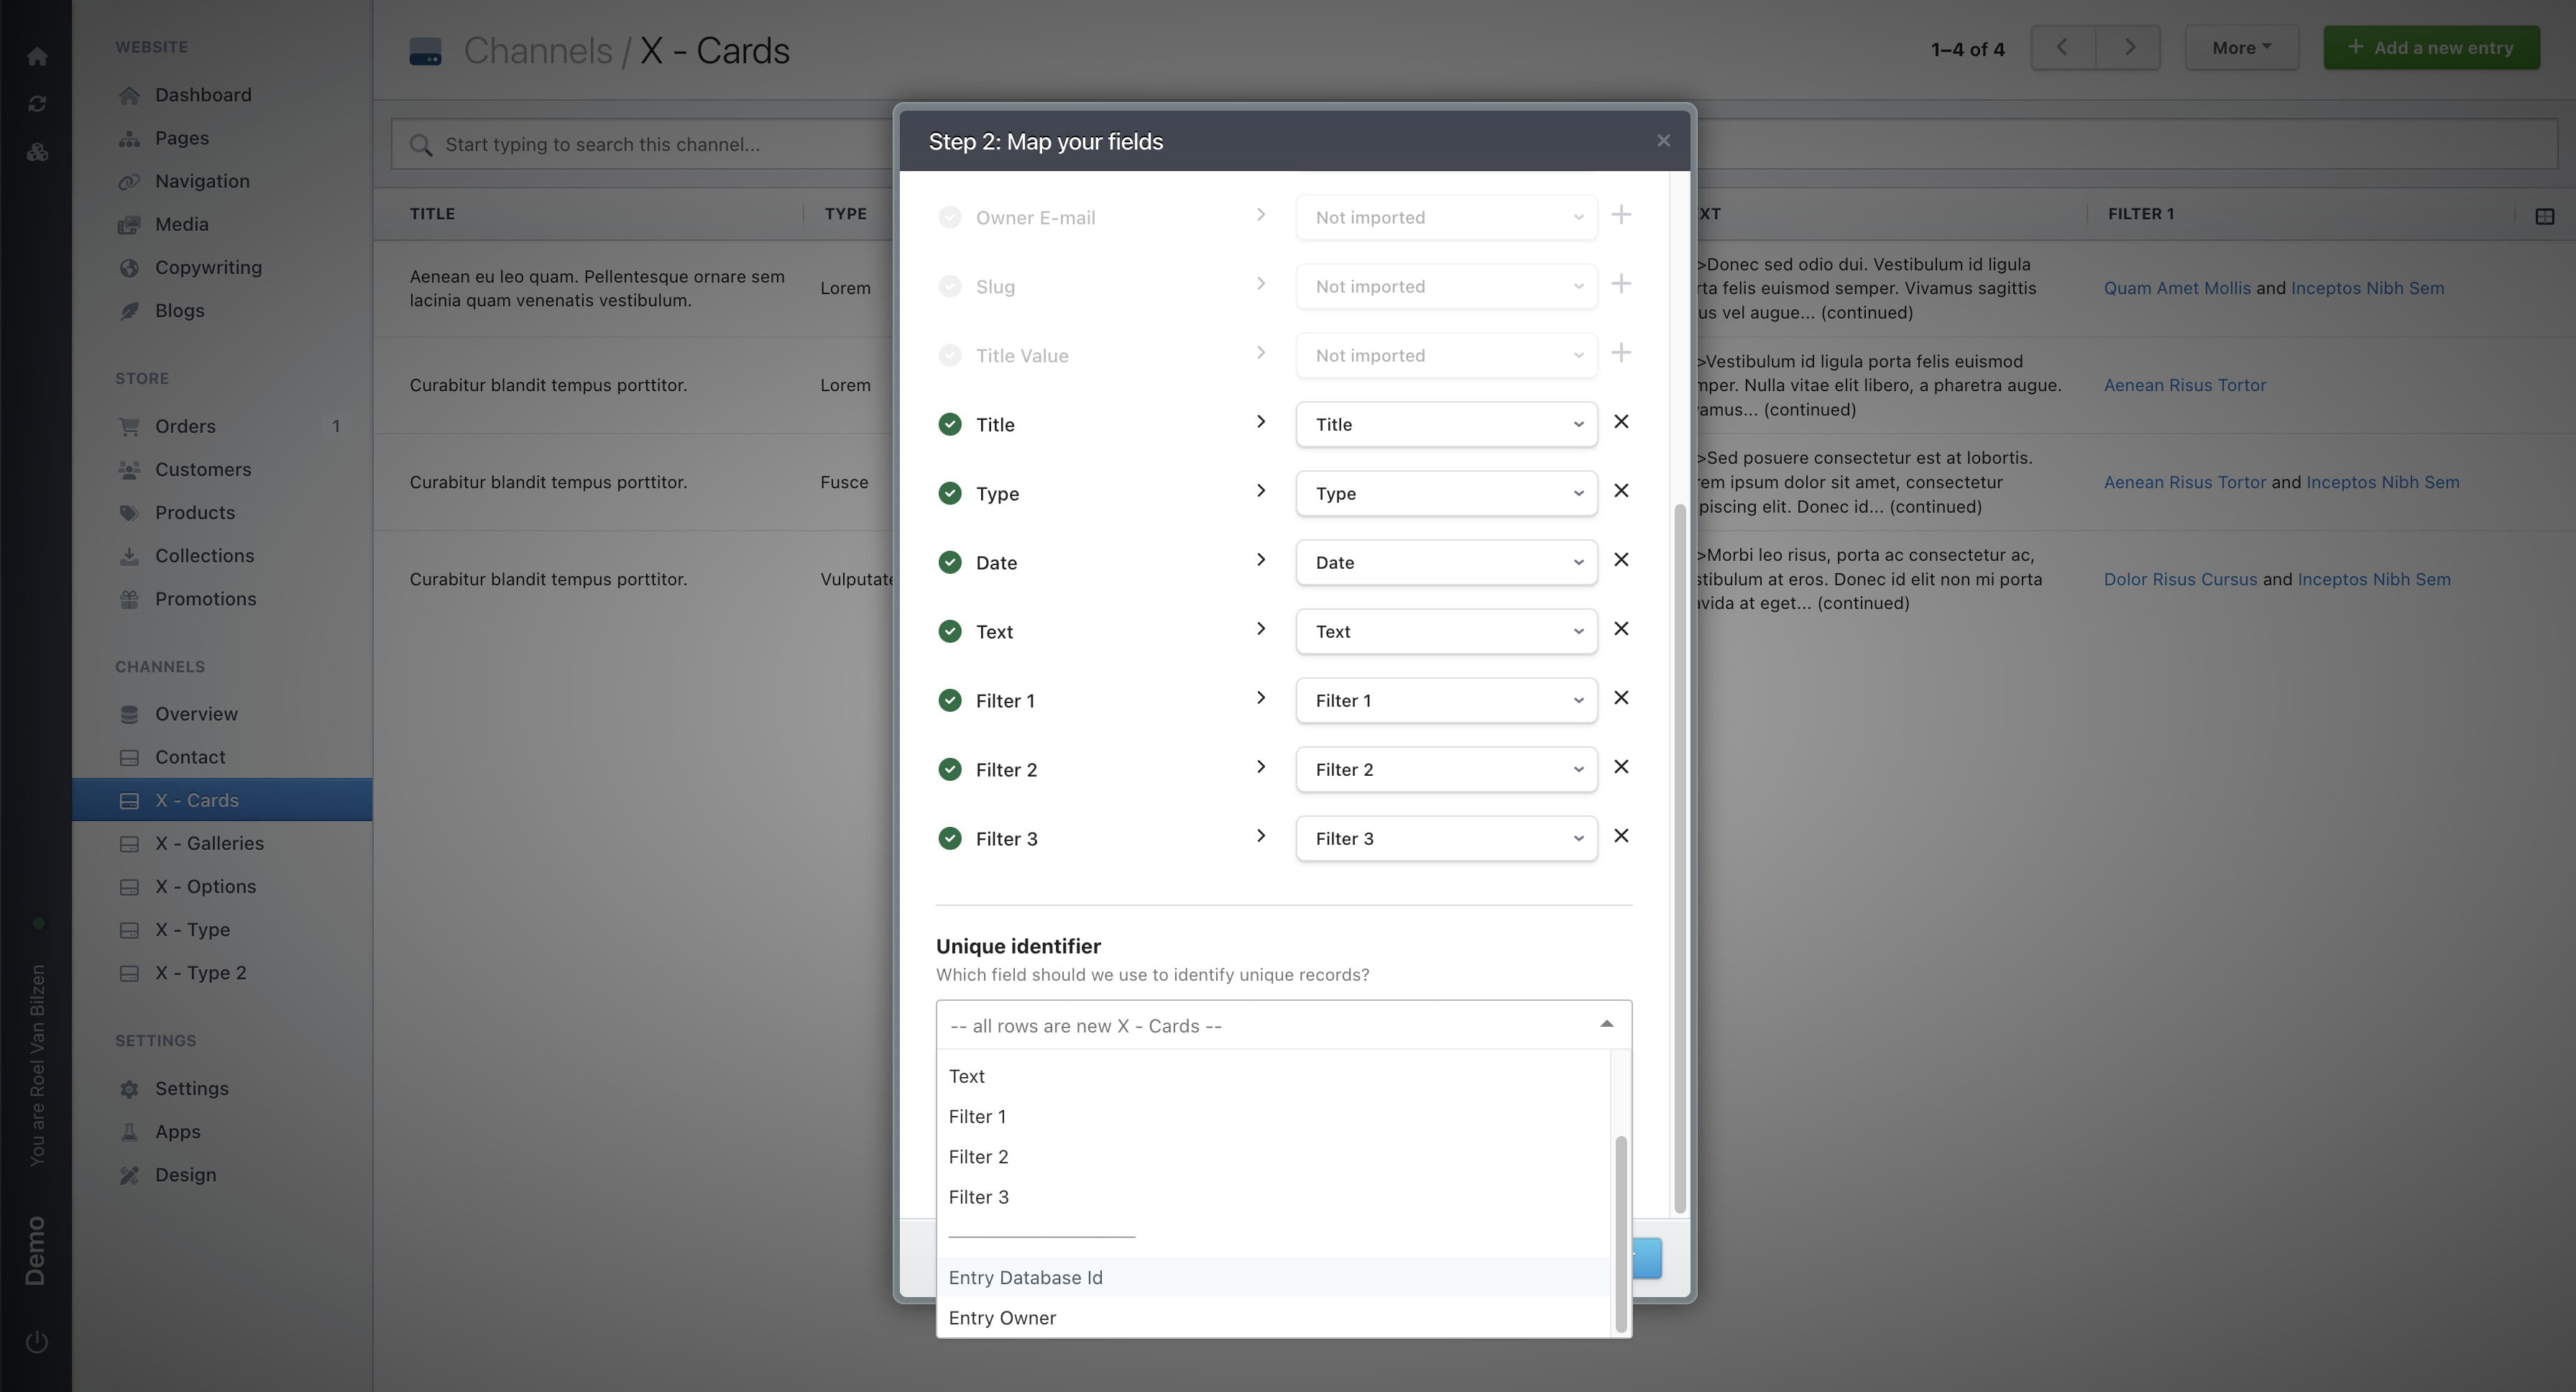
Click on “Choose a field” to select a field used in Nimbu. There are two special fields: “Entry Database ID,” which is the ID of the entry in Nimbu, and “Entry Owner,” which indicates the owner of an entry. The latter is only used when working with customers and/or users on your site.
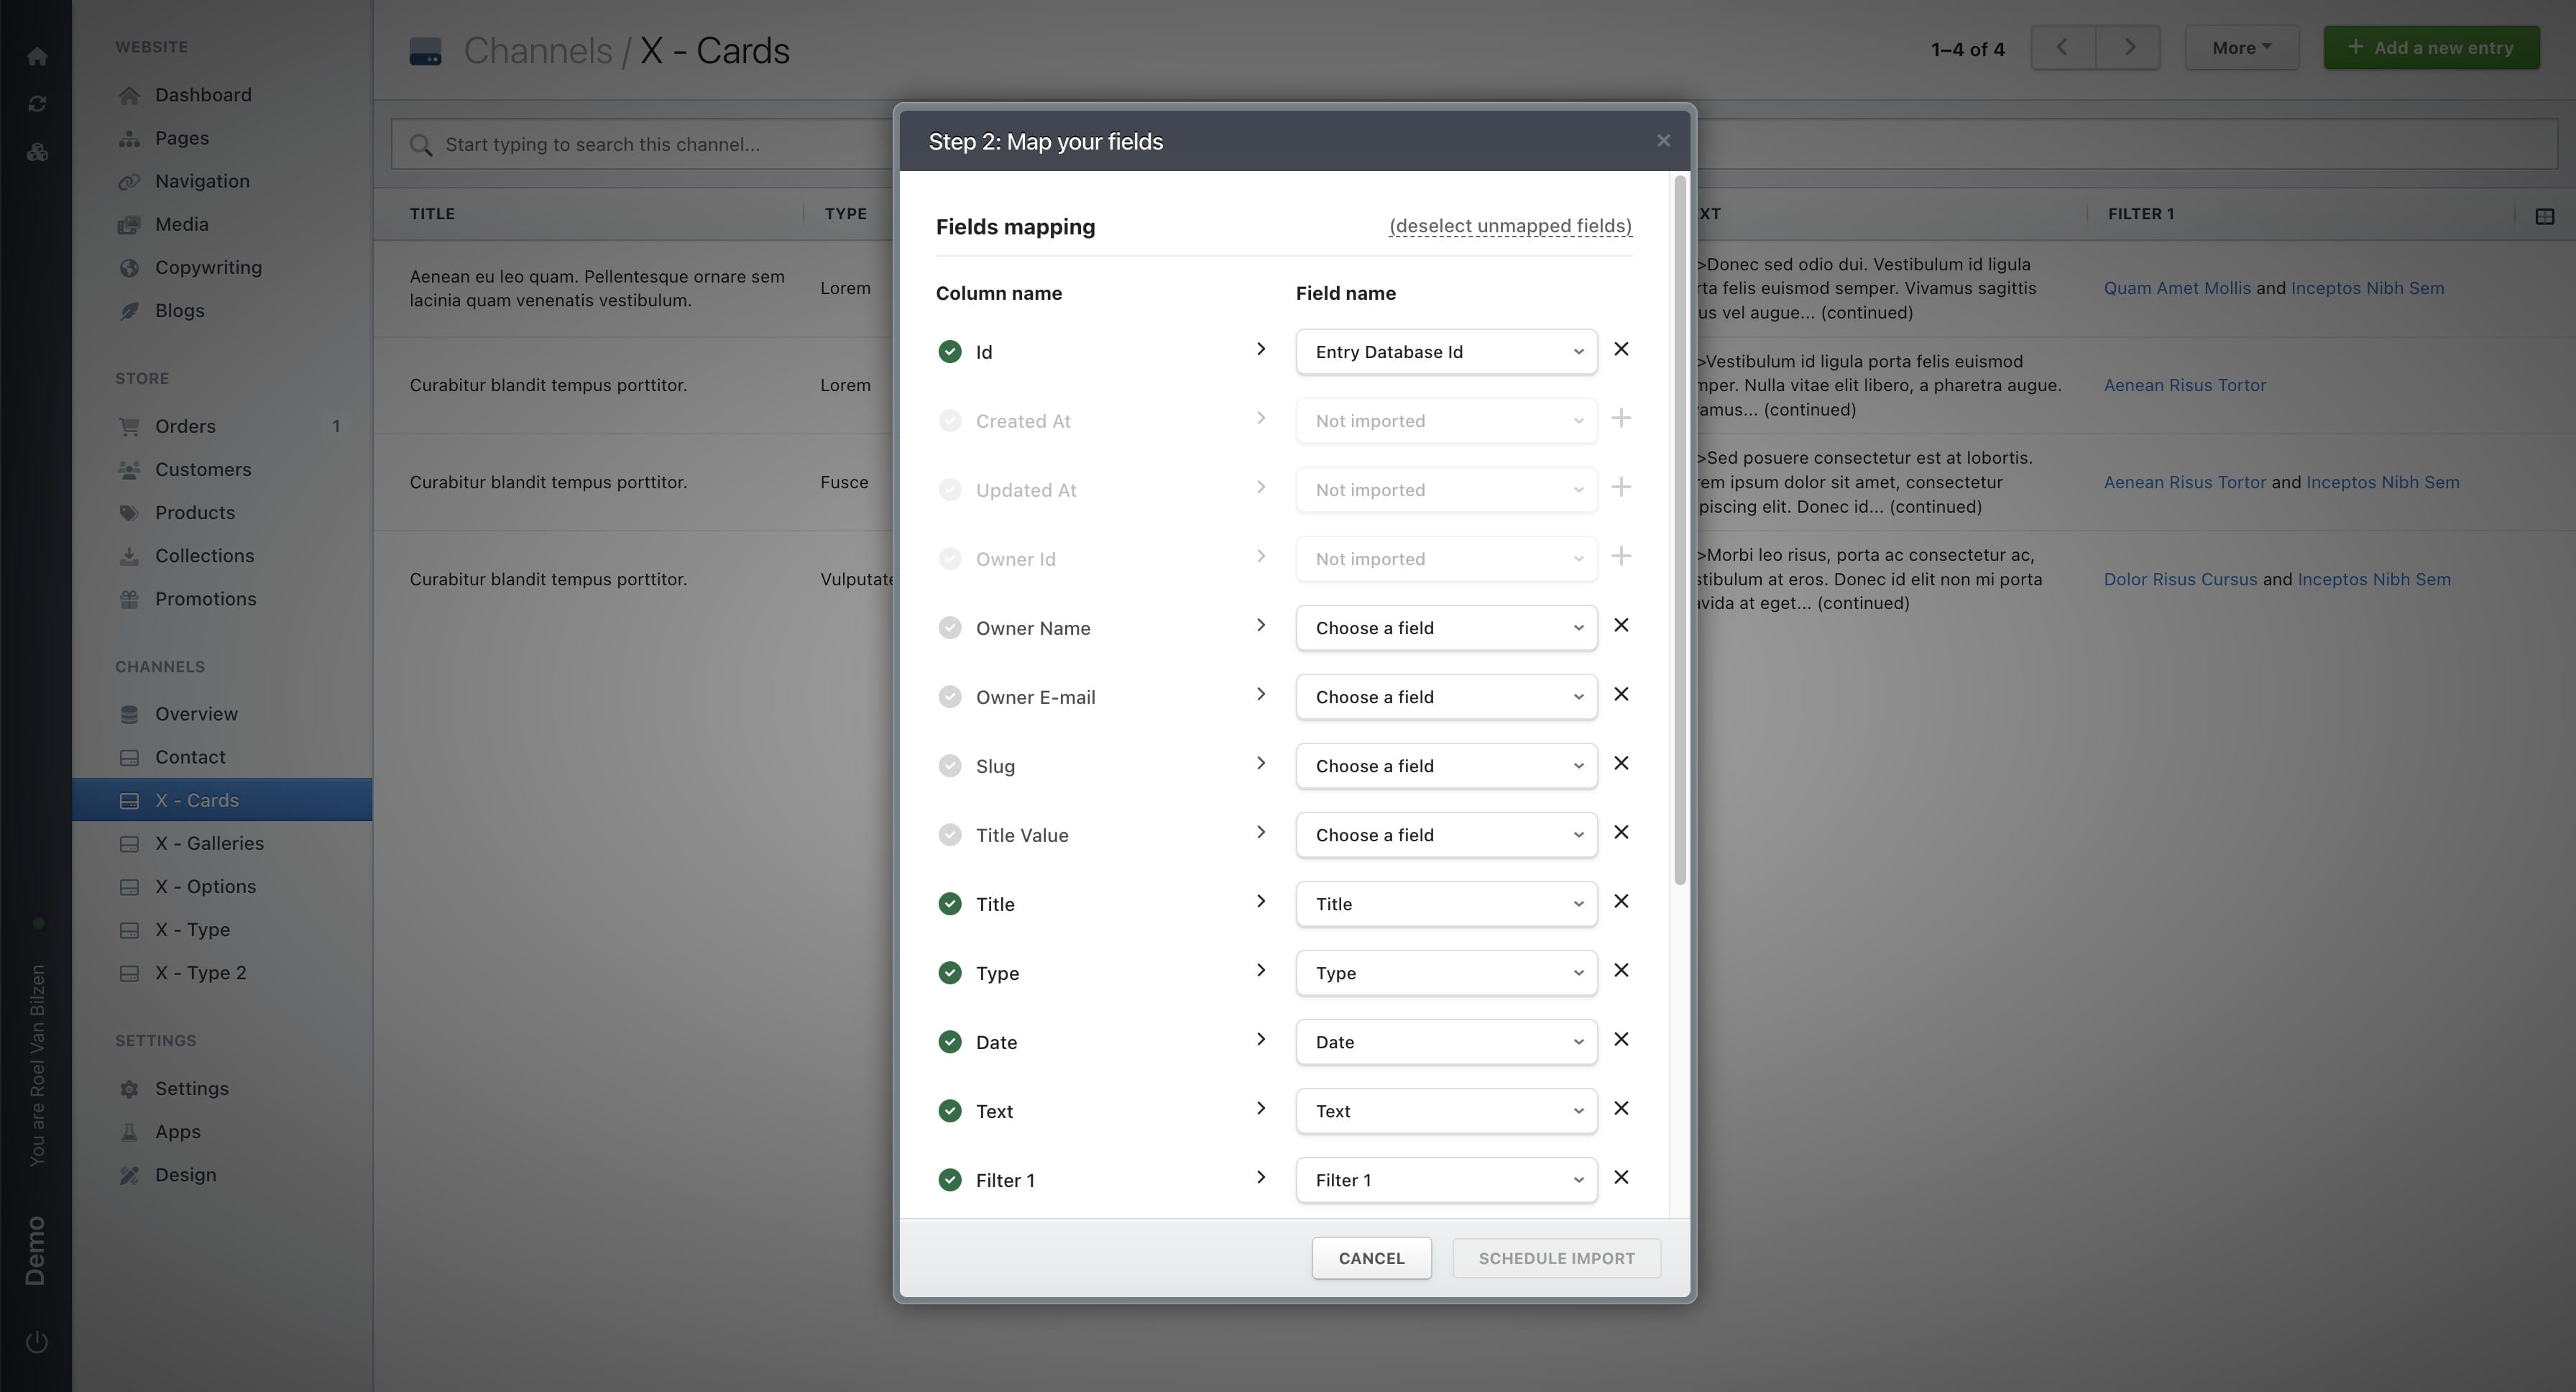
Click “X” to deselect a field and exclude it from the export, or click “+” to include a field.

Click “(deselect unmapped fields)” to deselect all fields that are not mapped. All mapped fields are marked with a green checkmark on the left.
Select a “Unique identifier” to link the uploaded fields with existing entries in the channel. If no matching entry is found, a new entry will be created.
In most cases, it’s best to use “Entry Database ID,” as it is unique for each entry.
Check “Trigger Callbacks / Webhooks” to run specific code configured for your site. In most cases, this is useful for syncs or interconnected channels.
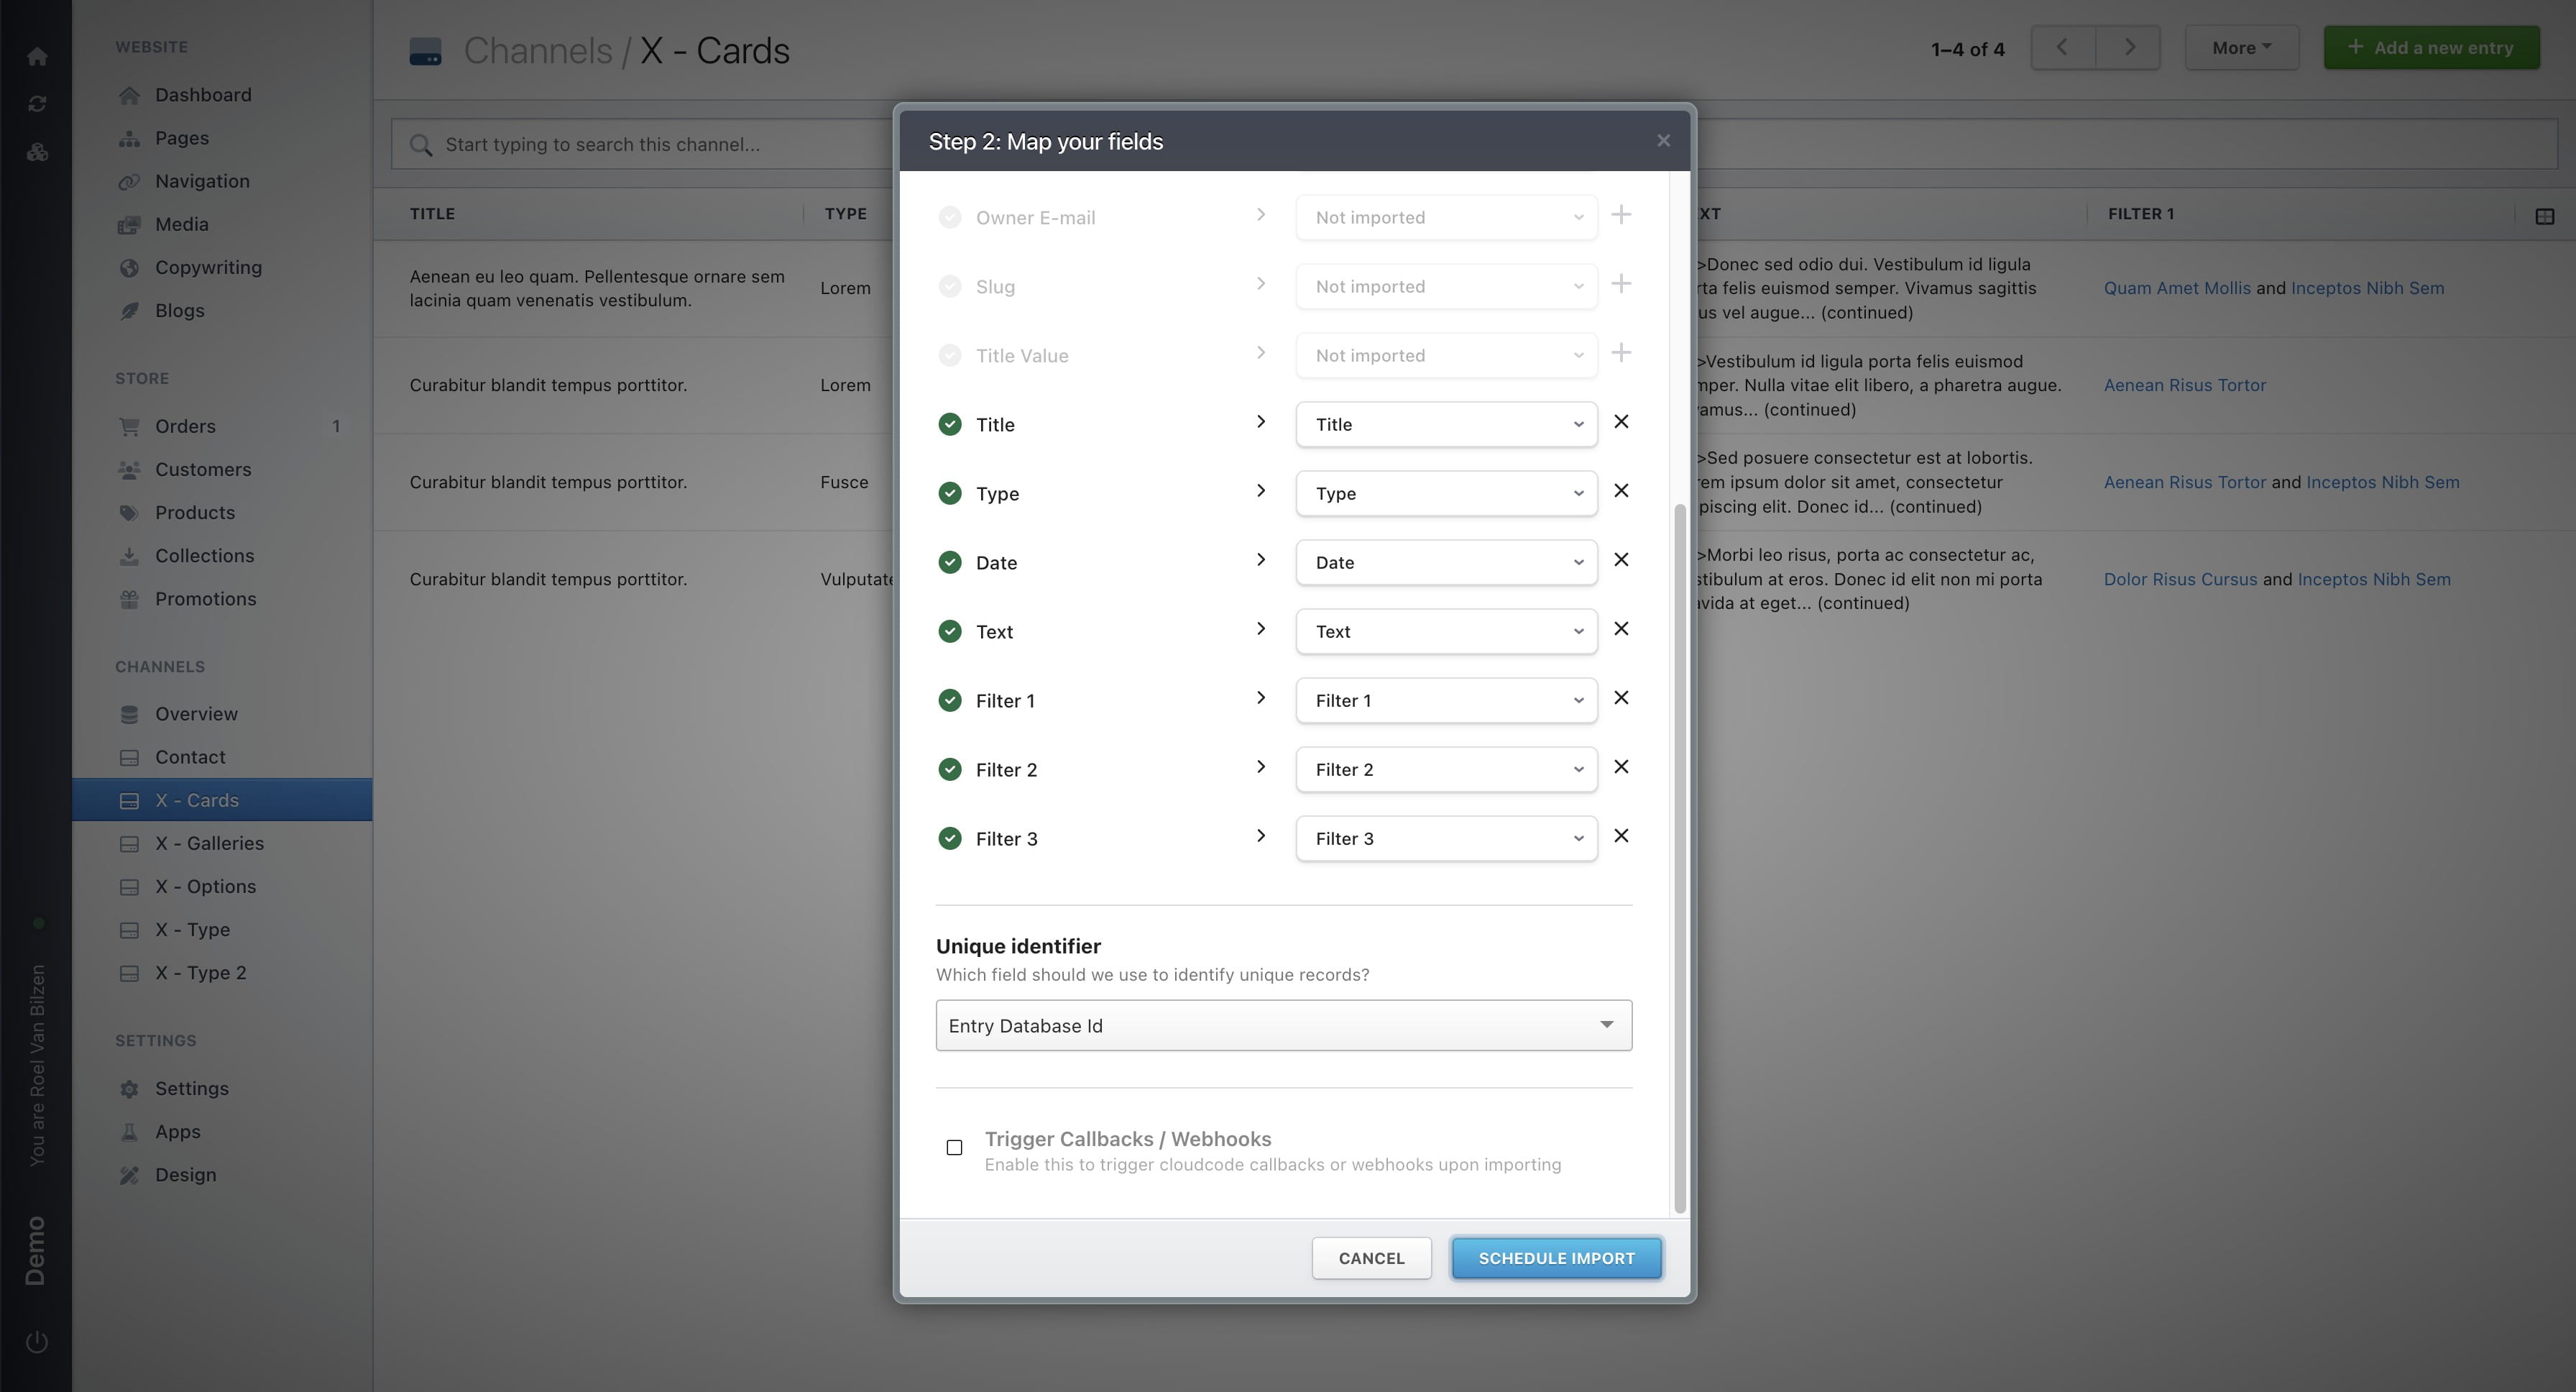
Click on “Schedule import” to start the import.
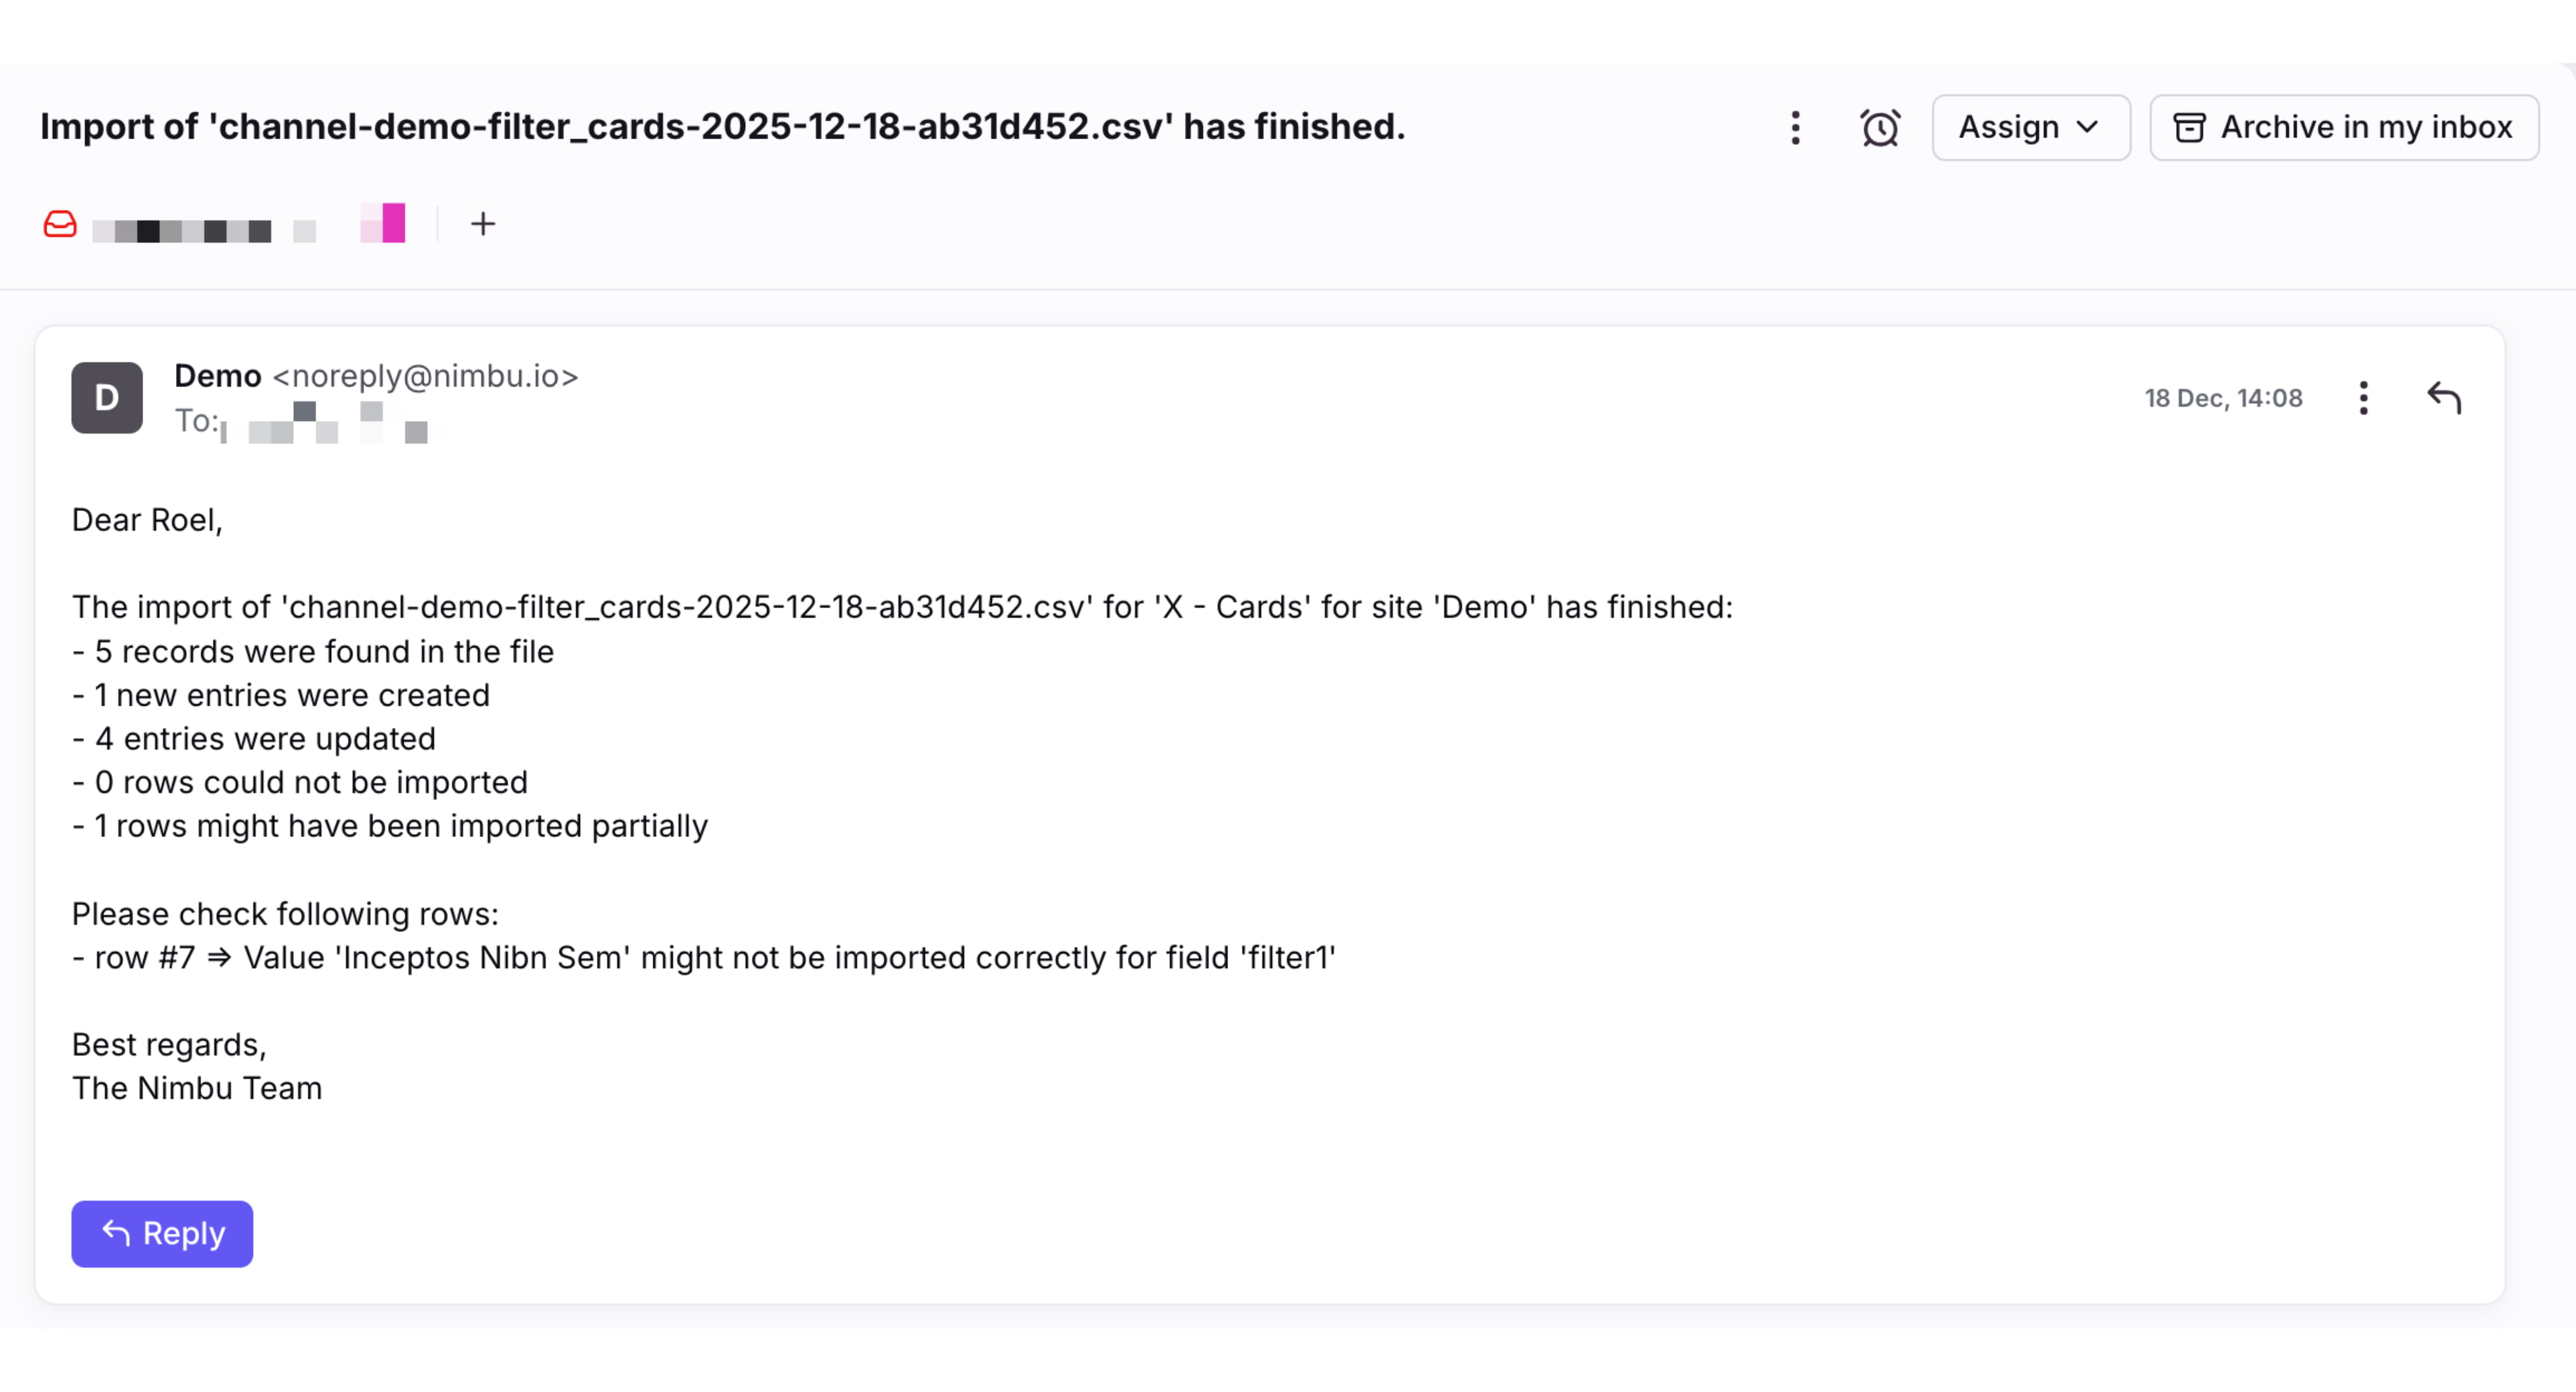
You will receive an email at the email address linked to Nimbu with an overview of your import. This can take a few minutes for larger imports. The overview shows what was updated, created, skipped, or requires review. In this case, five entries (rows) were found: one new entry and four updated entries (when changes were detected compared to the existing channel entries). In some cases, issues may occur during the import. Some rows can be skipped if they cannot be created, for example due to a missing required field. It is also possible that an entry is only partially created or updated. In that case, the overview indicates which row is affected and which fields were involved.
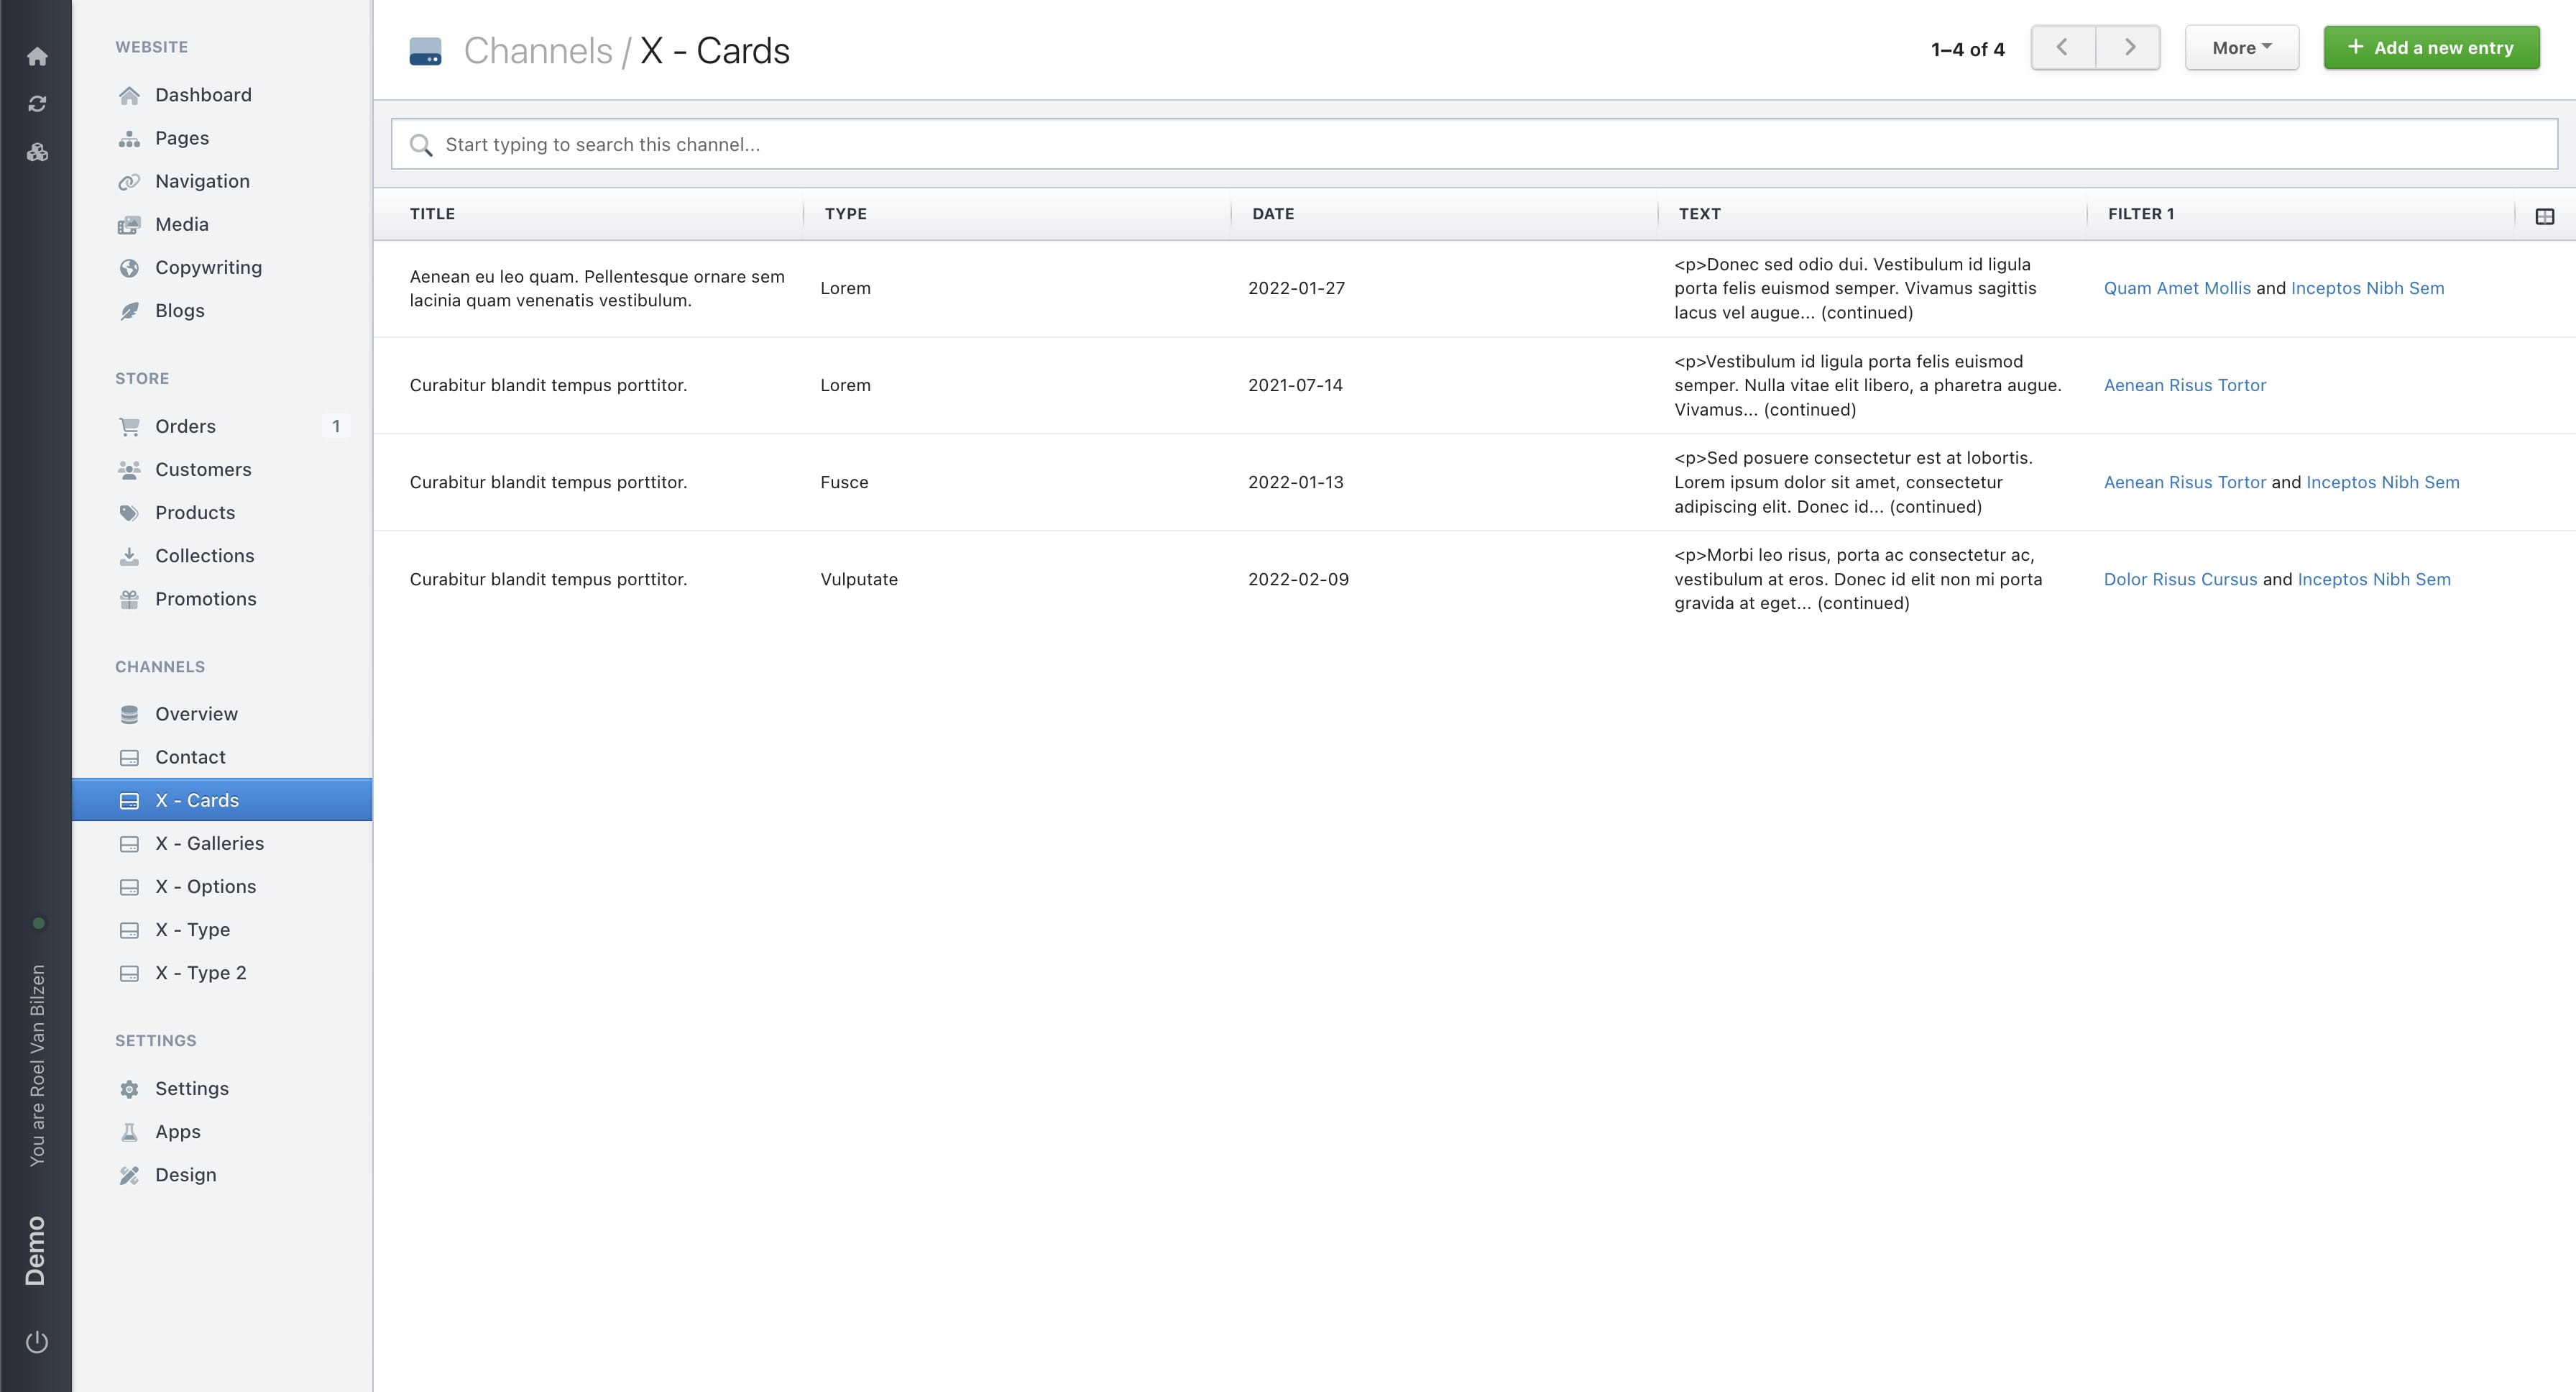
After receiving the email, you can reload the channel to see the imported entries. You can also fix any issues in the file and upload it again.
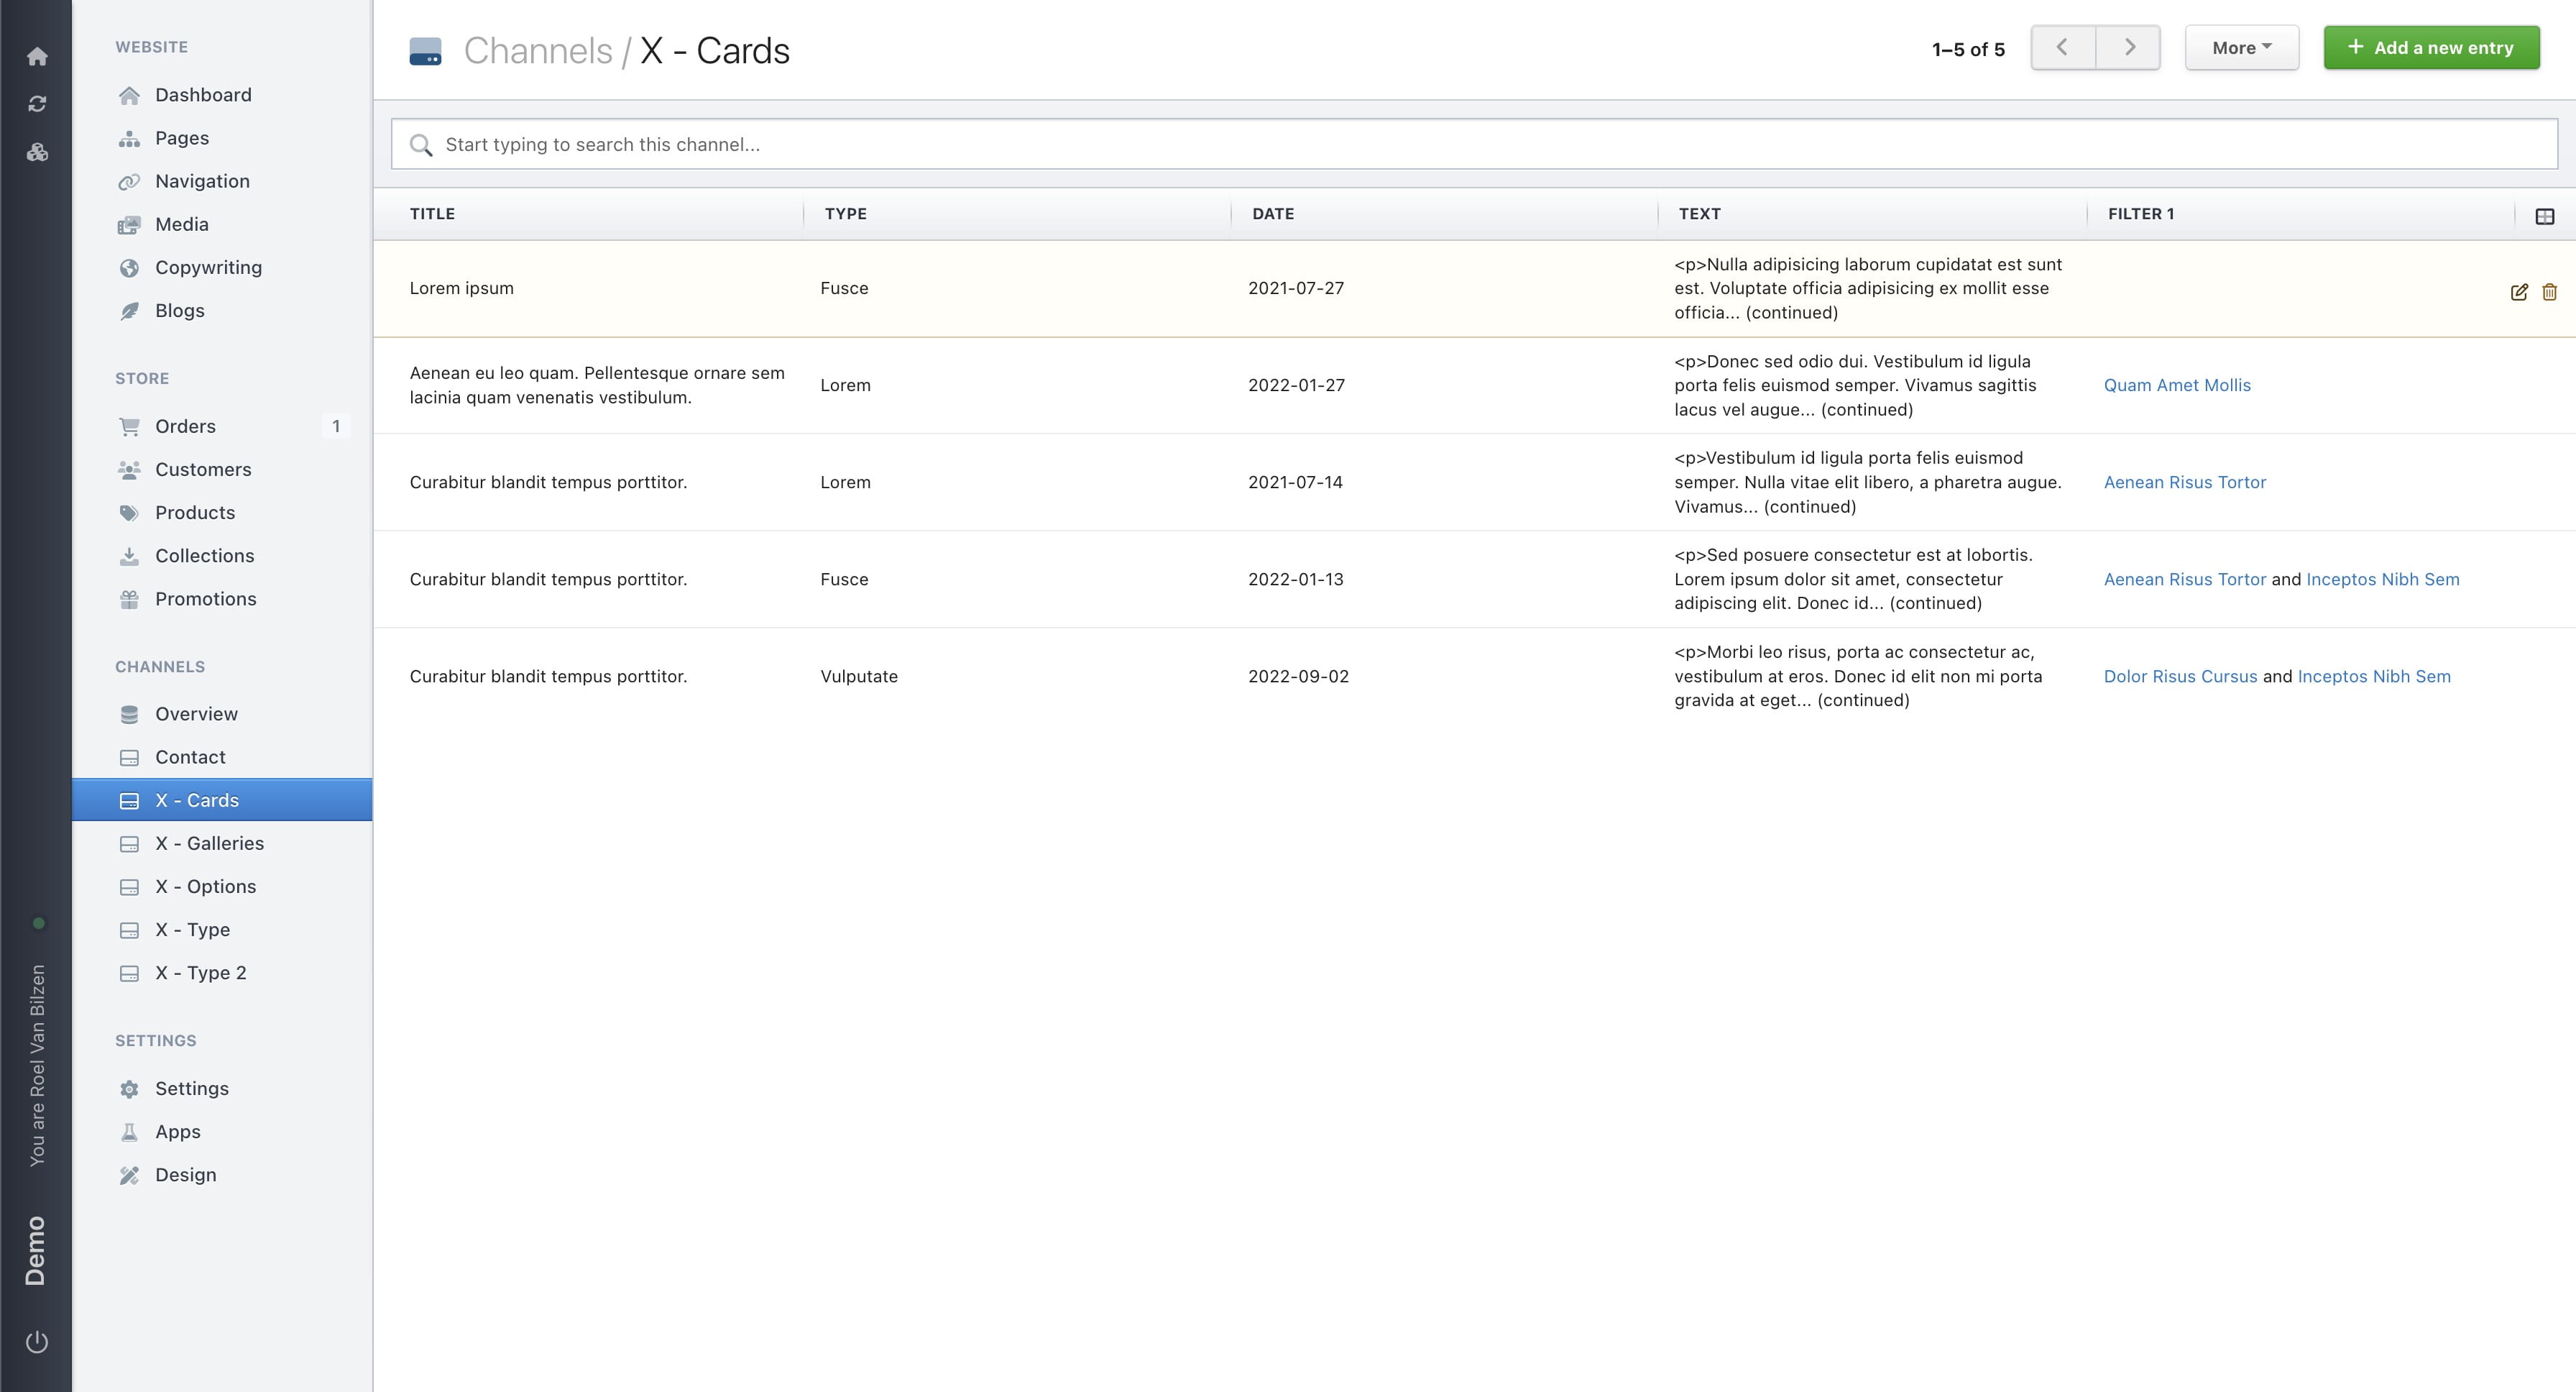
If there are partially imported entries, you can review them by clicking the edit icon and updating the fields that were not imported.
By adding the “Created At” and “Updated At” columns, you can see which entries were created or updated.
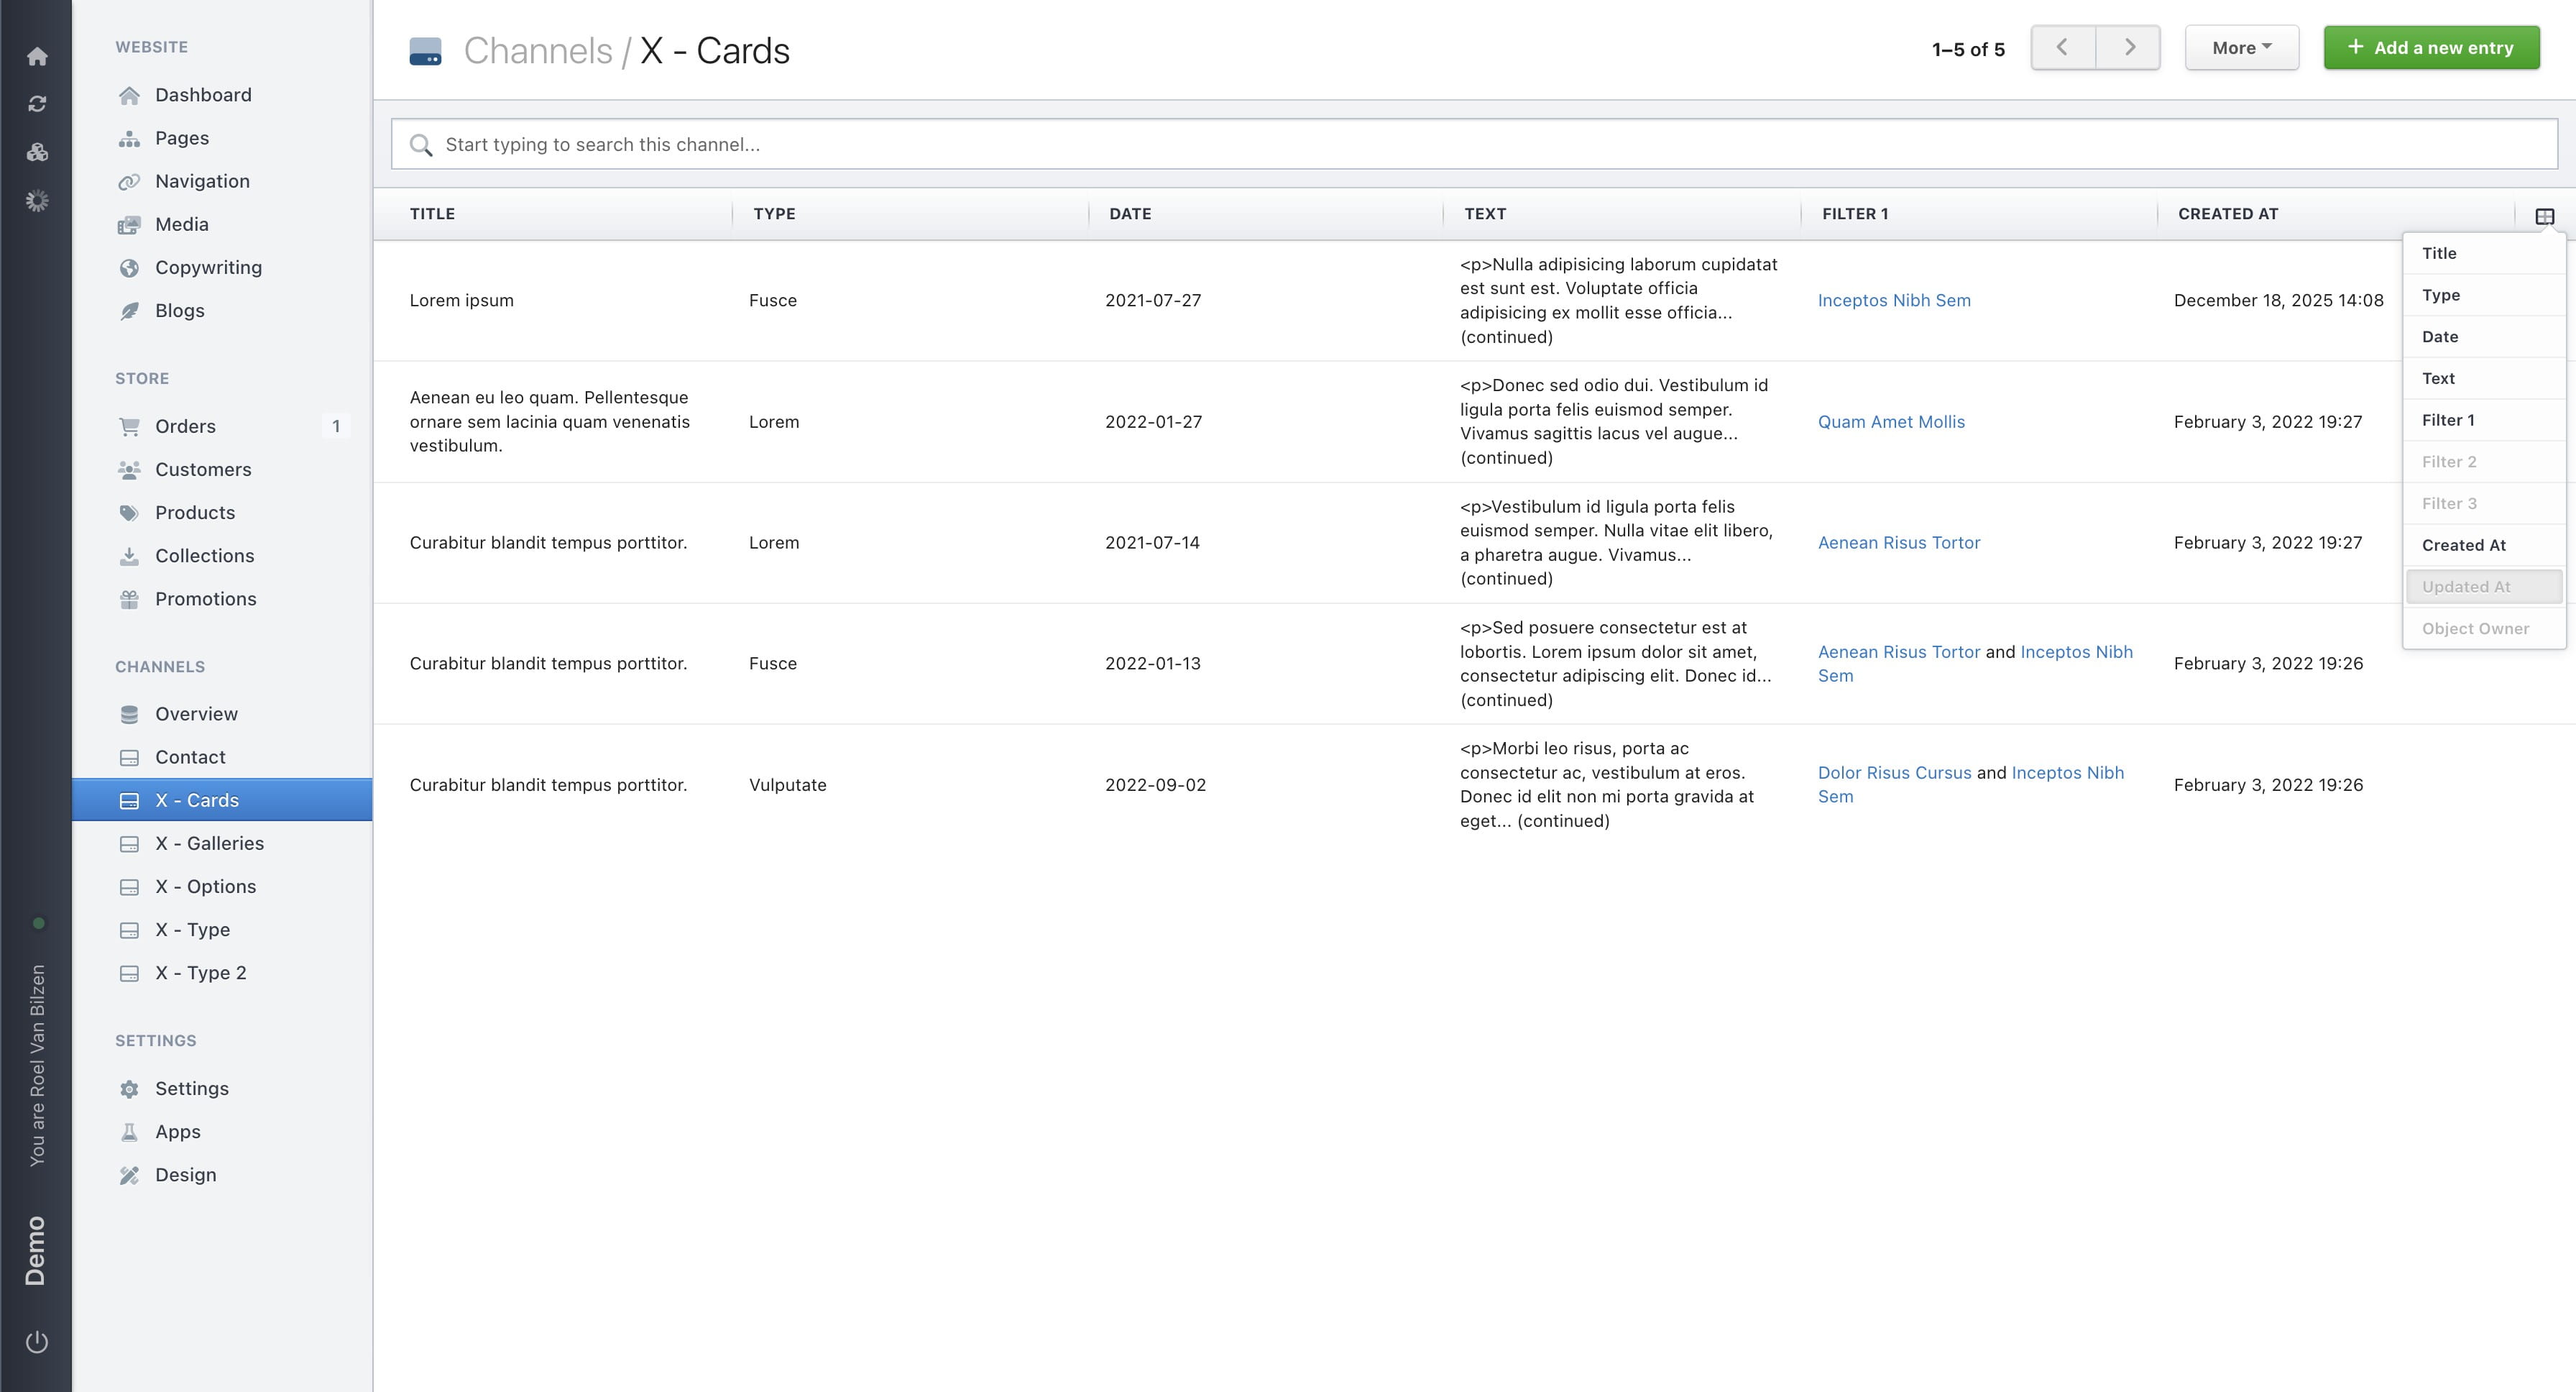
The email stated that one entry was created and four were updated. The first entry is indeed the only one that was created. Four entries were processed as updates, but in our file we edited only one of the four existing entries. That’s why only that entry shows an updated “Updated At” value, while the others remain unchanged.