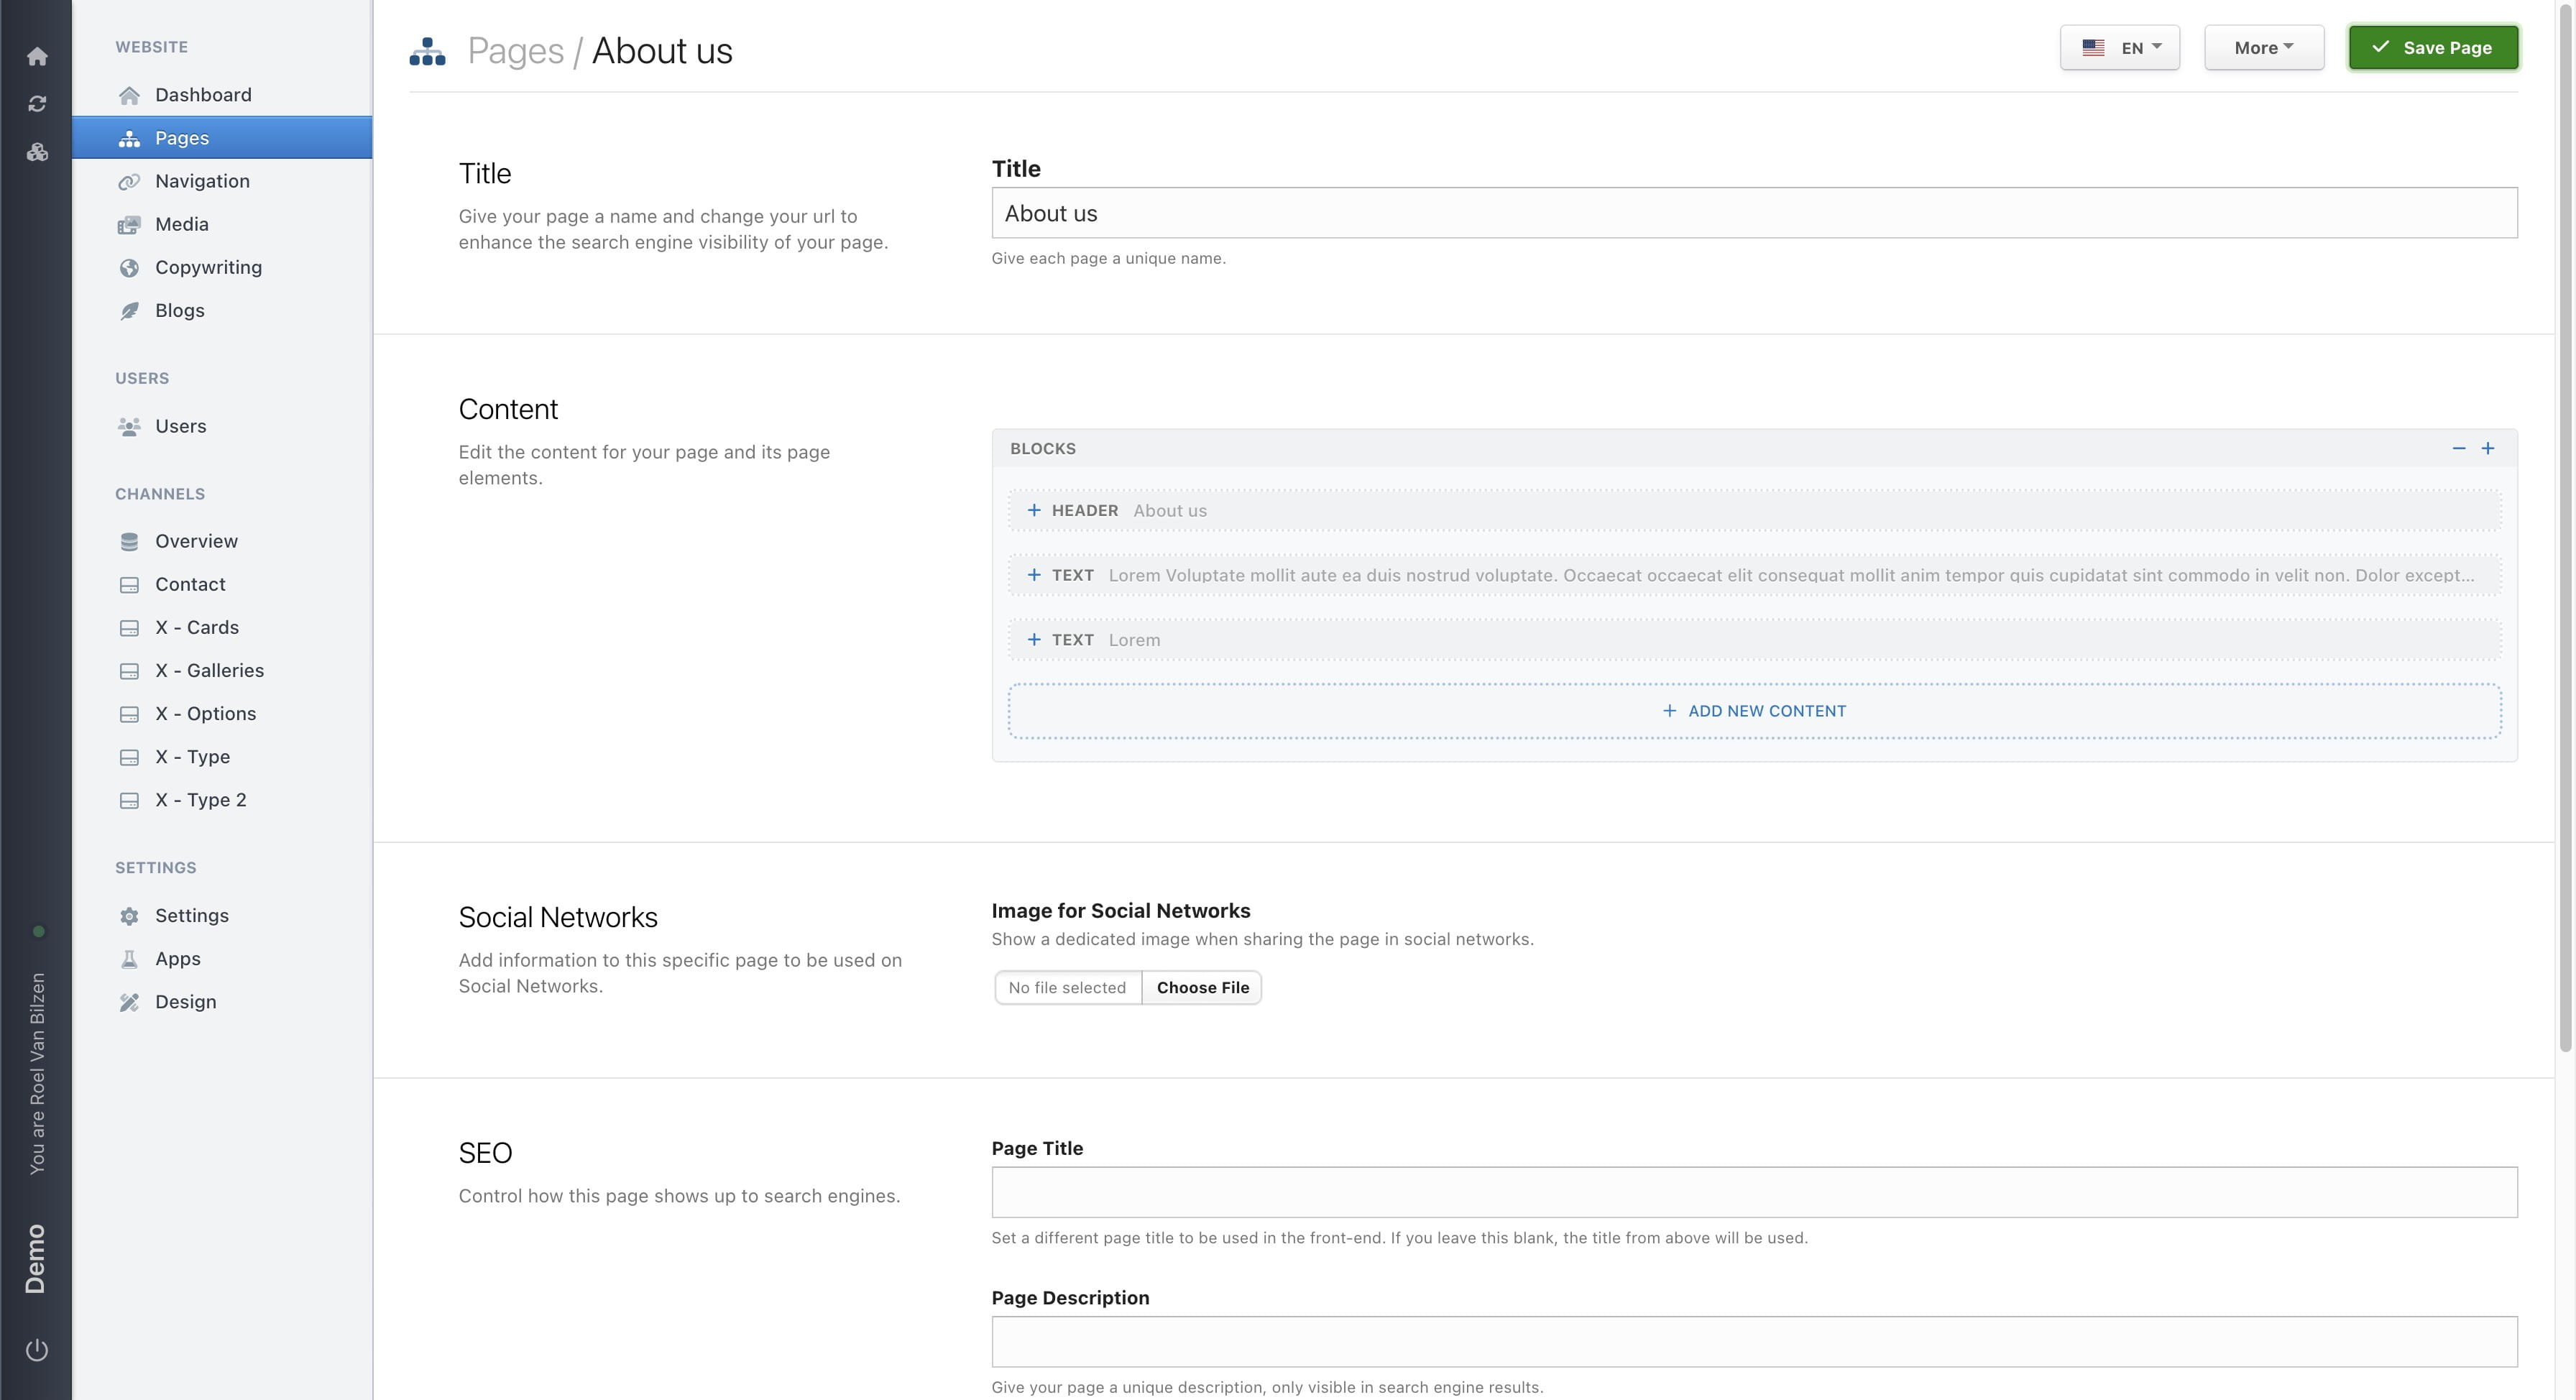
Blocks
Structure your pages with blocks. Each block has it's specific function, structure and are create to fit your design.
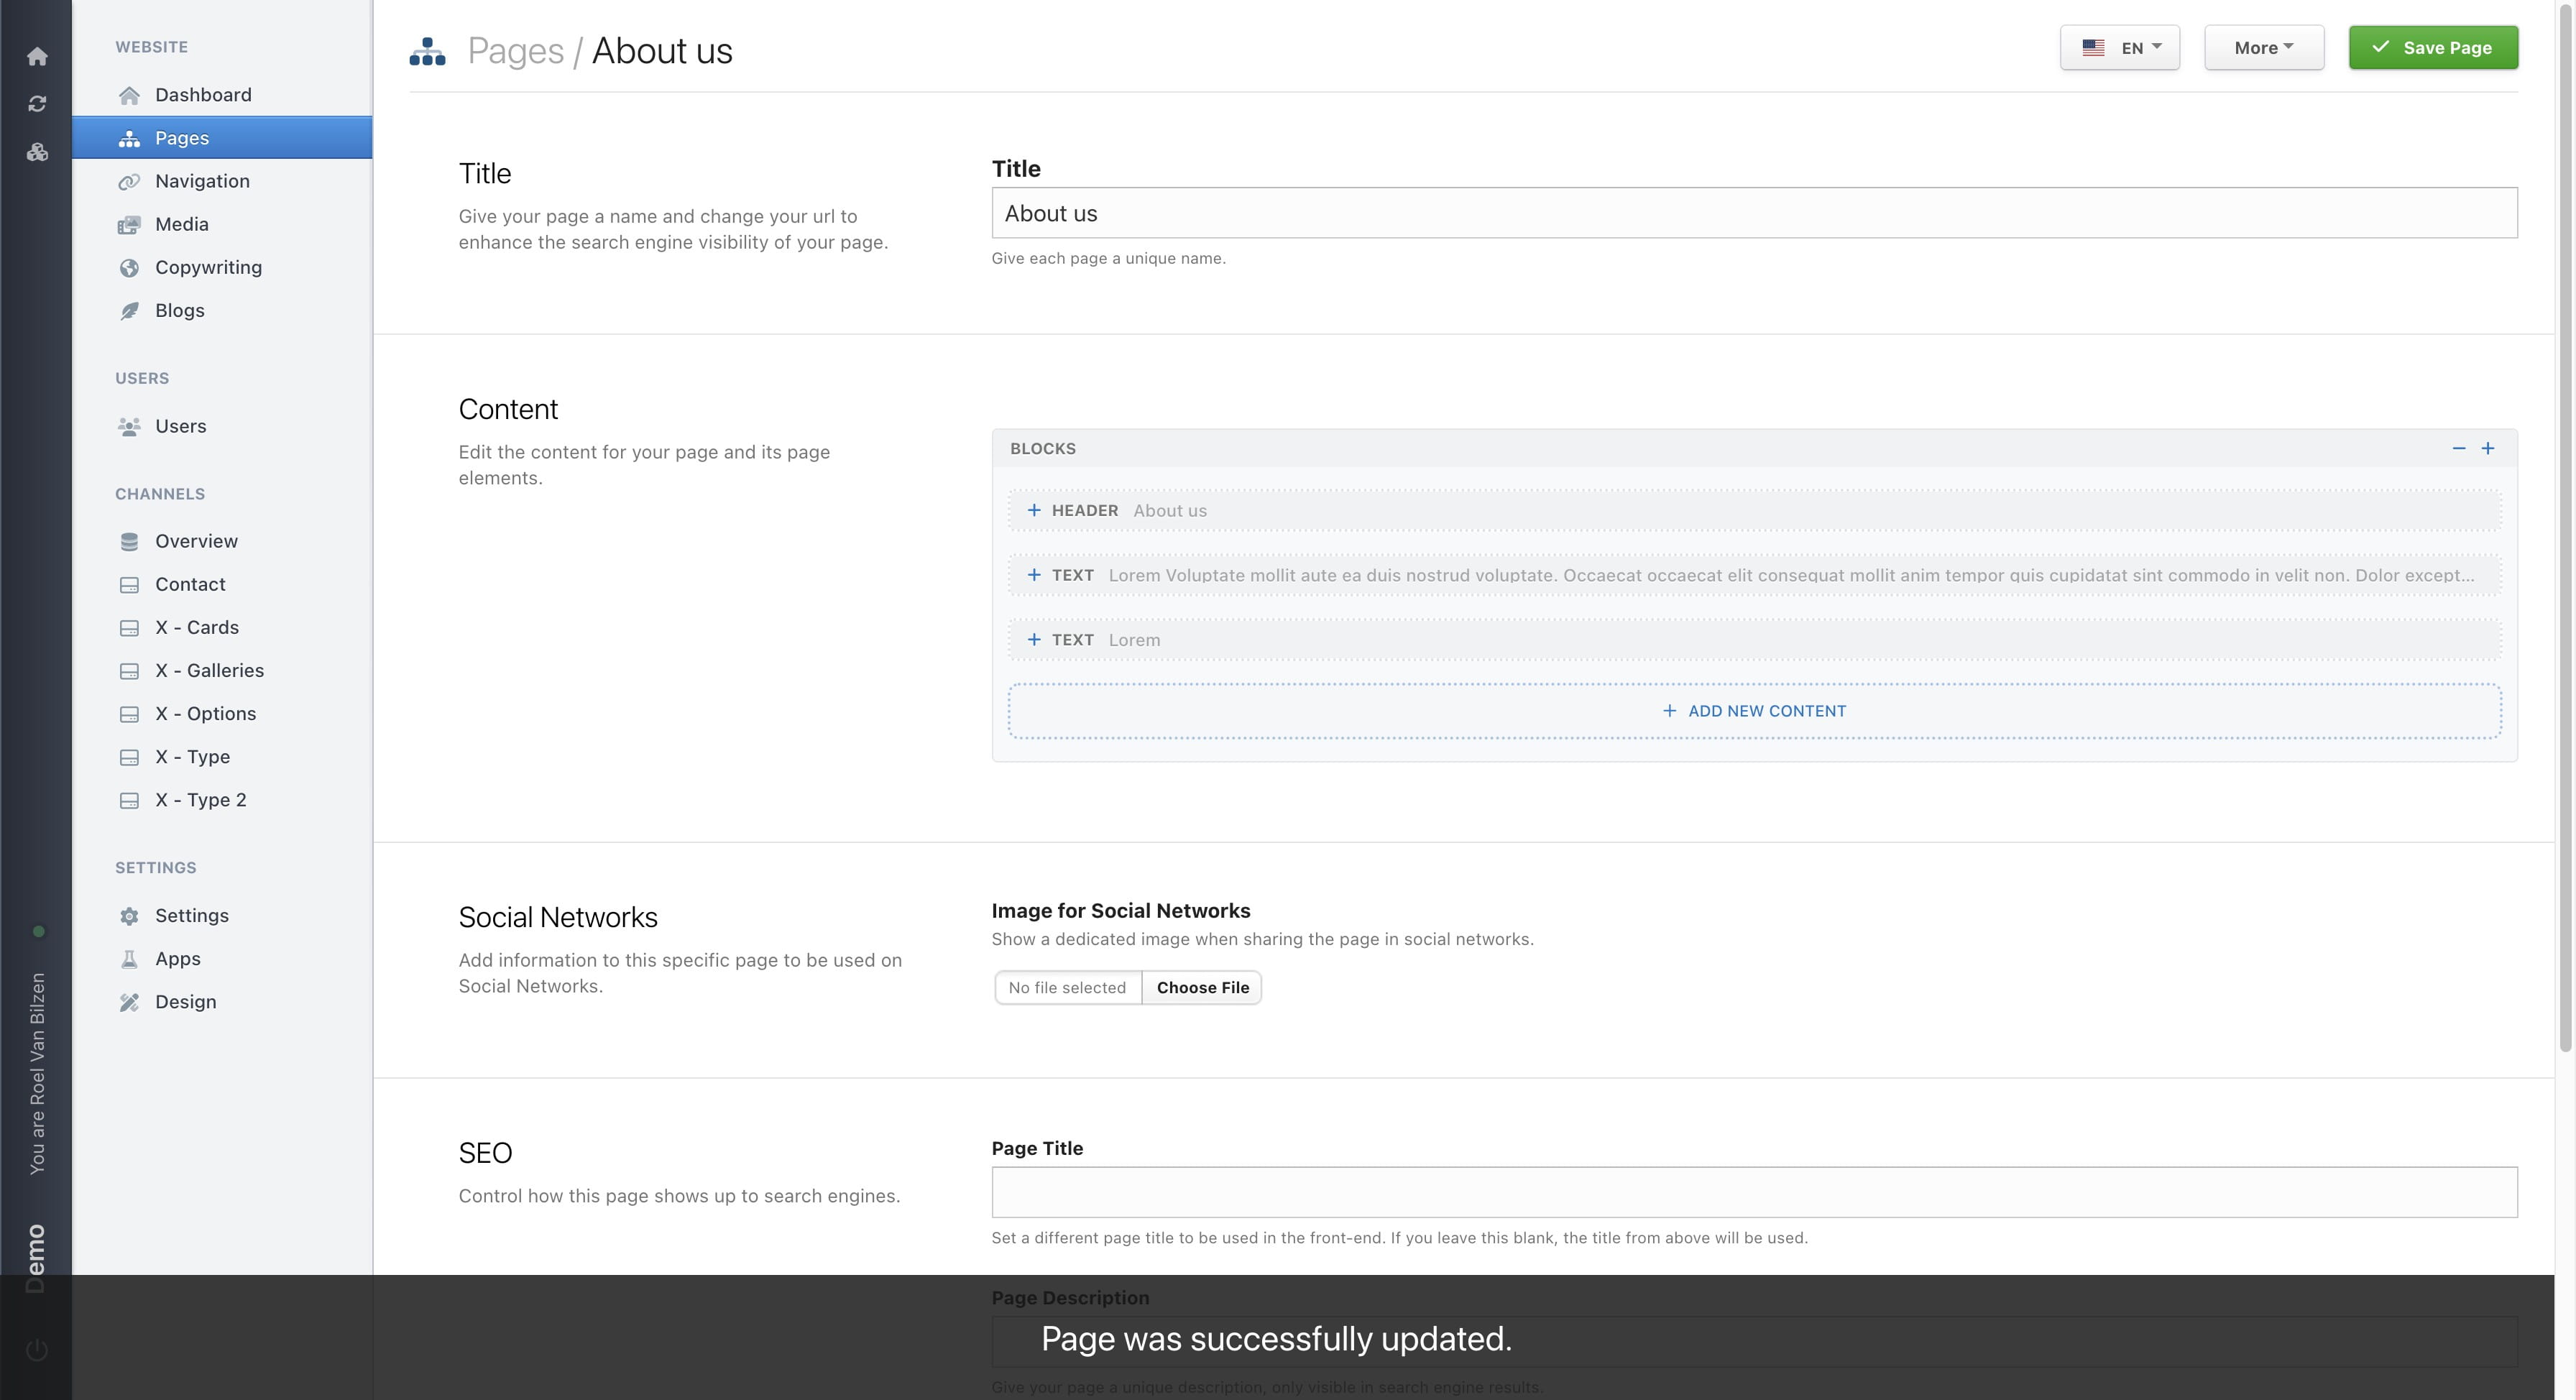
Navigate to https://[YOUR DOMAIN].nimbu.io/admin/pages and select a page you want to structure.
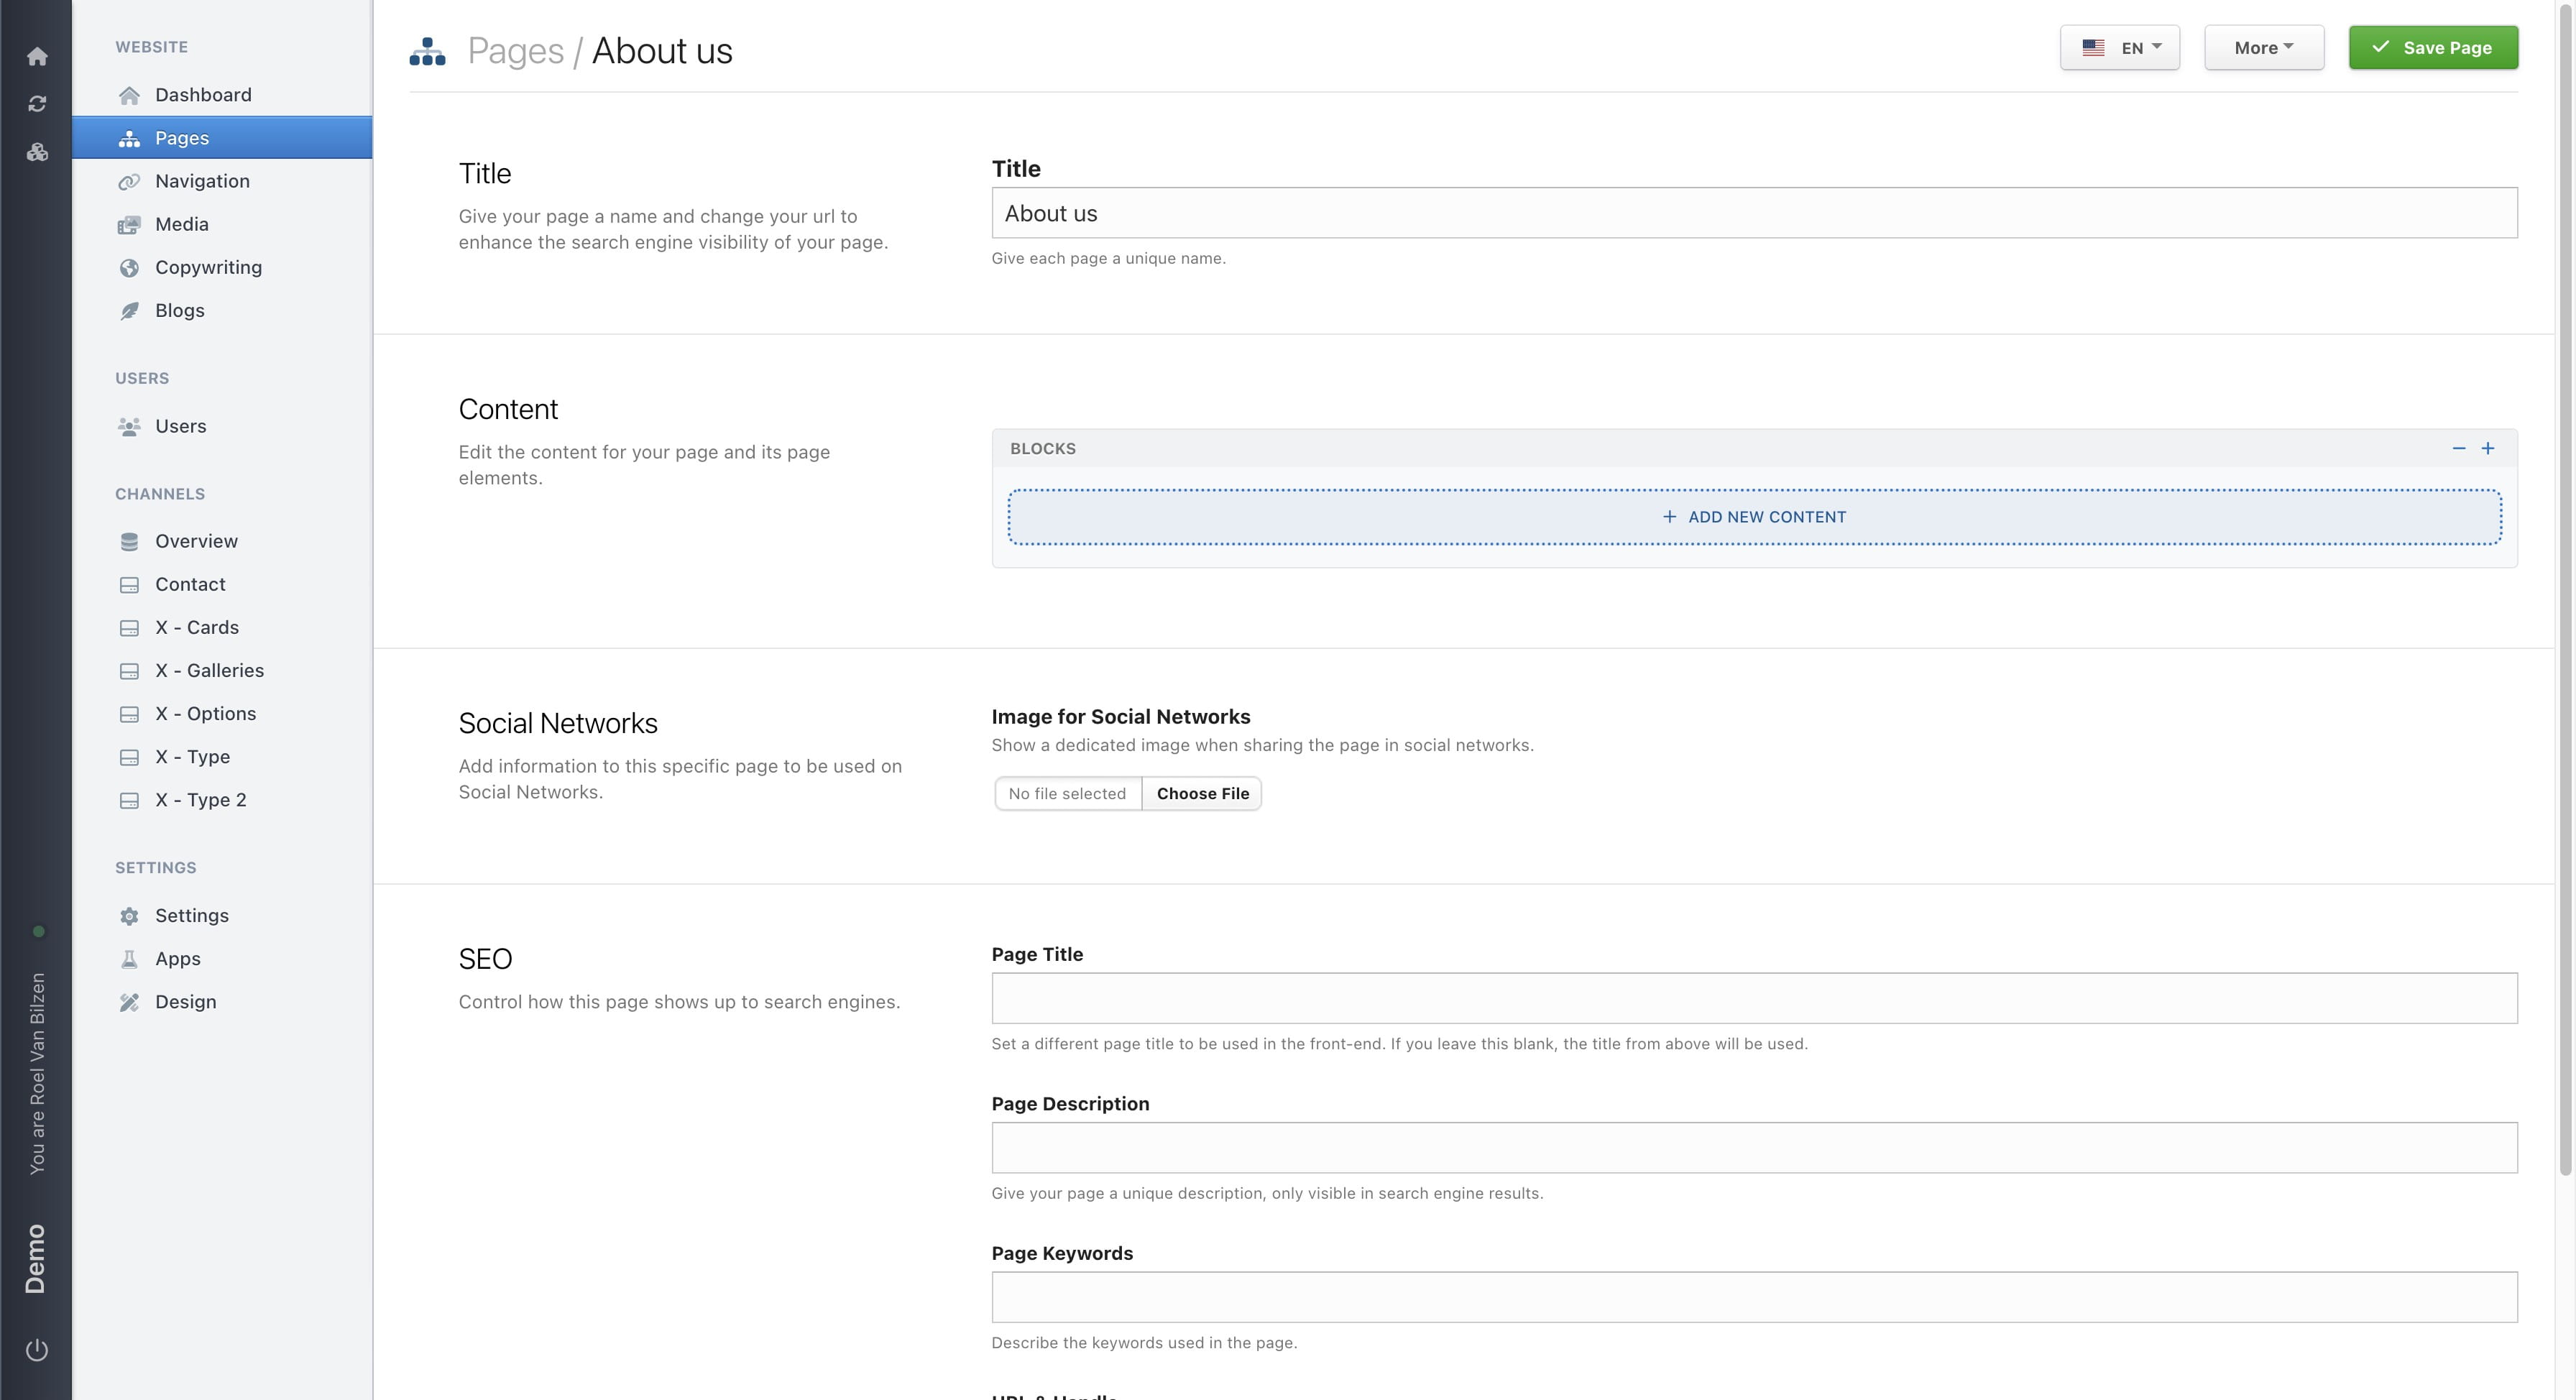
Click on "Add new content" to get a popup of all the blocks that were made for your site.
Select the block you like to add.

Each block has a different setup of fields. Fill out the content that is needed for the website. The fields are descriptive enough for you to know what needs to be filled in. If this is not the case an hint is added below the title to give an explanation what is expected in the field.
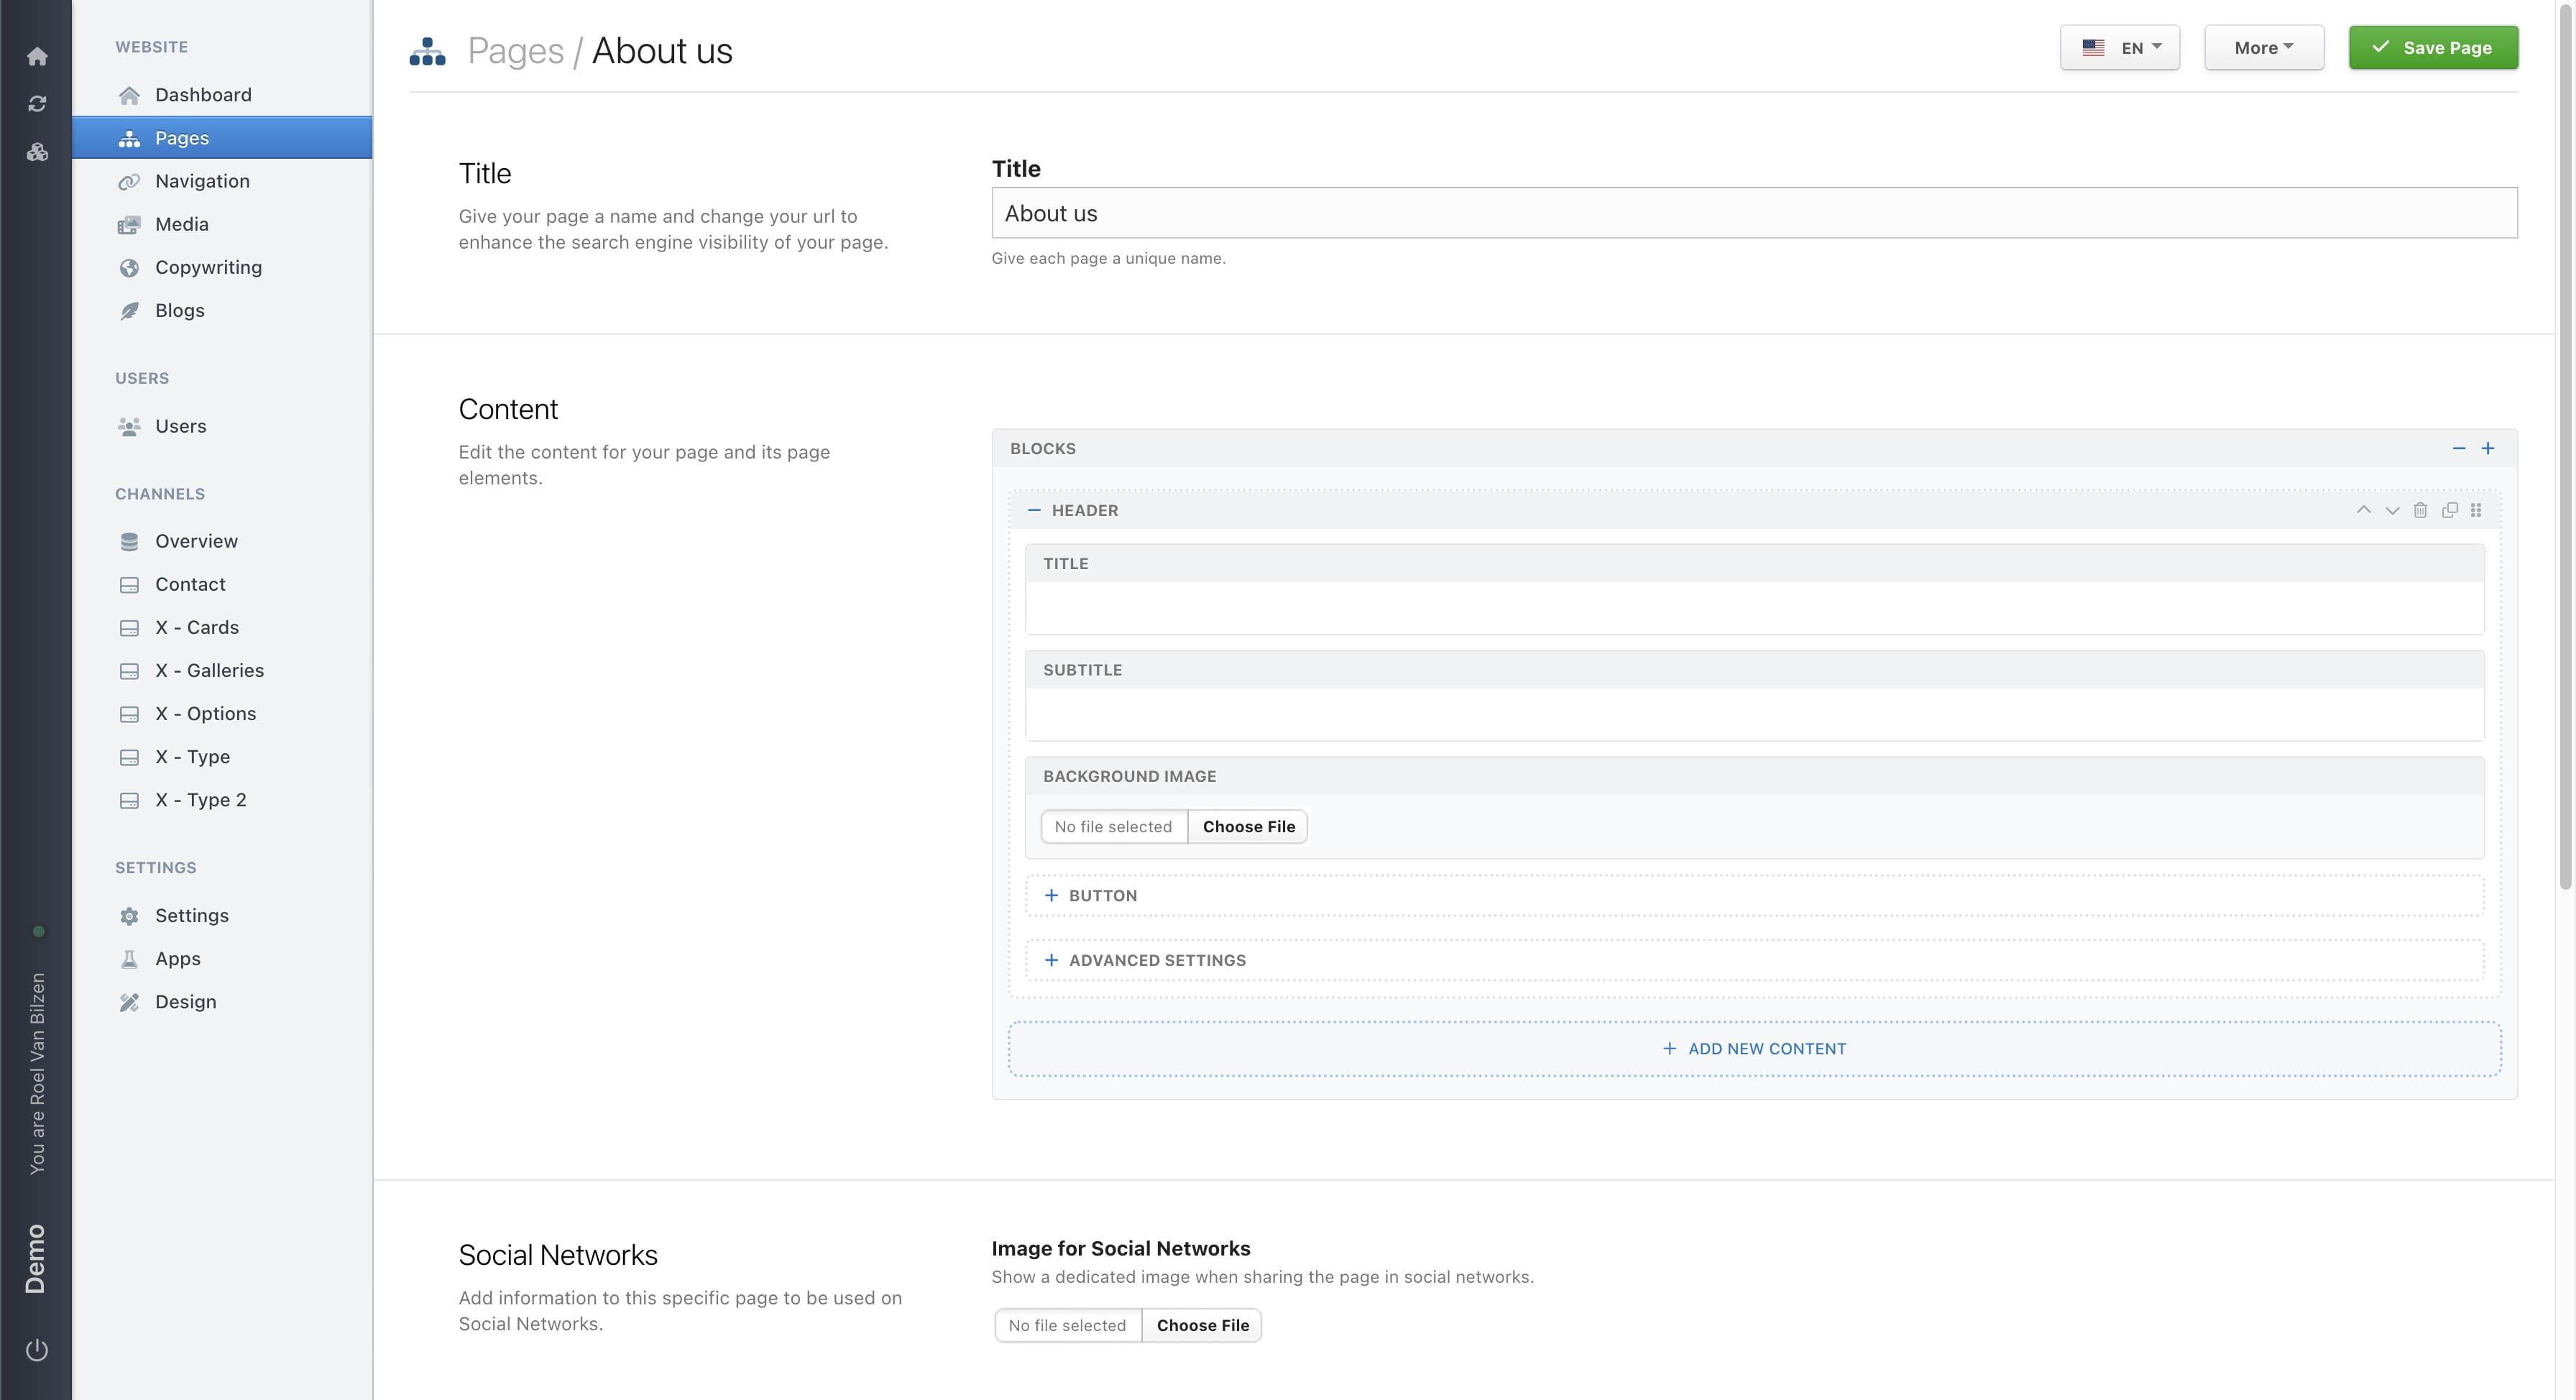
It is possible that in a block that there are multiple collapsable areas. These have specific information such as "Buttons" and "Advanced settings".

A button has a text and link. Text is what is visible inside the button. Link is the URL. Important is that links to another website need to start with https://. Internal links may contain the complete URL, however the path is enough. Example is /contact for the contact page.
In some cases it also has a checkbox or dropdown to select an internal link. This will indecate it the link opens in another tab or the same.

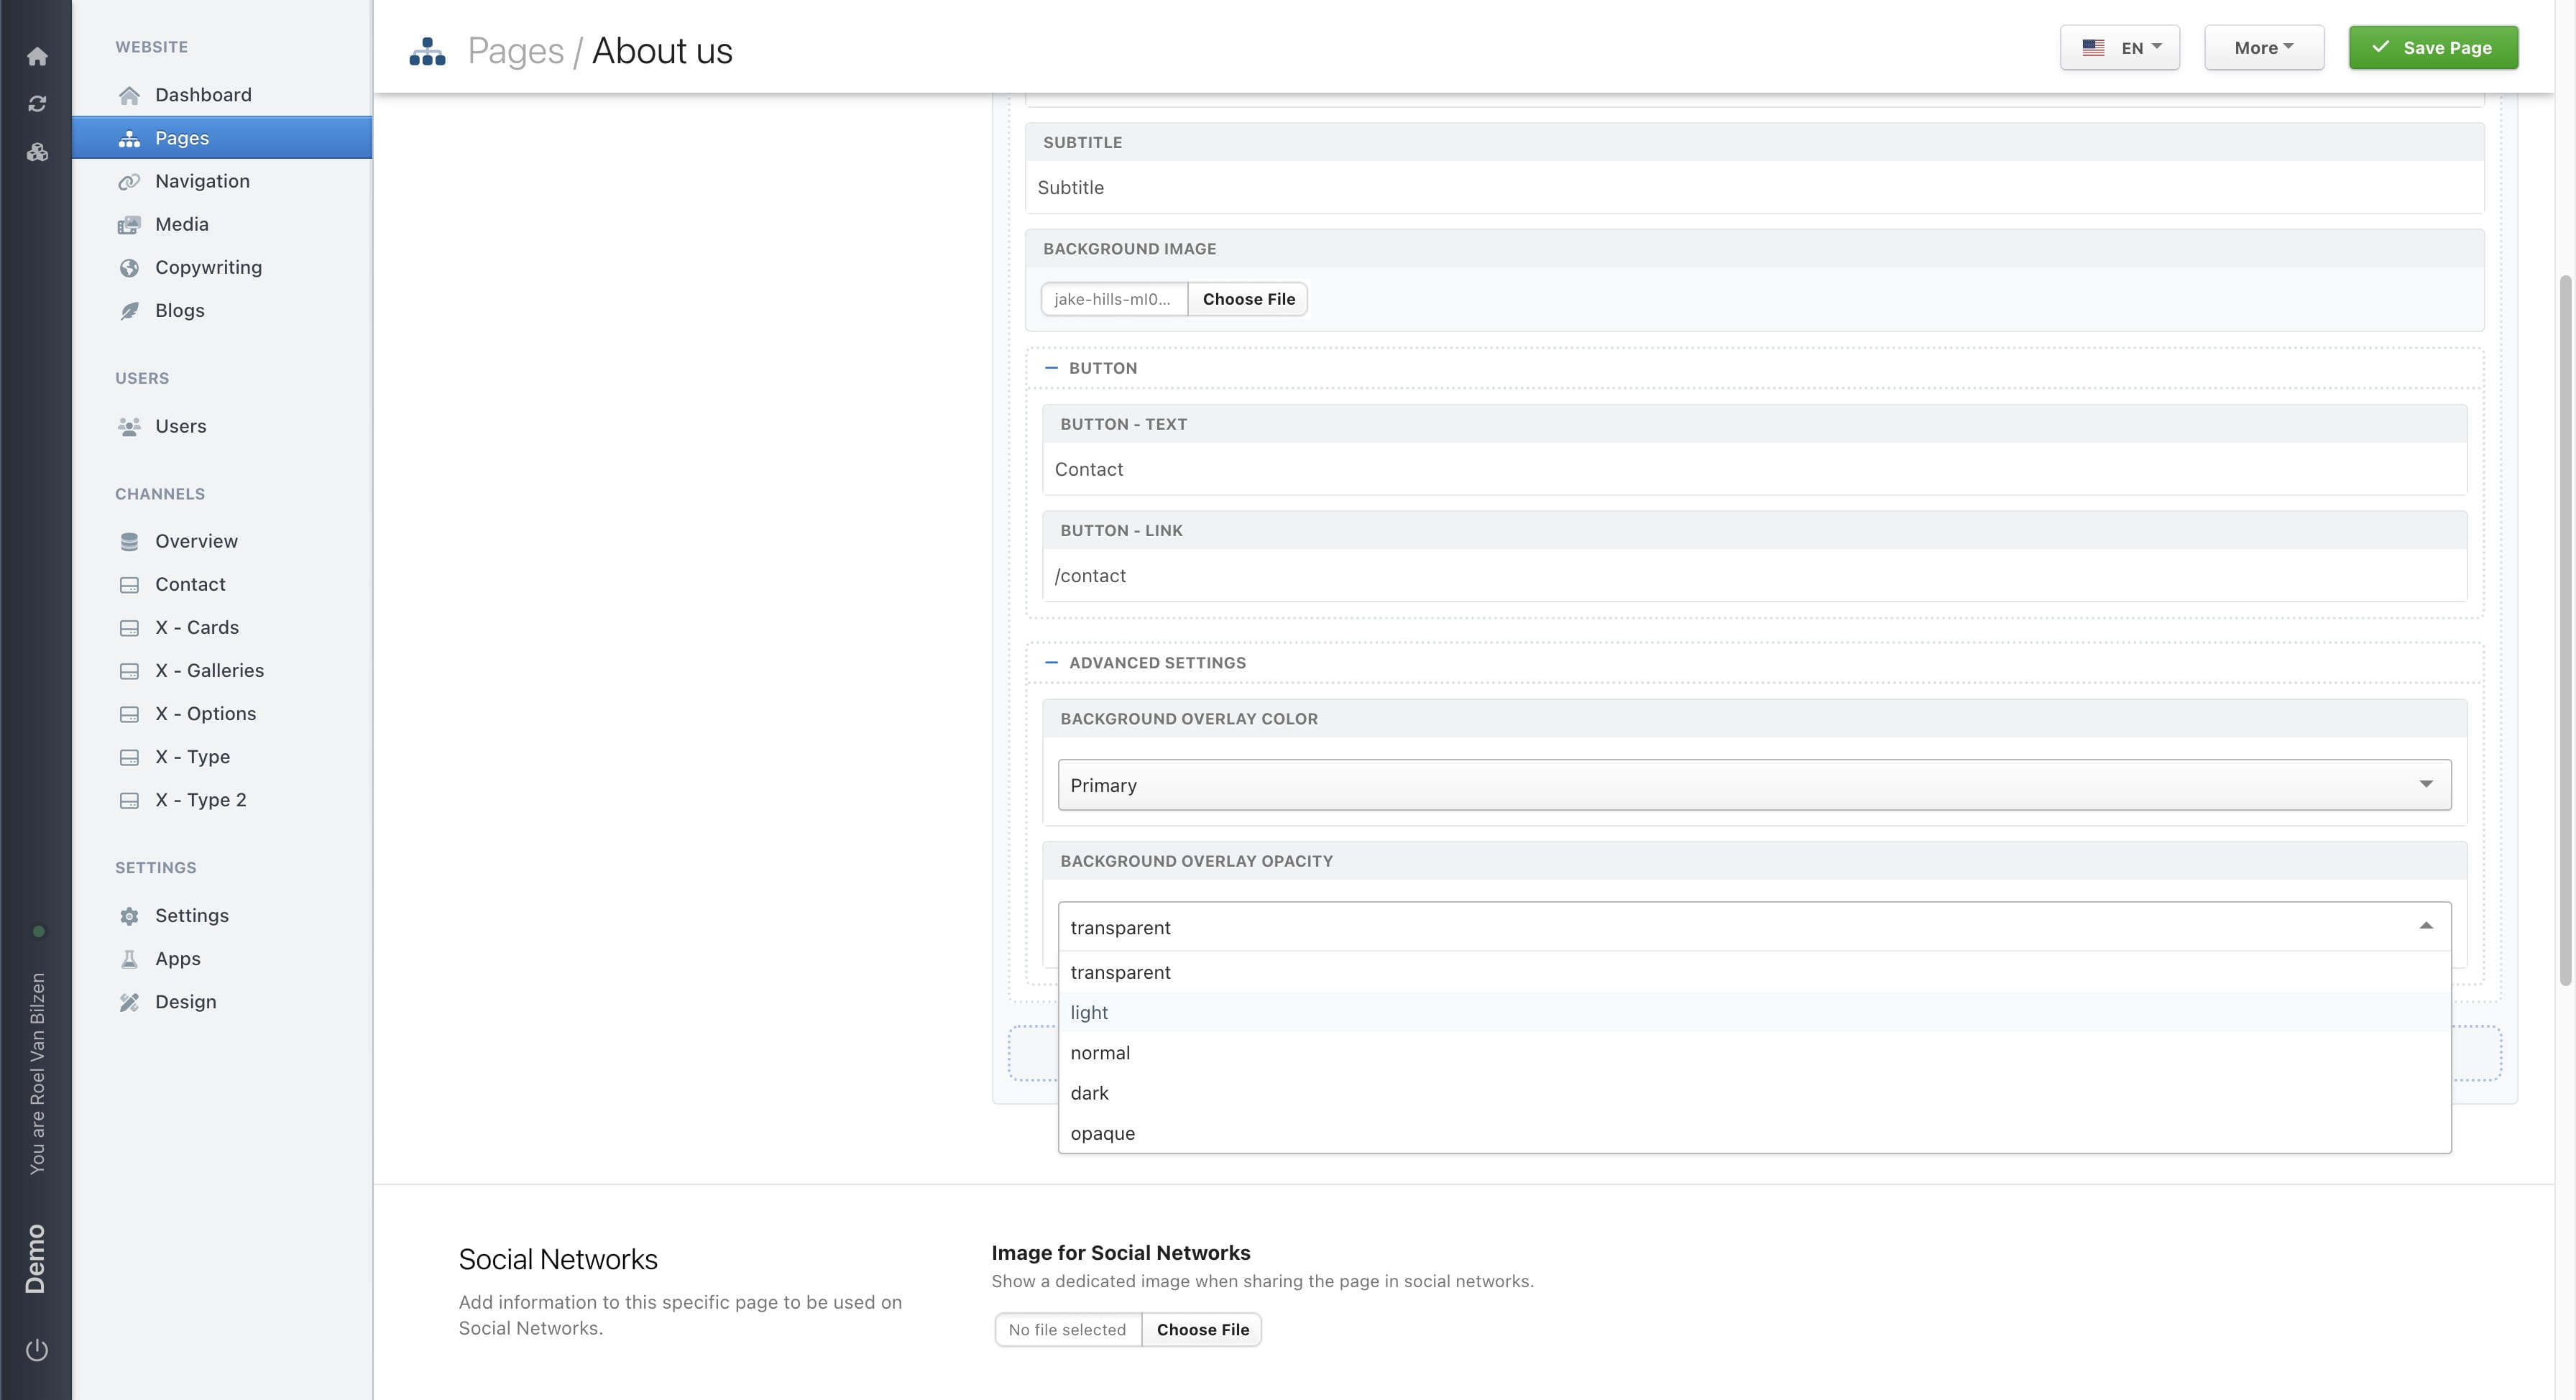
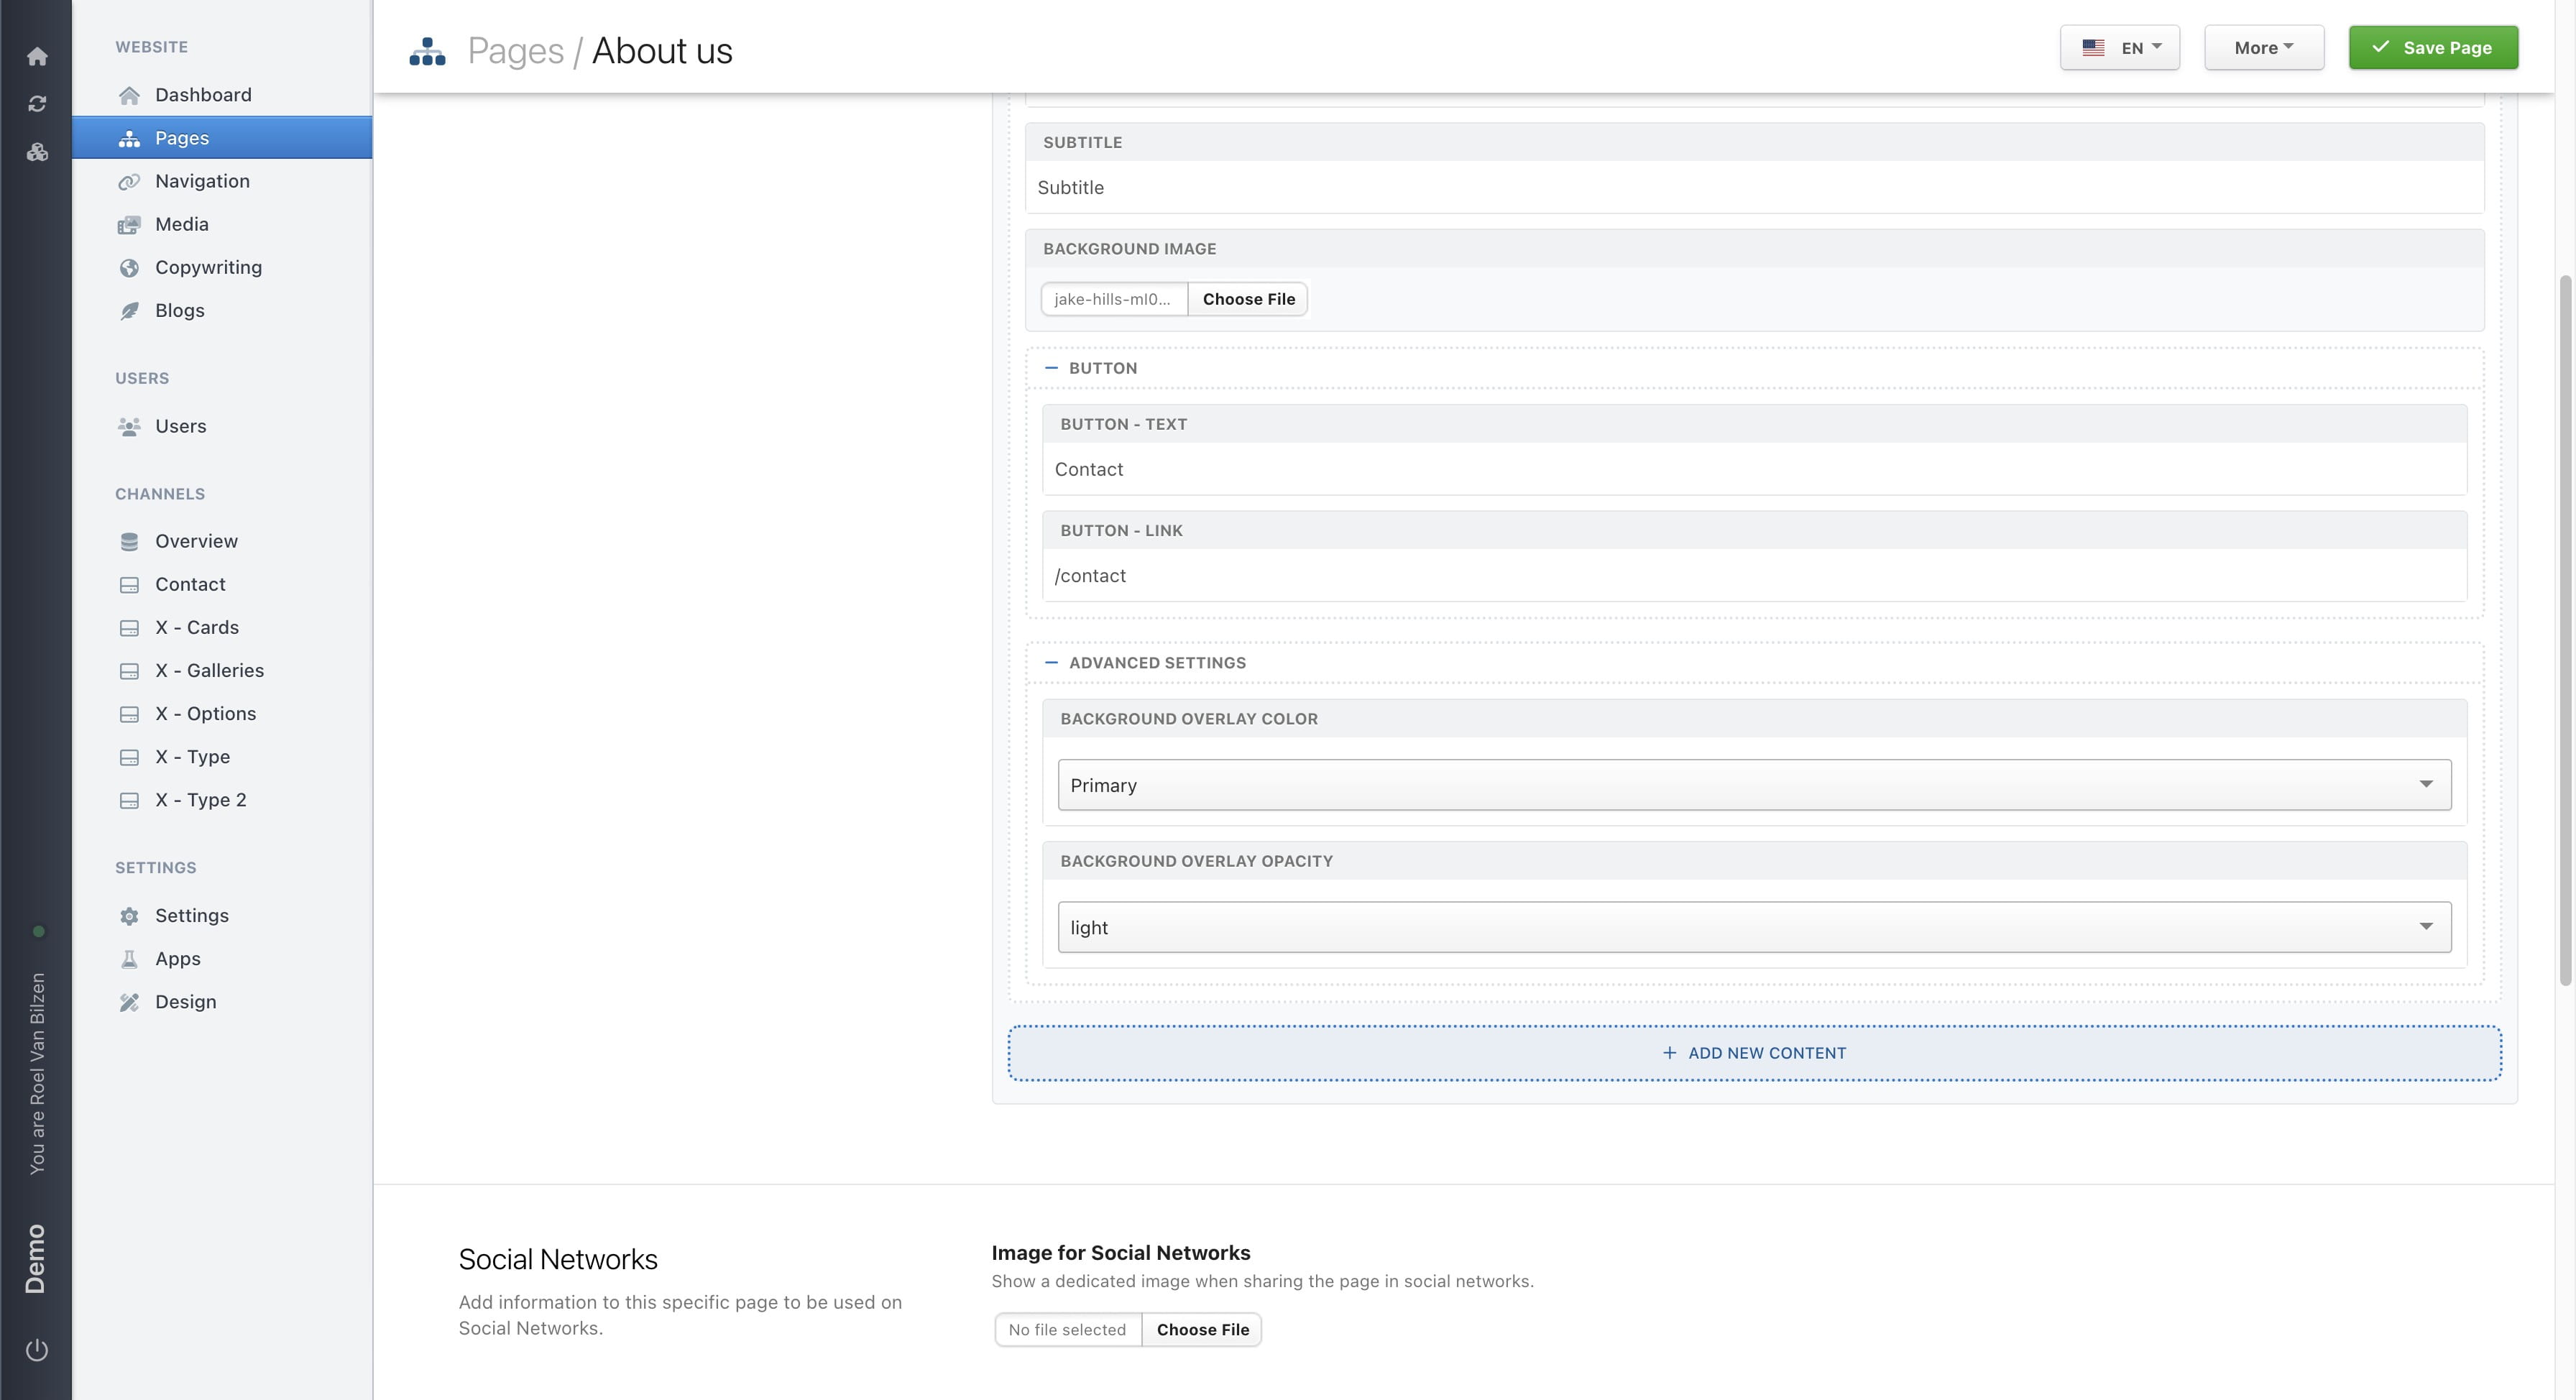
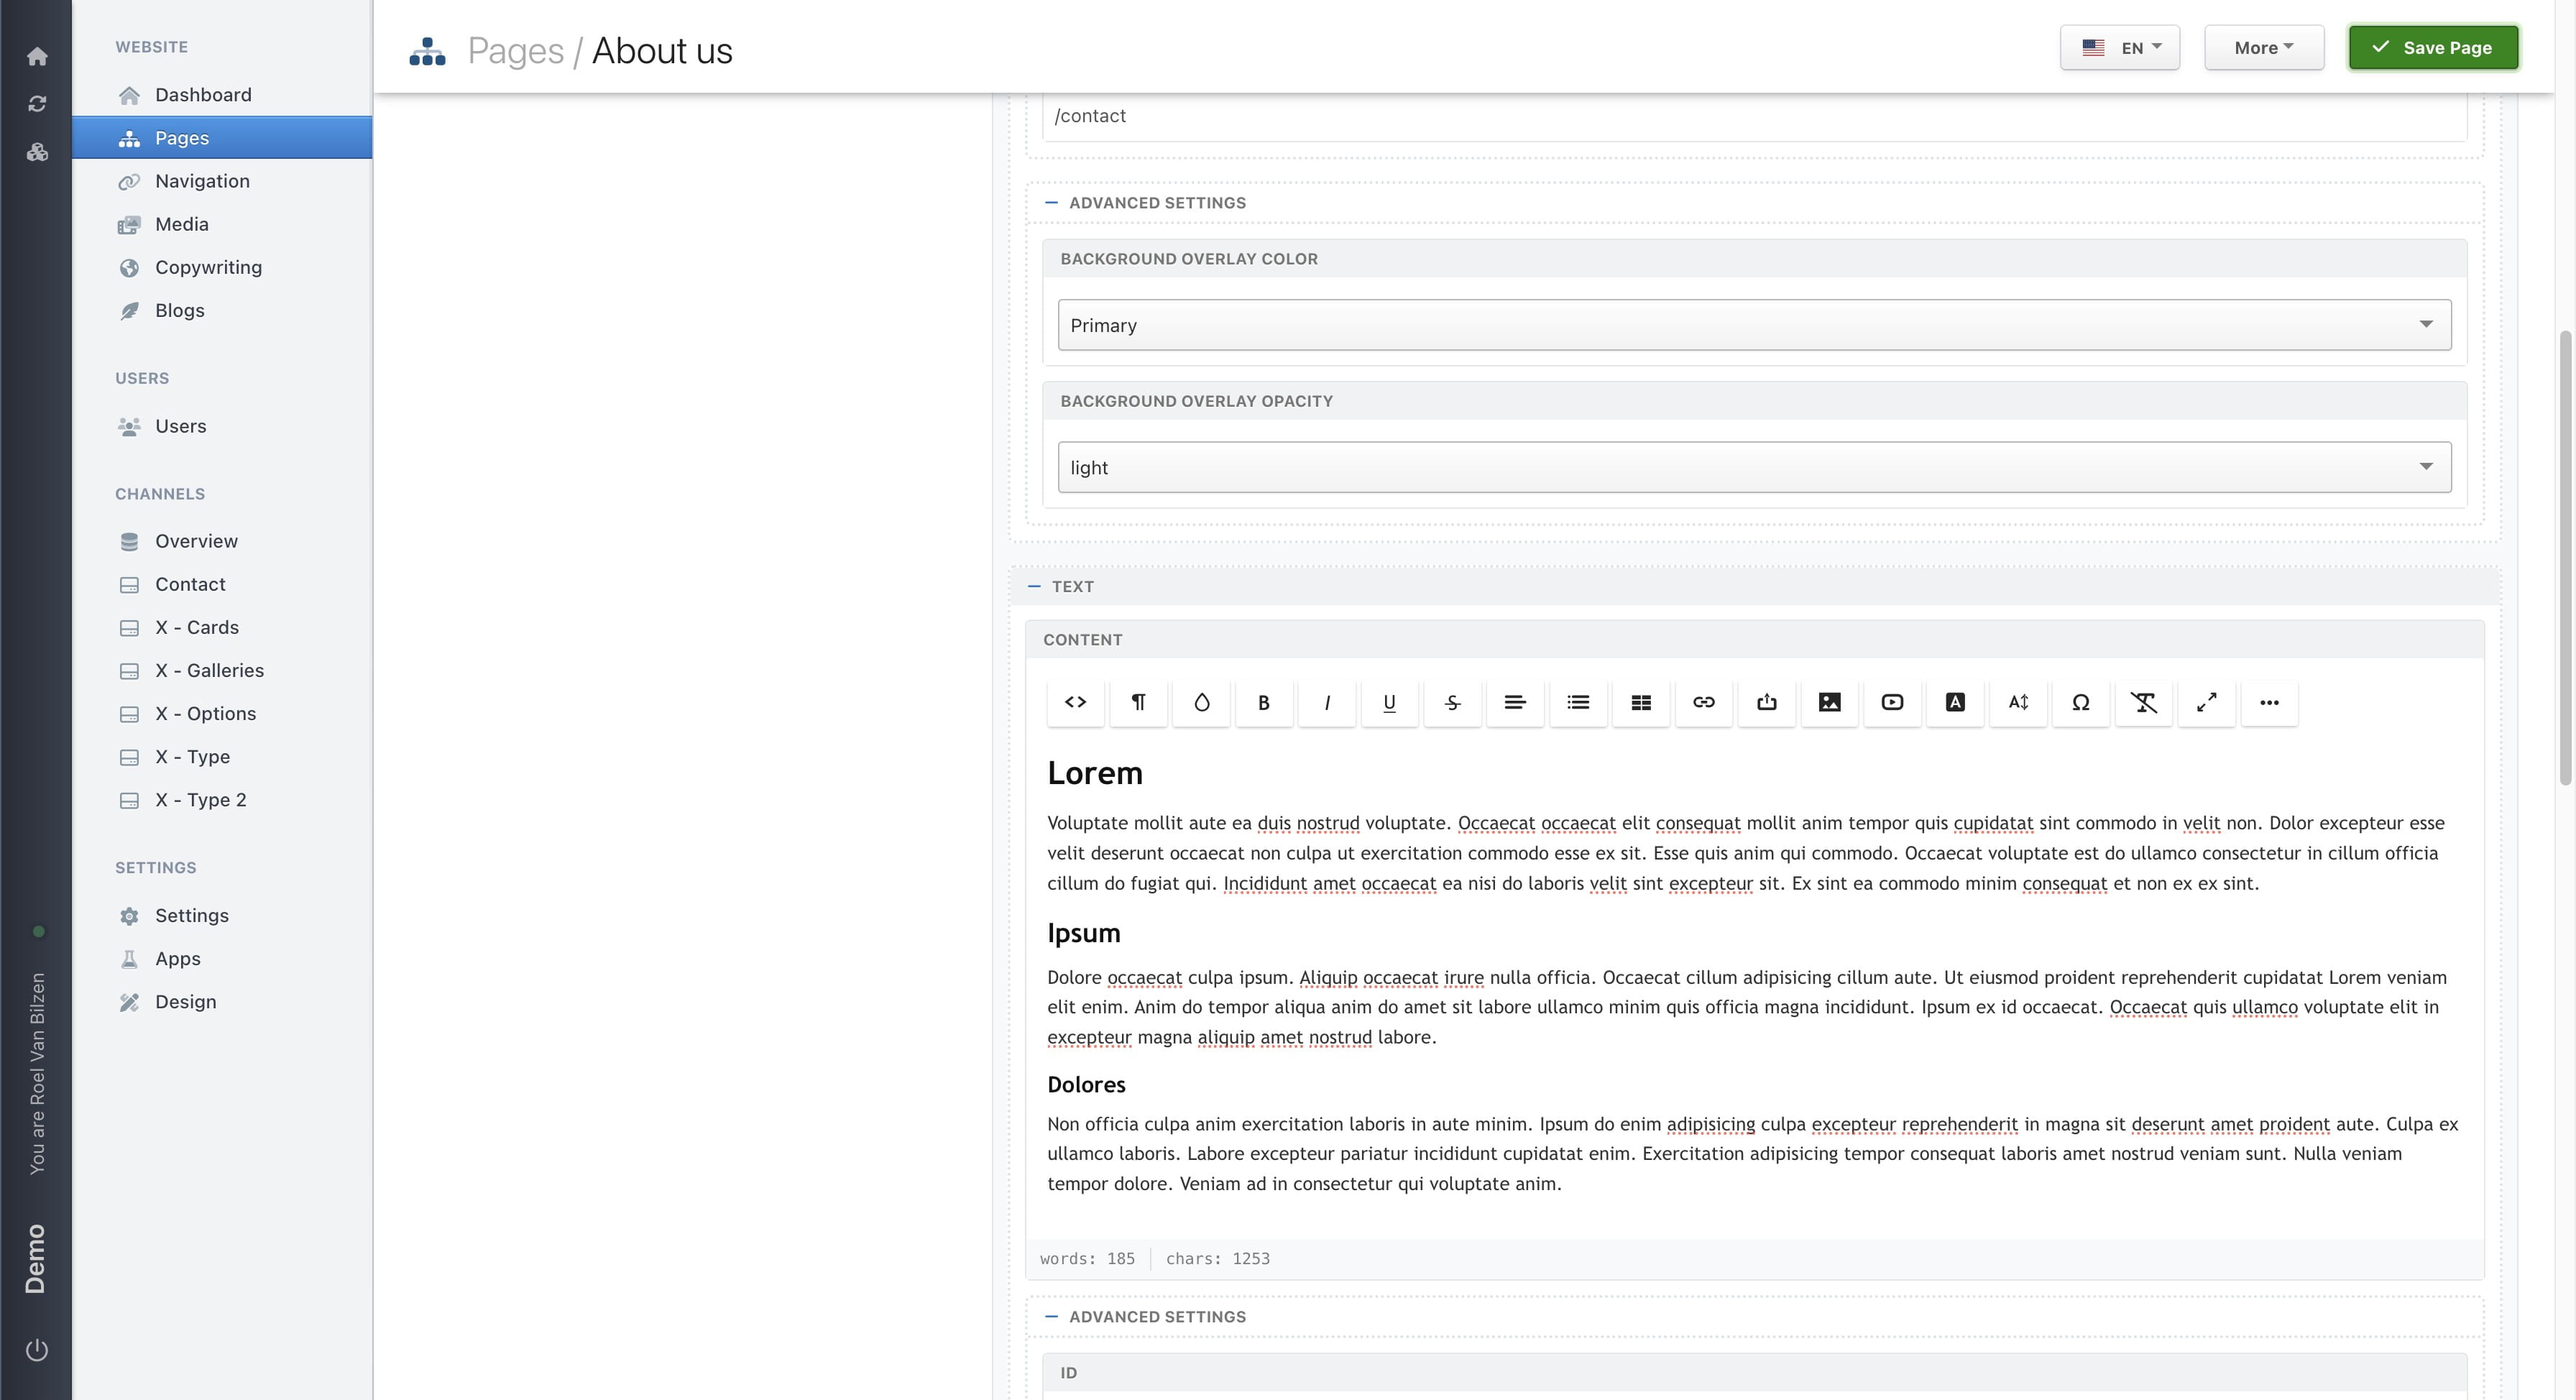
"Advanced settings" contain more detailed settings for a block. The two most commonly used are "overlay options" for headers and various settings for block. We will discuss the last one later on.

A header can have a background overlay. This is a colorlayer between the text and background image. The colors that are available are based on the design.
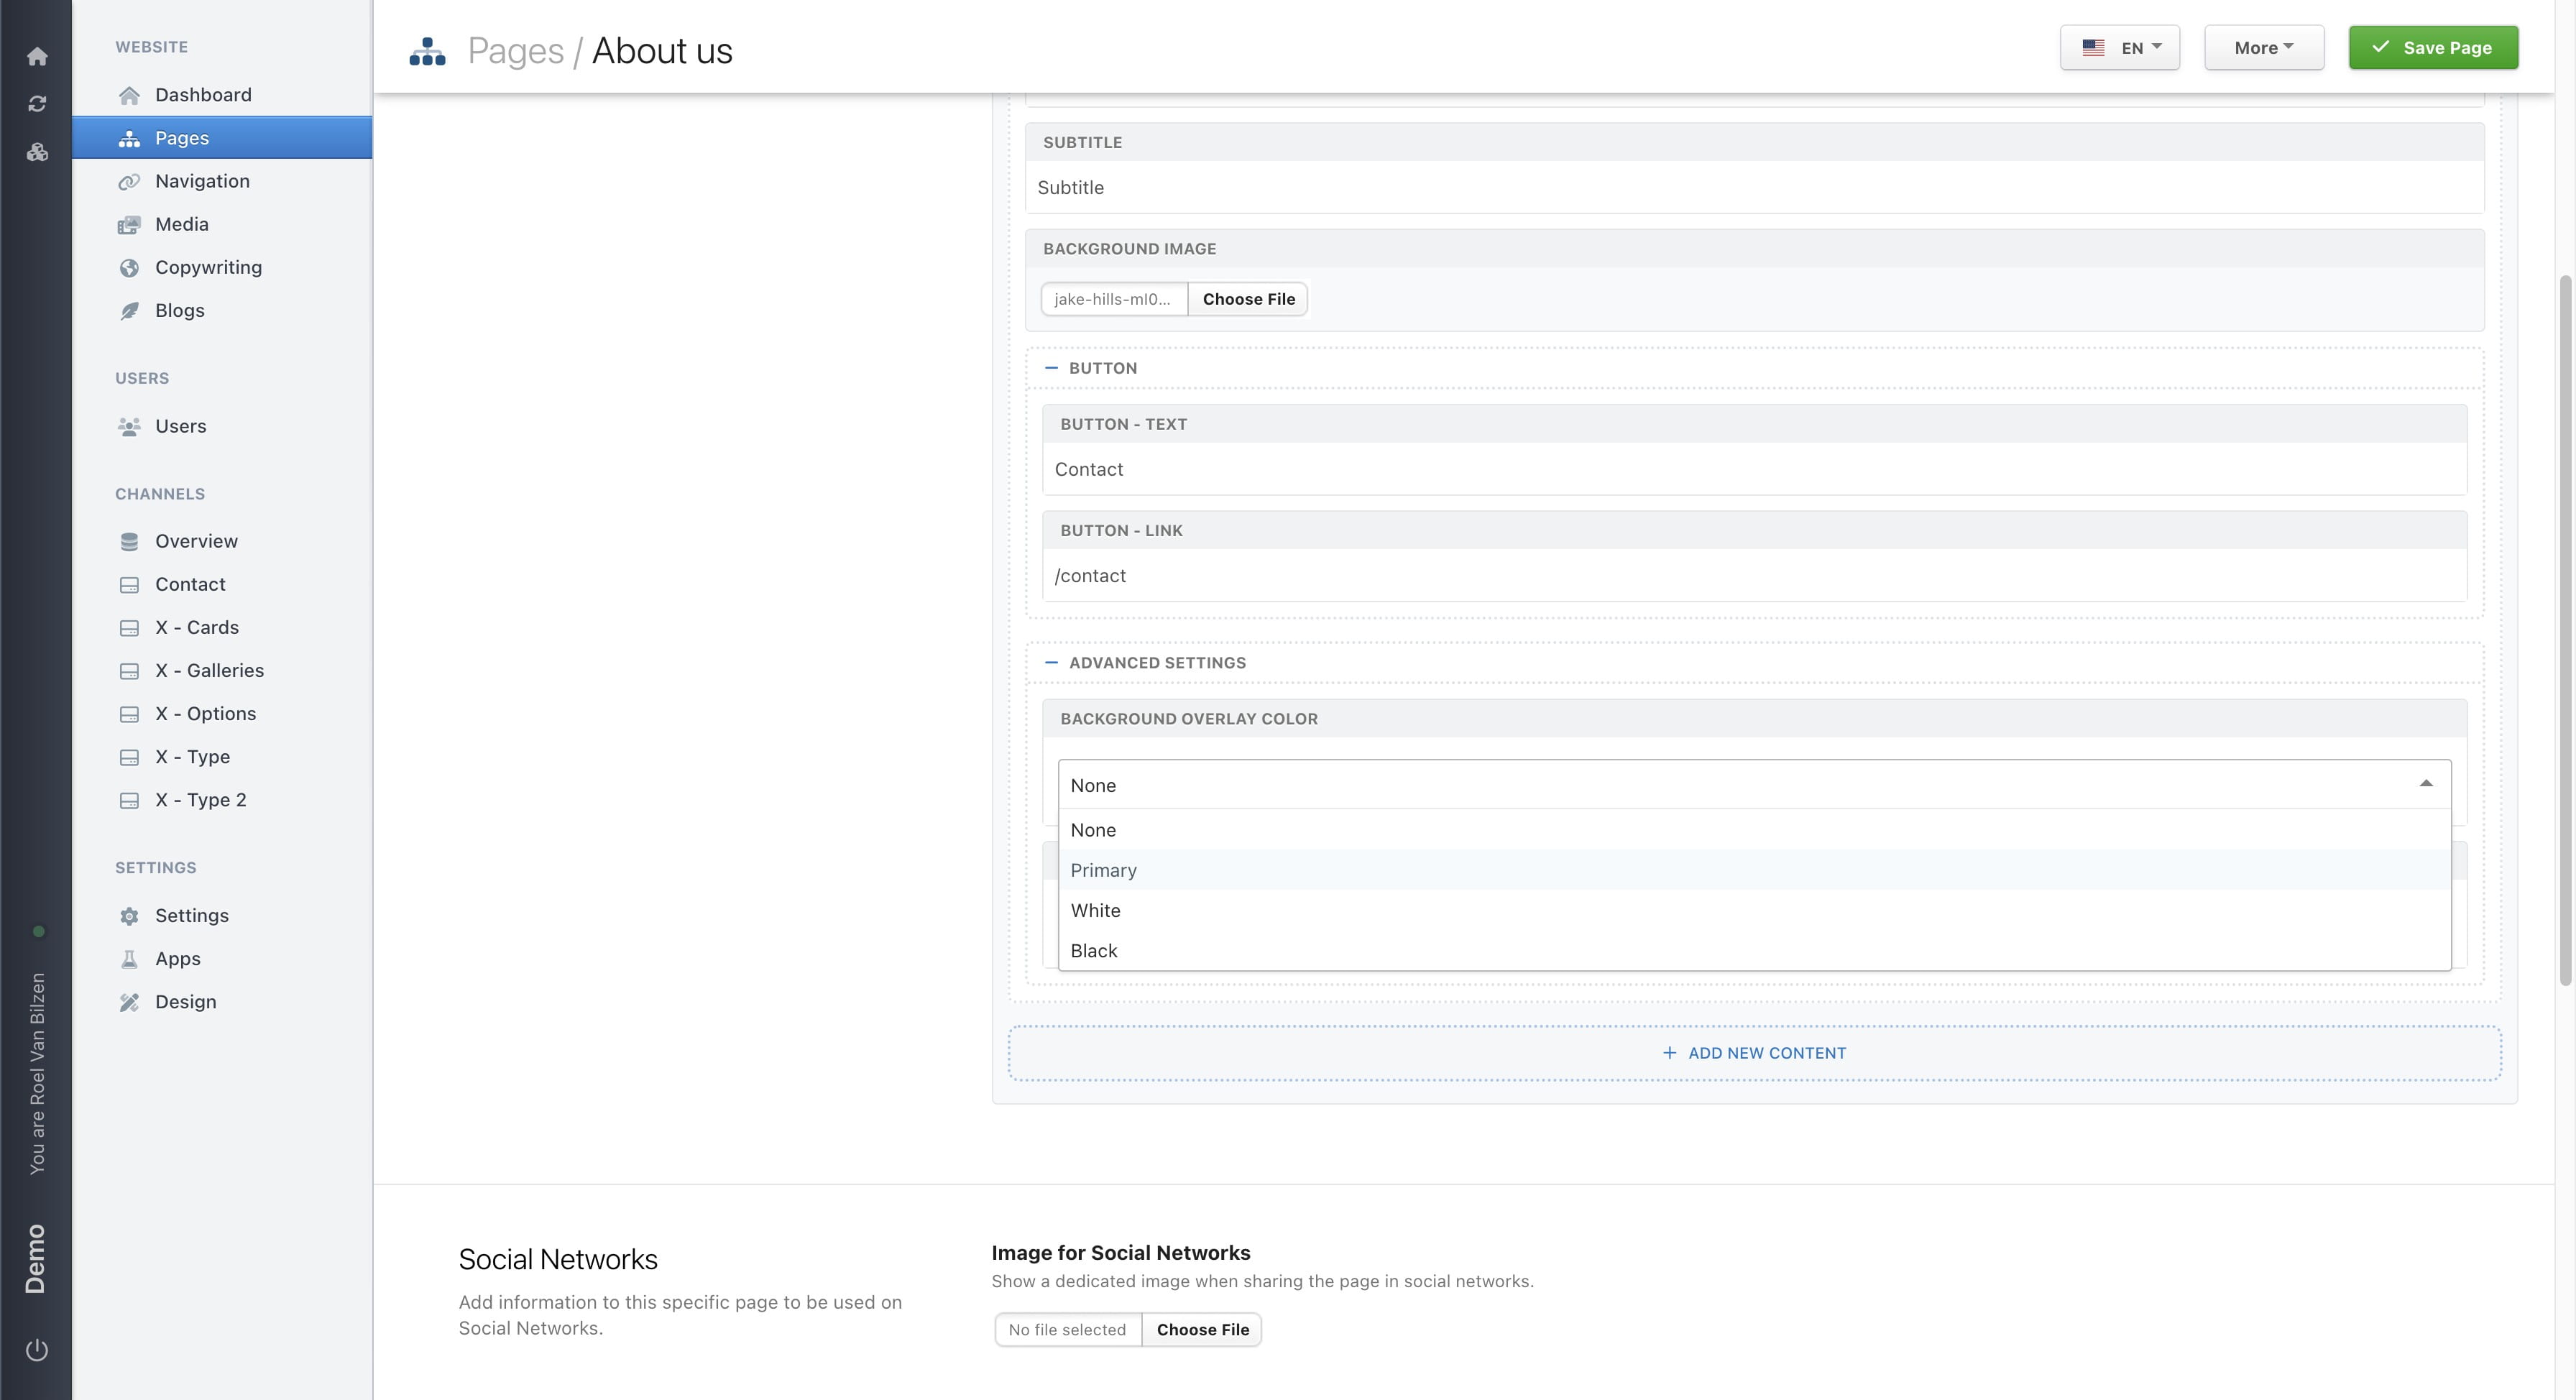
And opacity is to define if the overlay is transparent, translucent or someting in between.
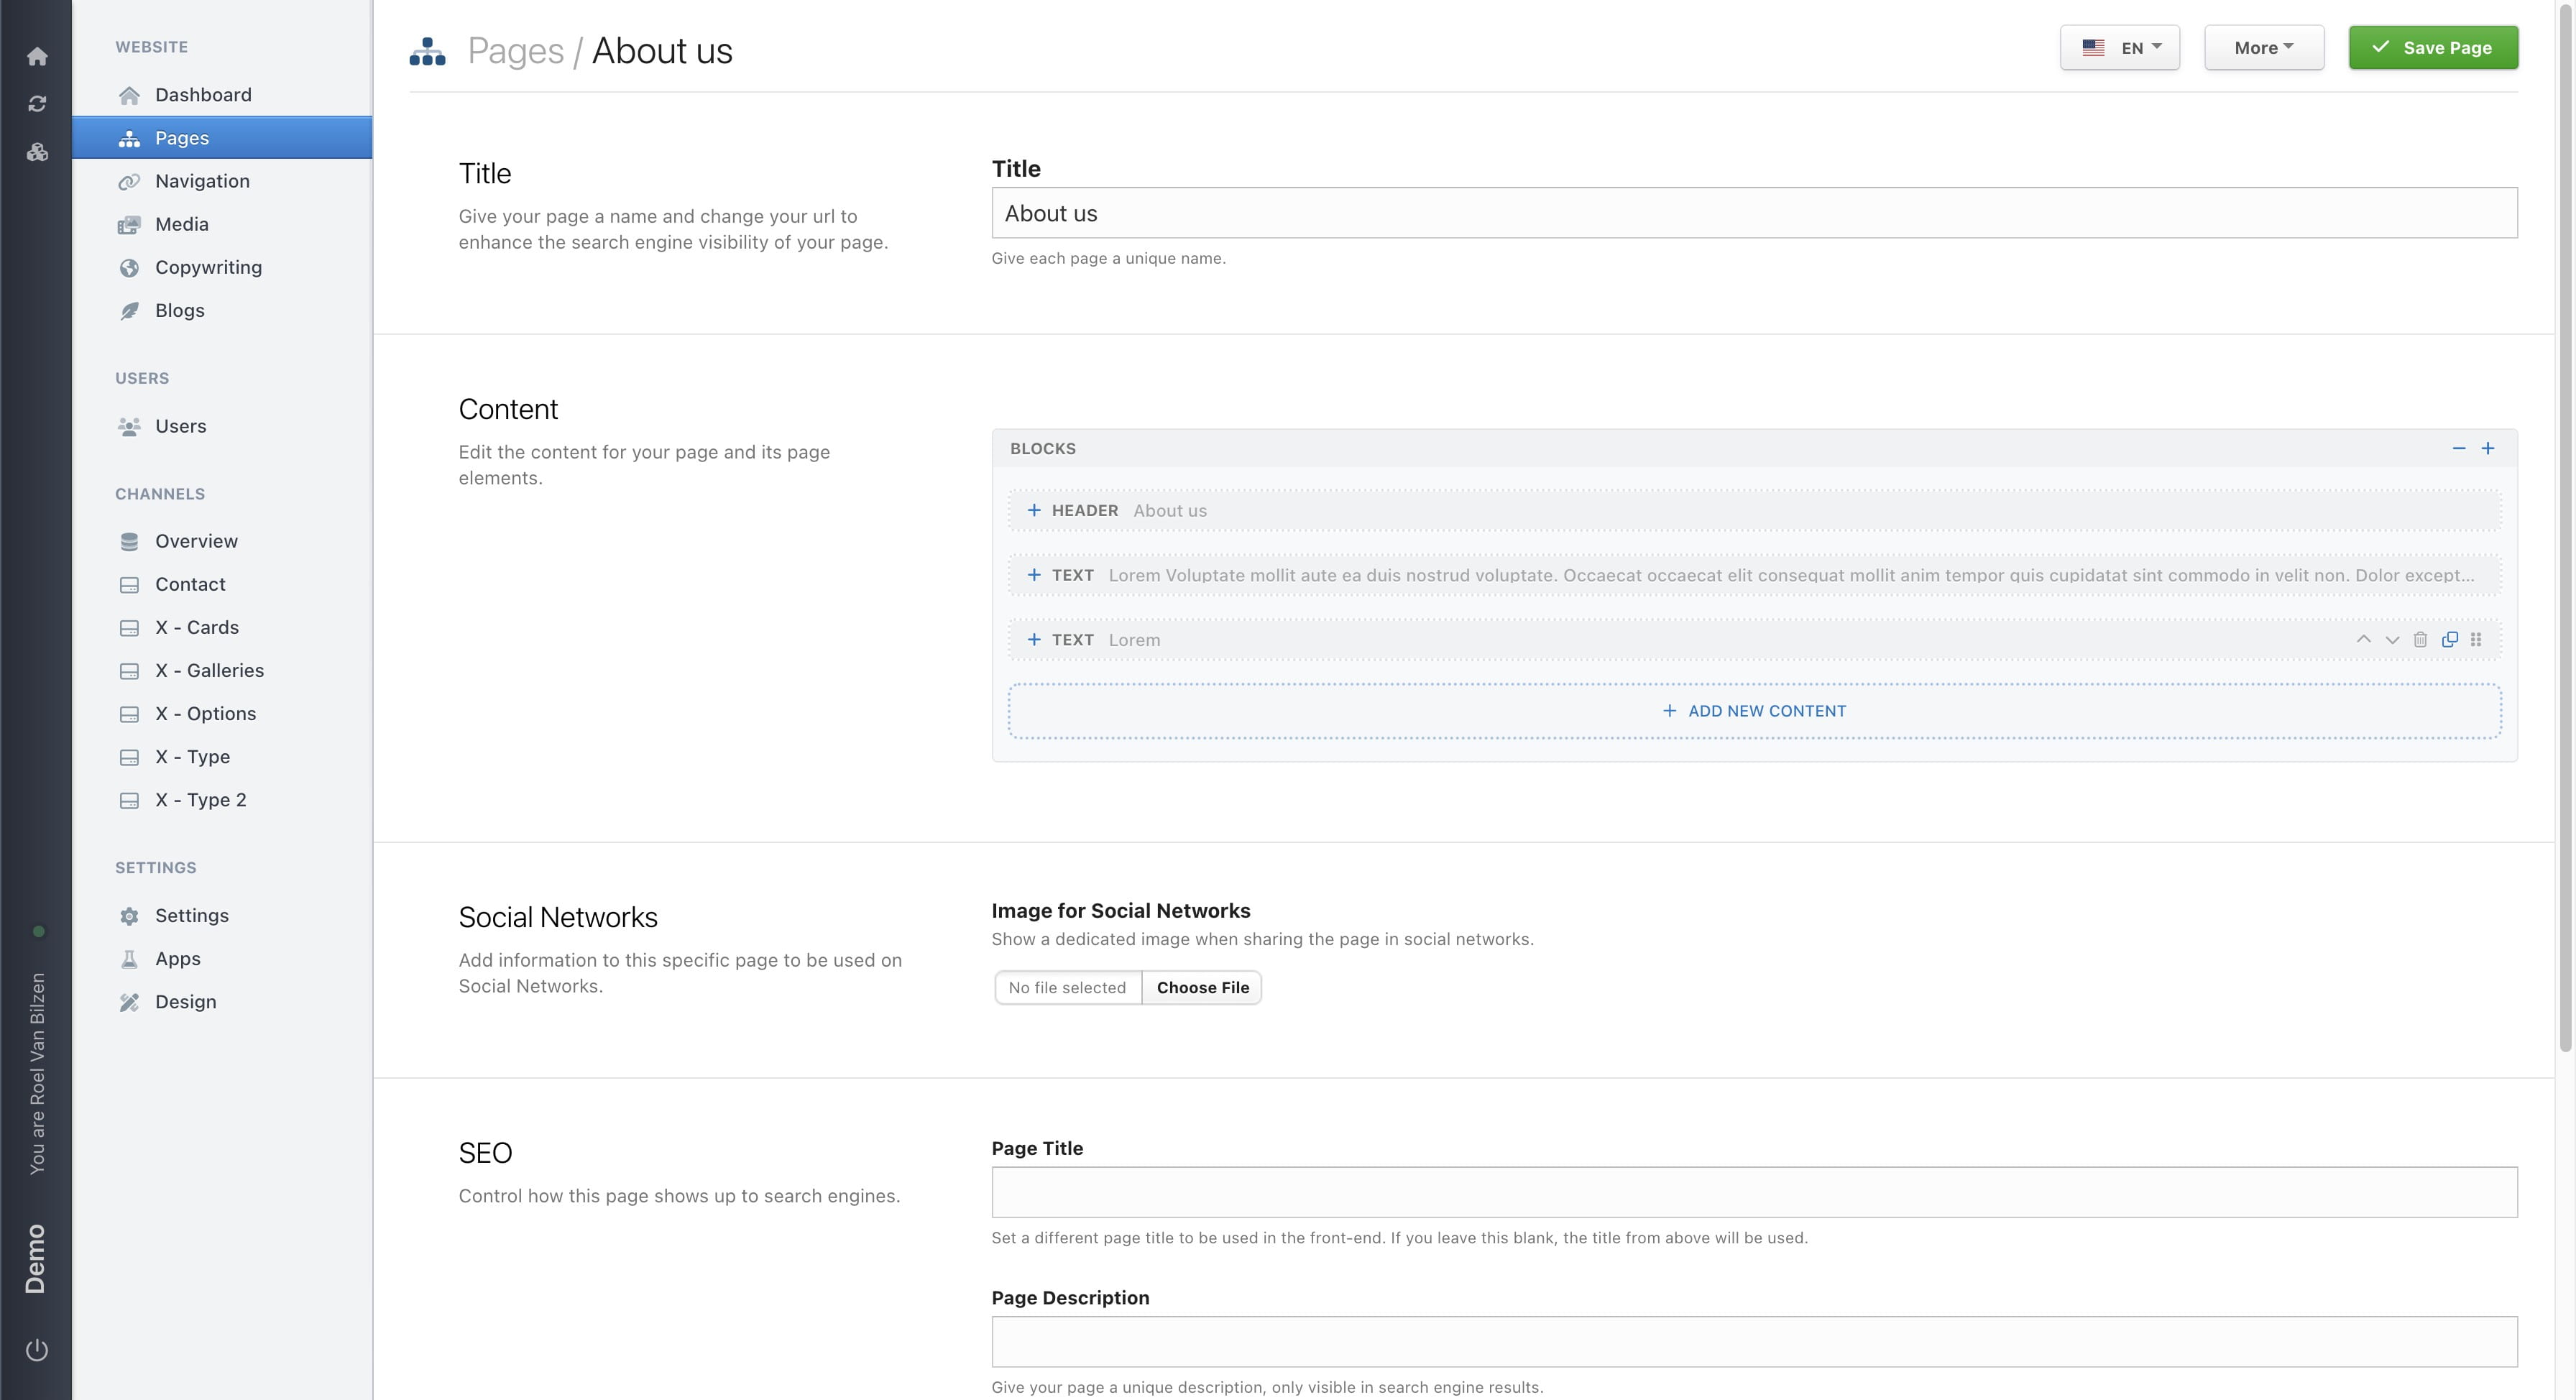
Extra content can always be added by clicking on "Add new content" and selecting the next block on the page.
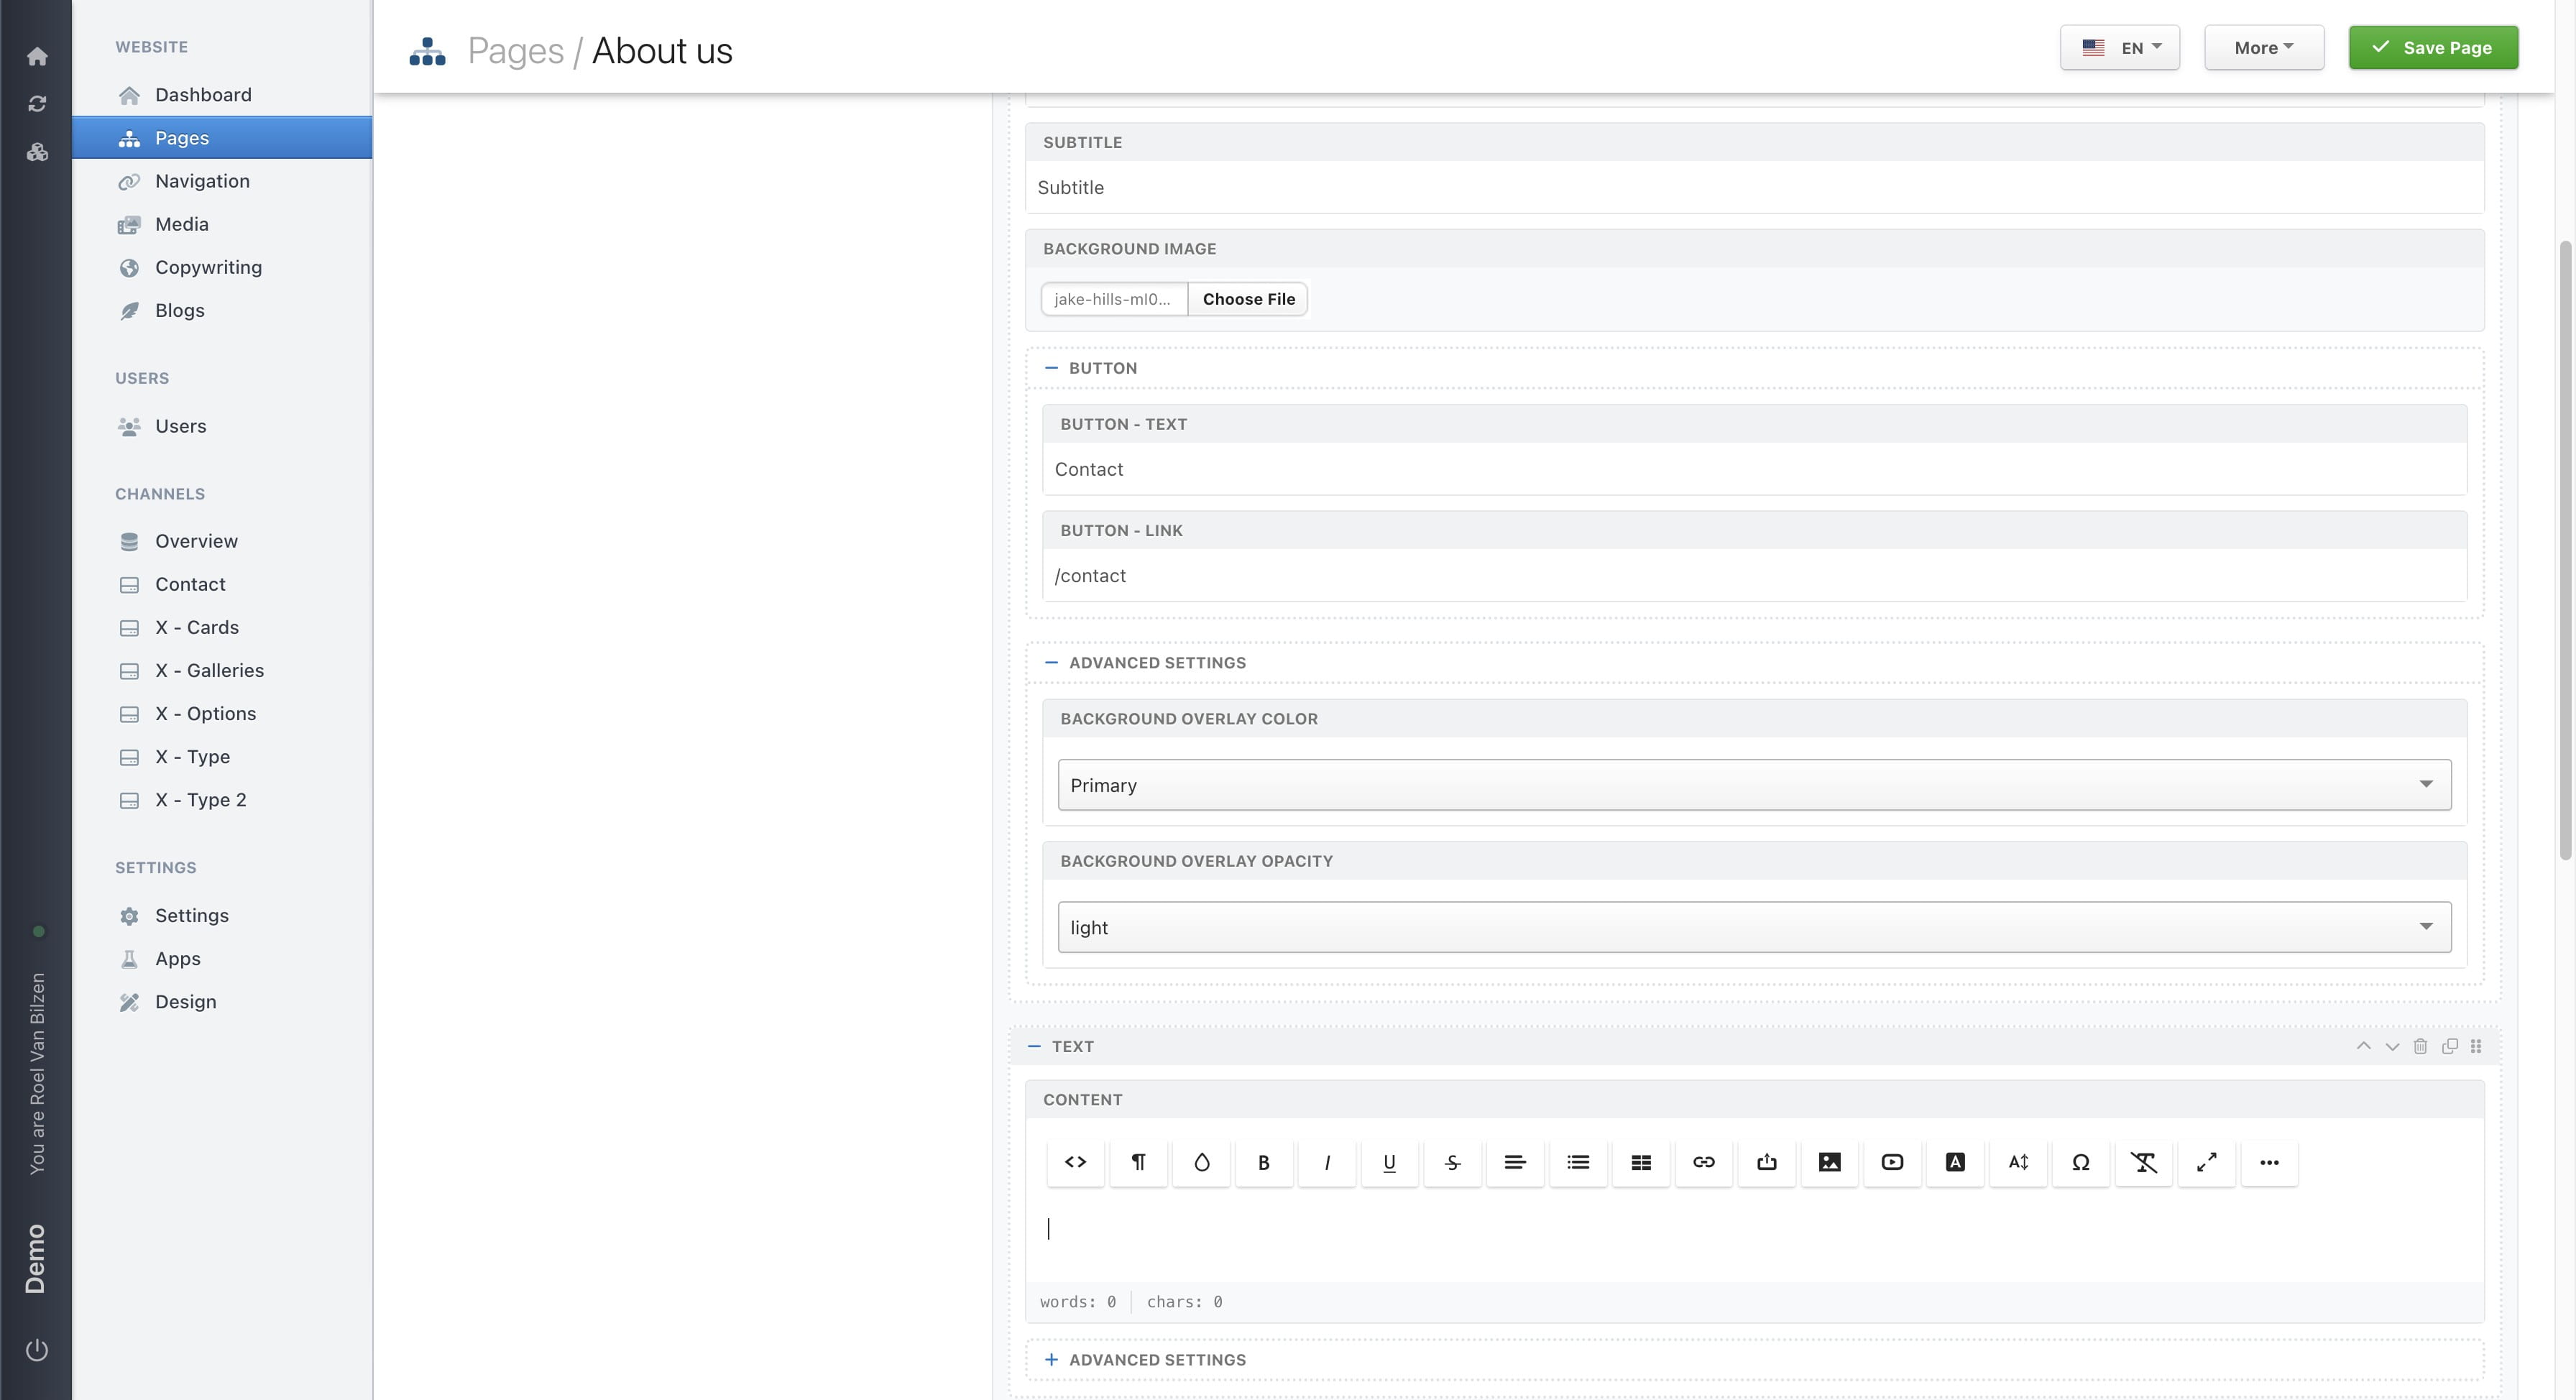
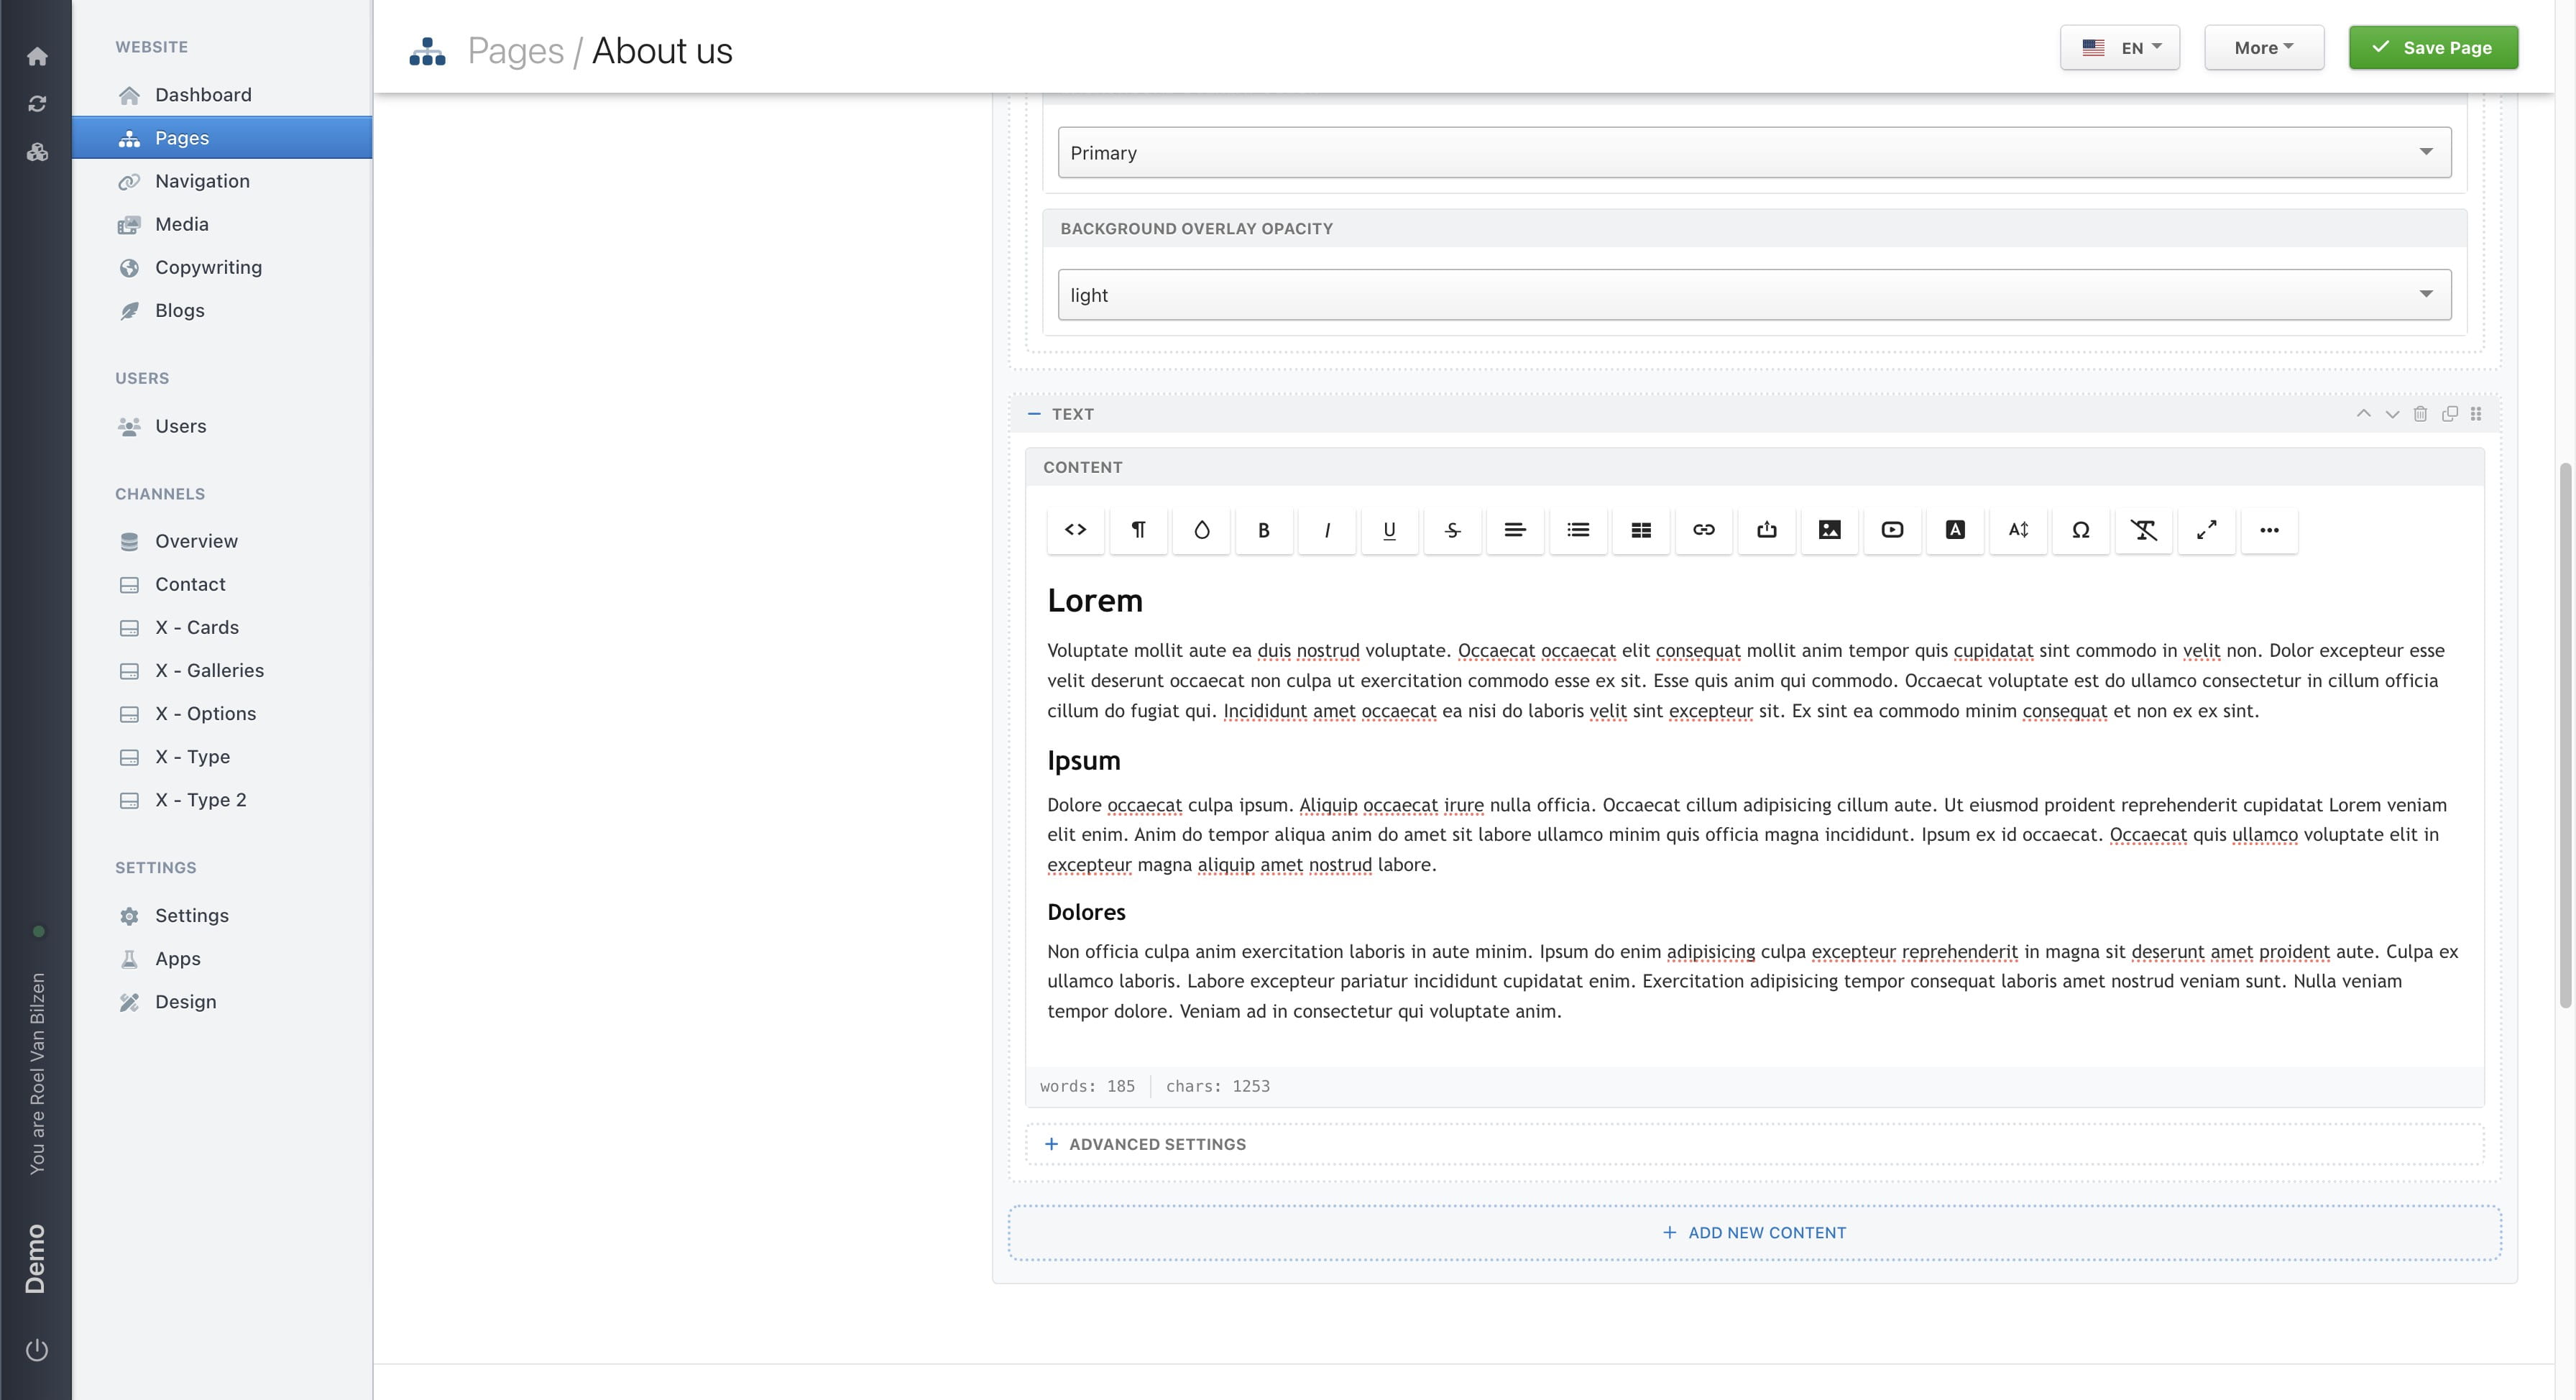
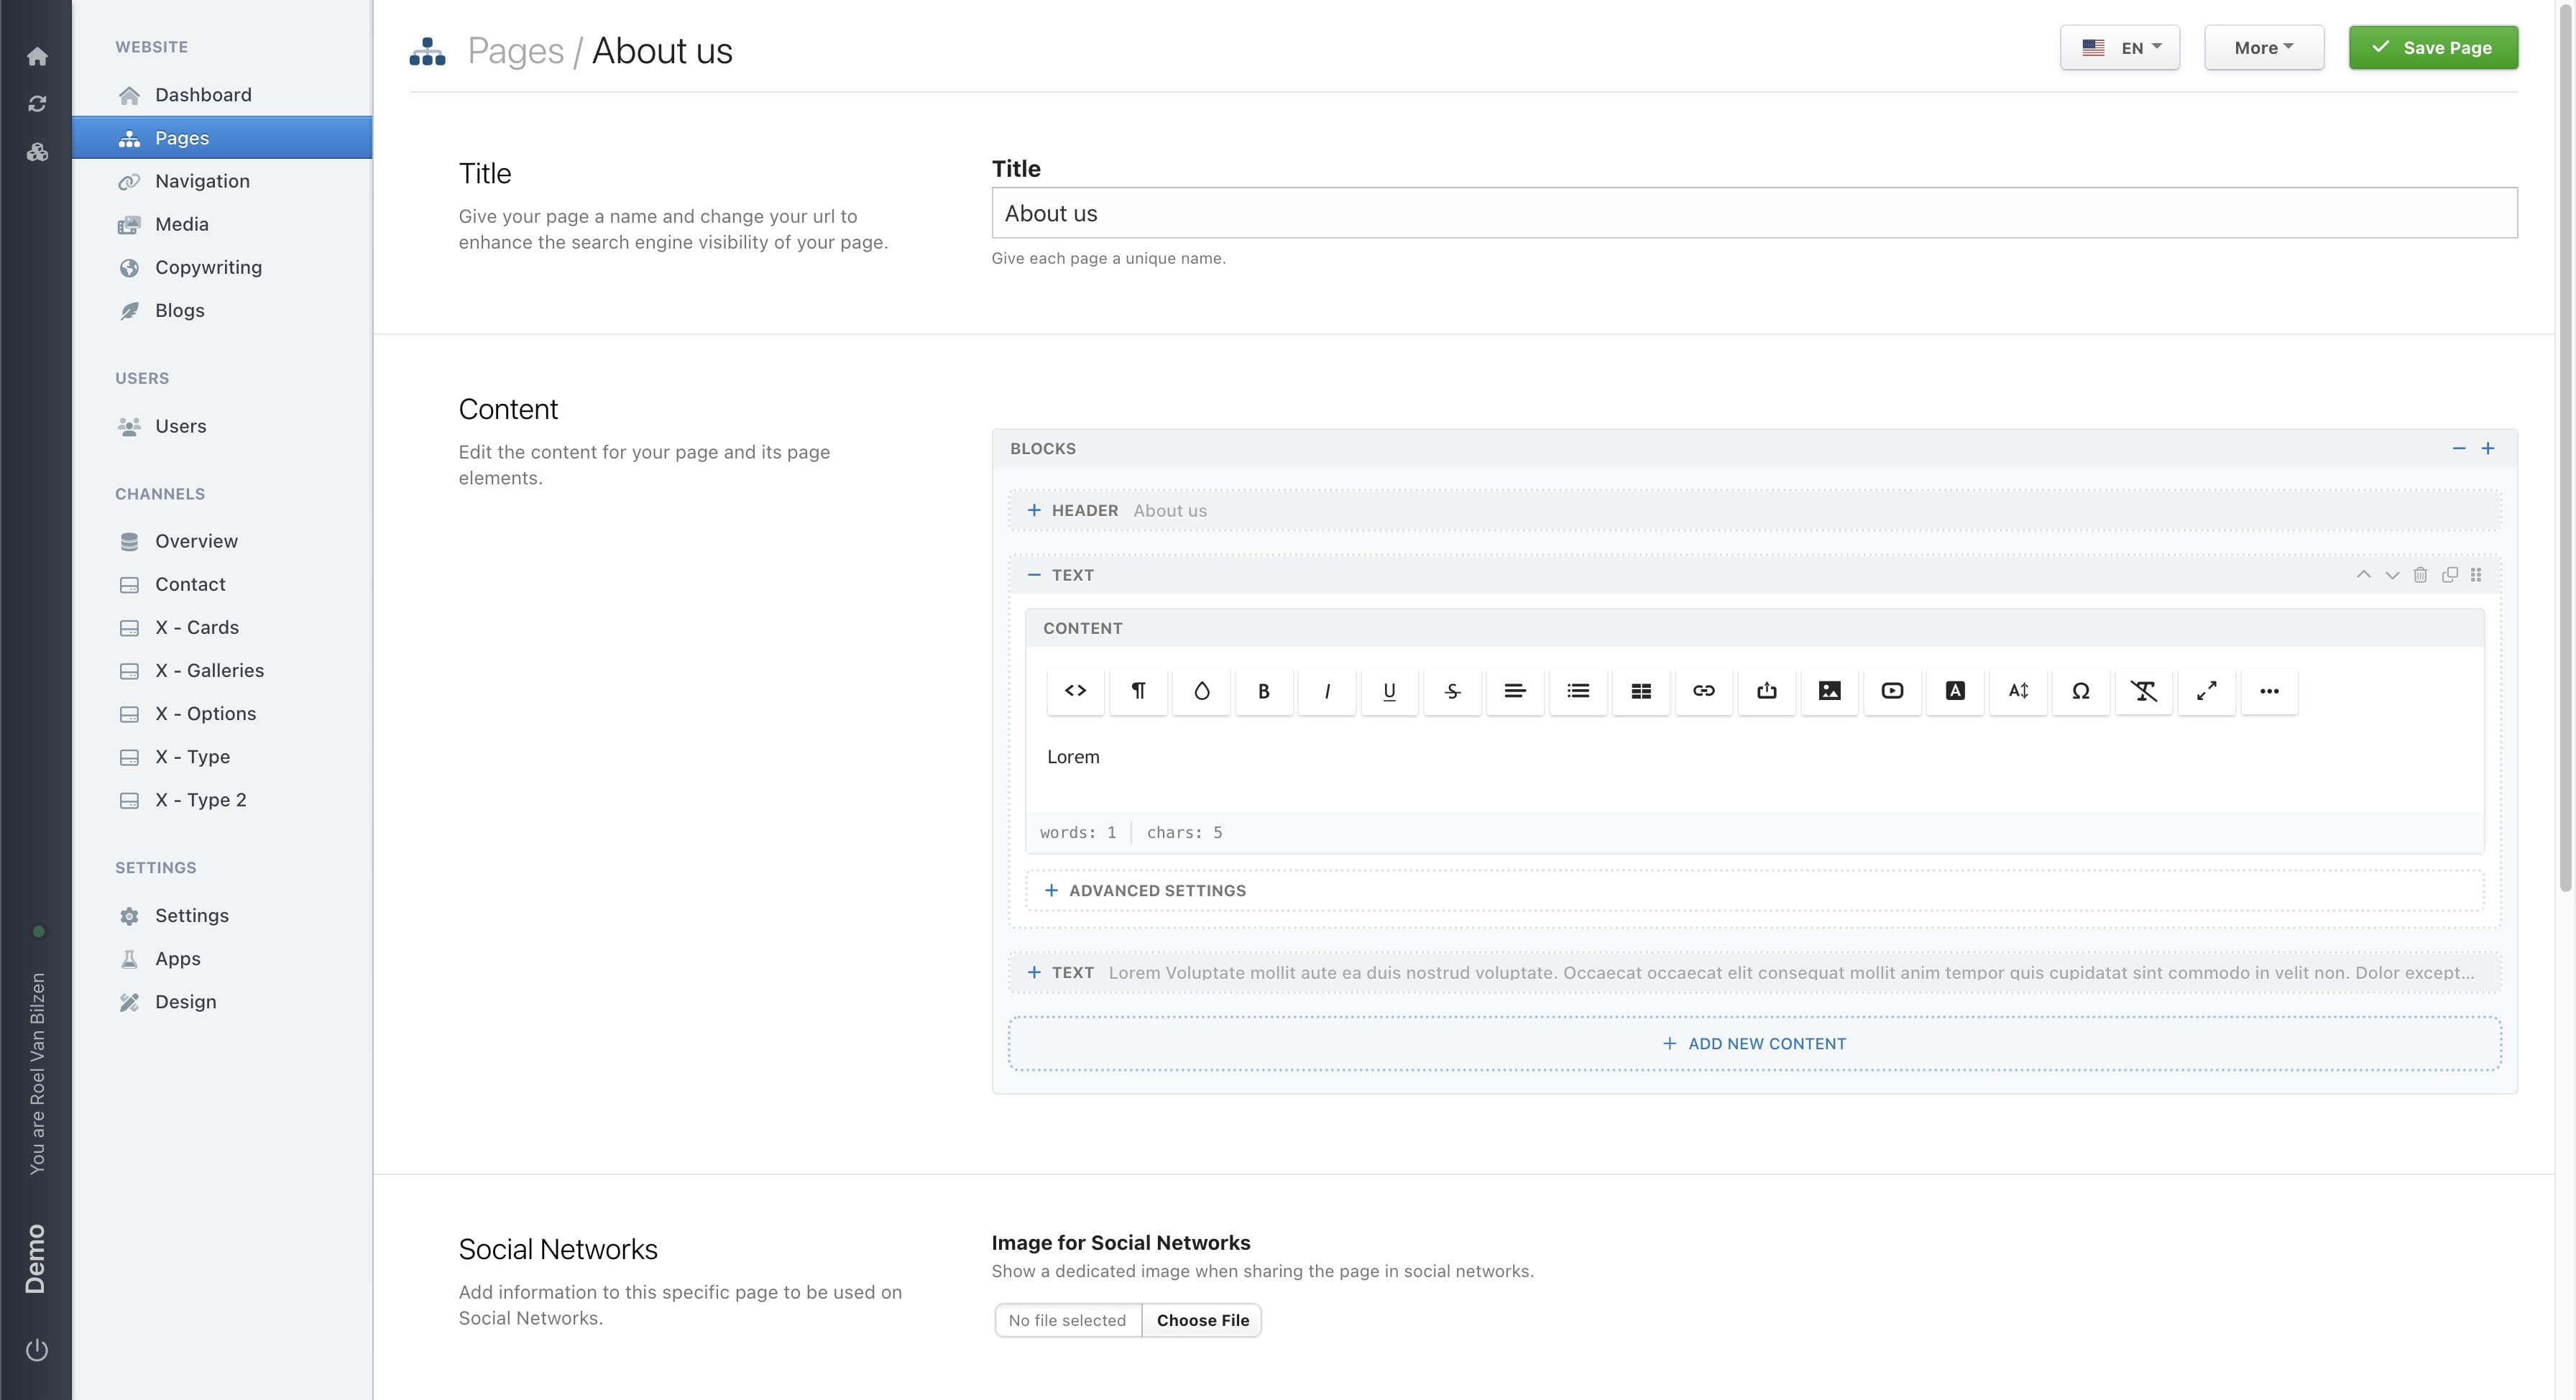
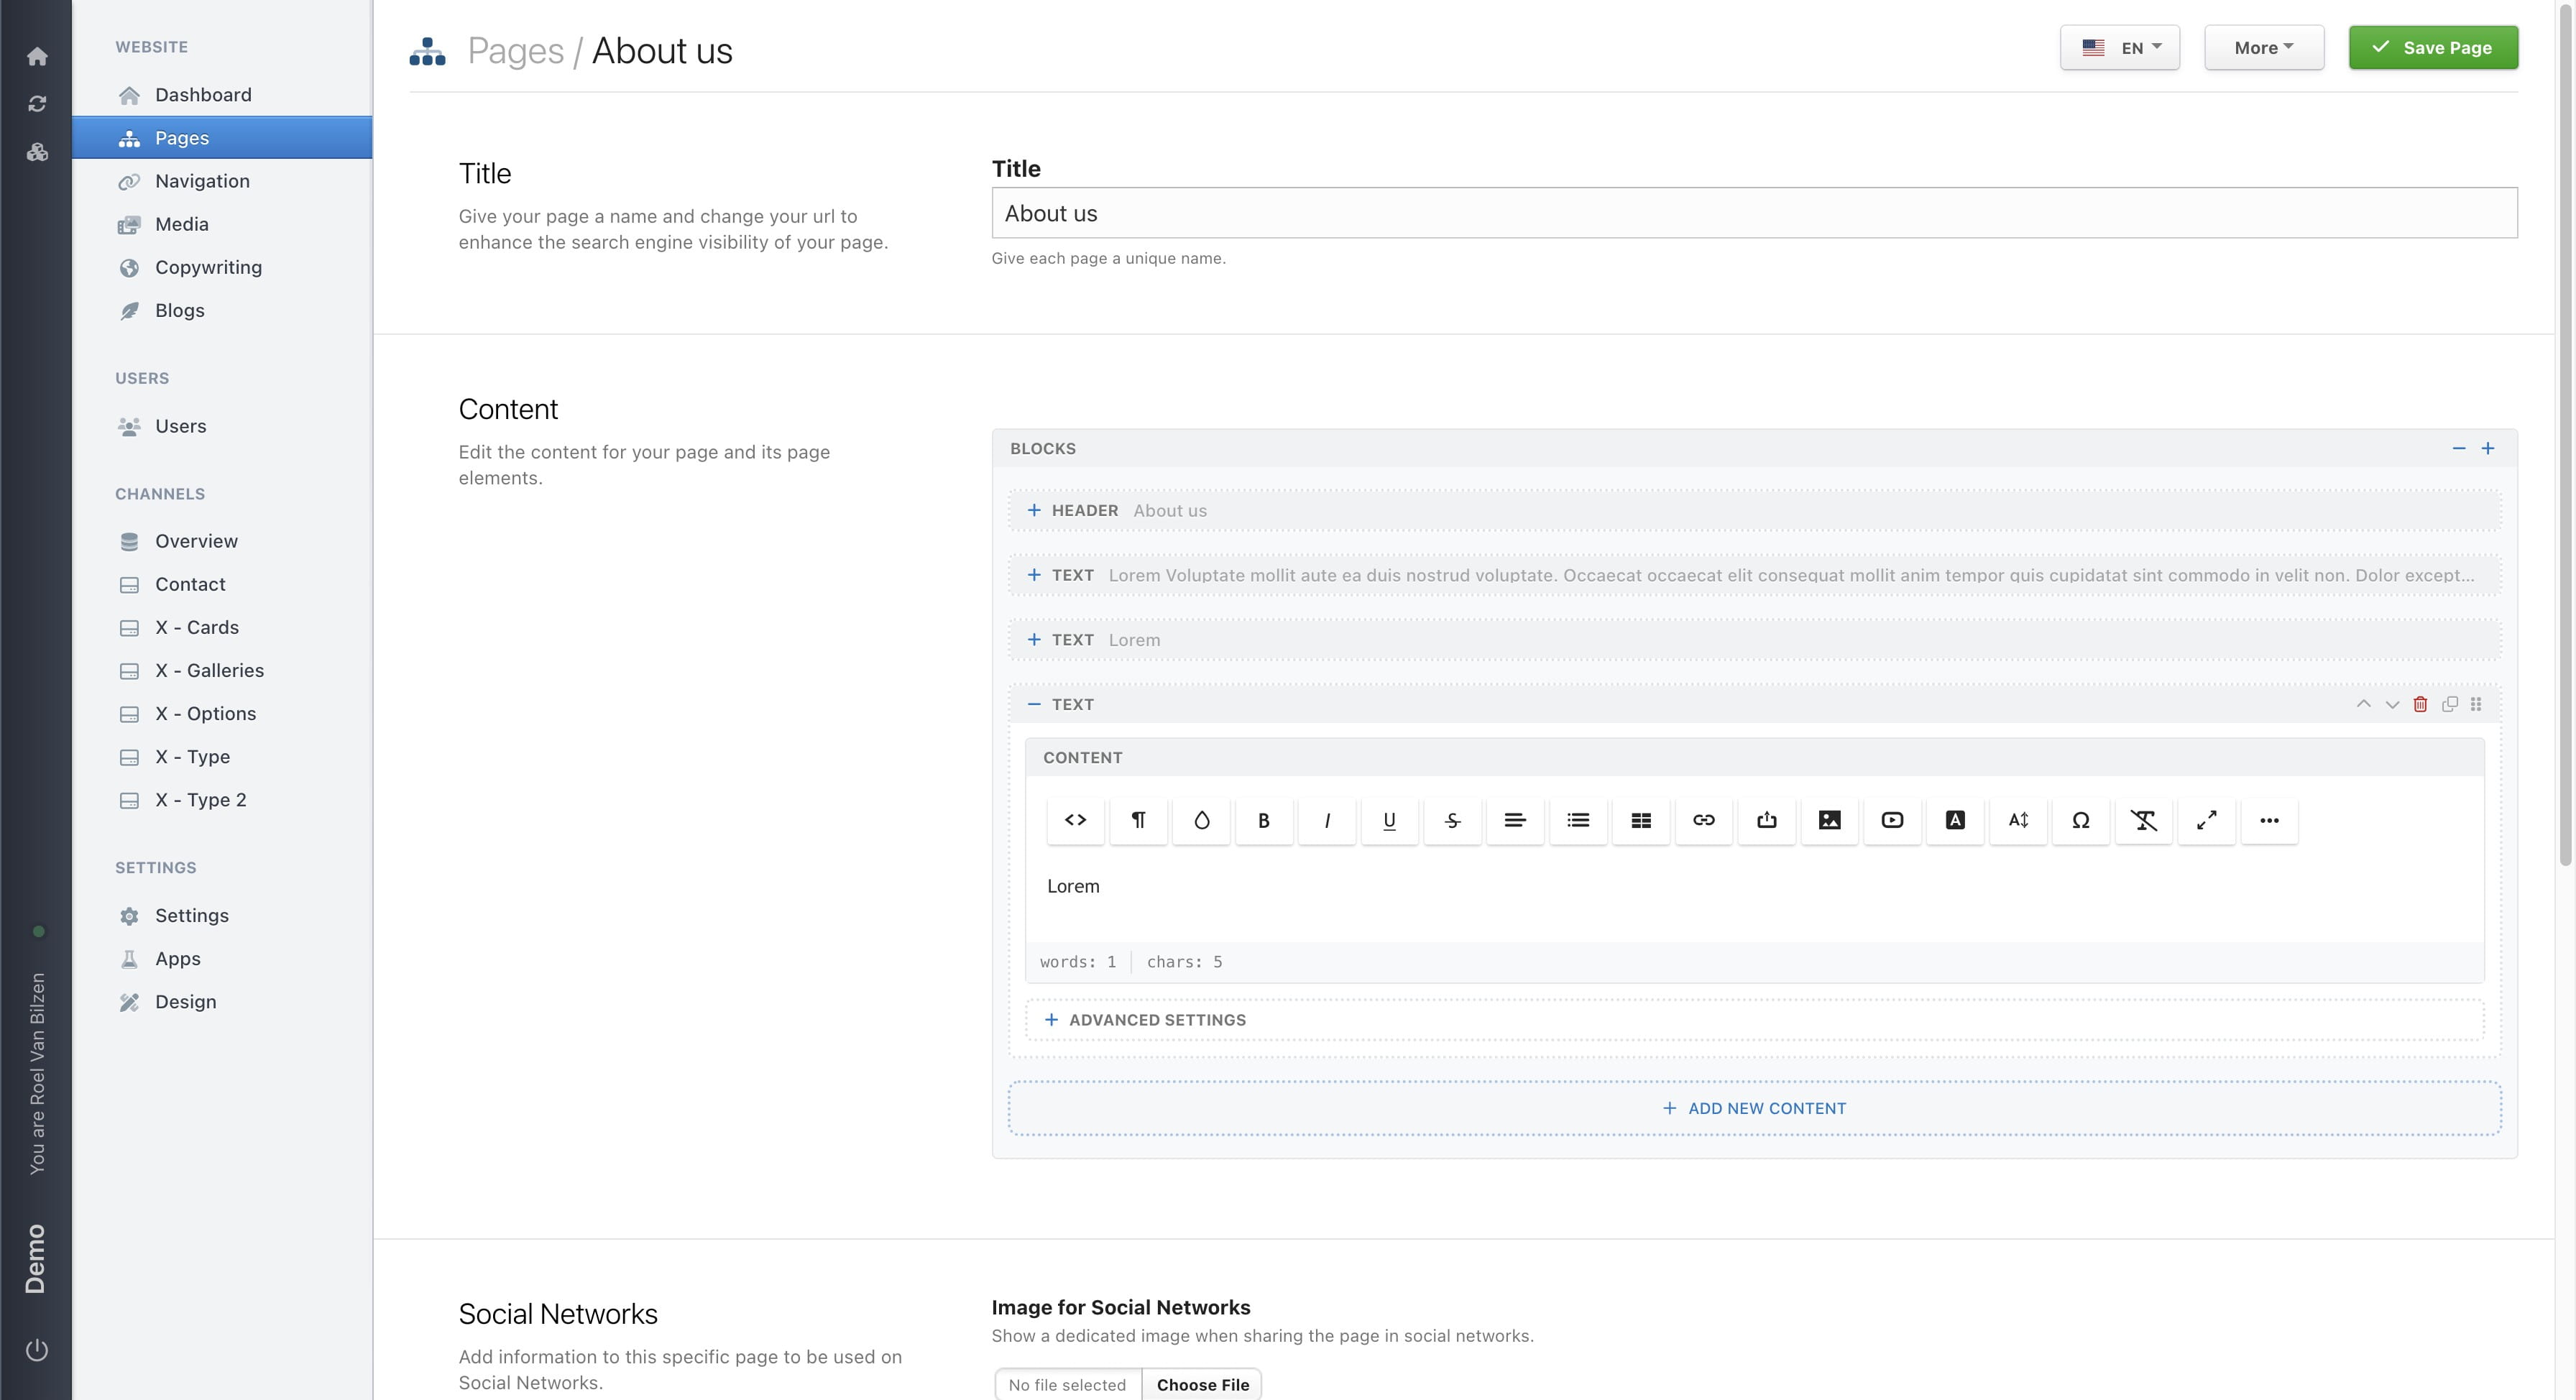
For large text a wysiwyg editor is added. In this editor it is possible to add content and style it. Among the options are format (title, text, quote,..), alignment, image, links and bold/cursive/underlined.
Click on "Advanced Settings" to futher set the block.
"ID" is an id that is used on the website to navigate to a specific spot on the page. This is possible to add # and the id in the URL or on a button. Clicking that button will scroll the page to that block on the given page. Each id must be unique on that page. Example: /about-us#intro will scroll the page to the block with id "intro"
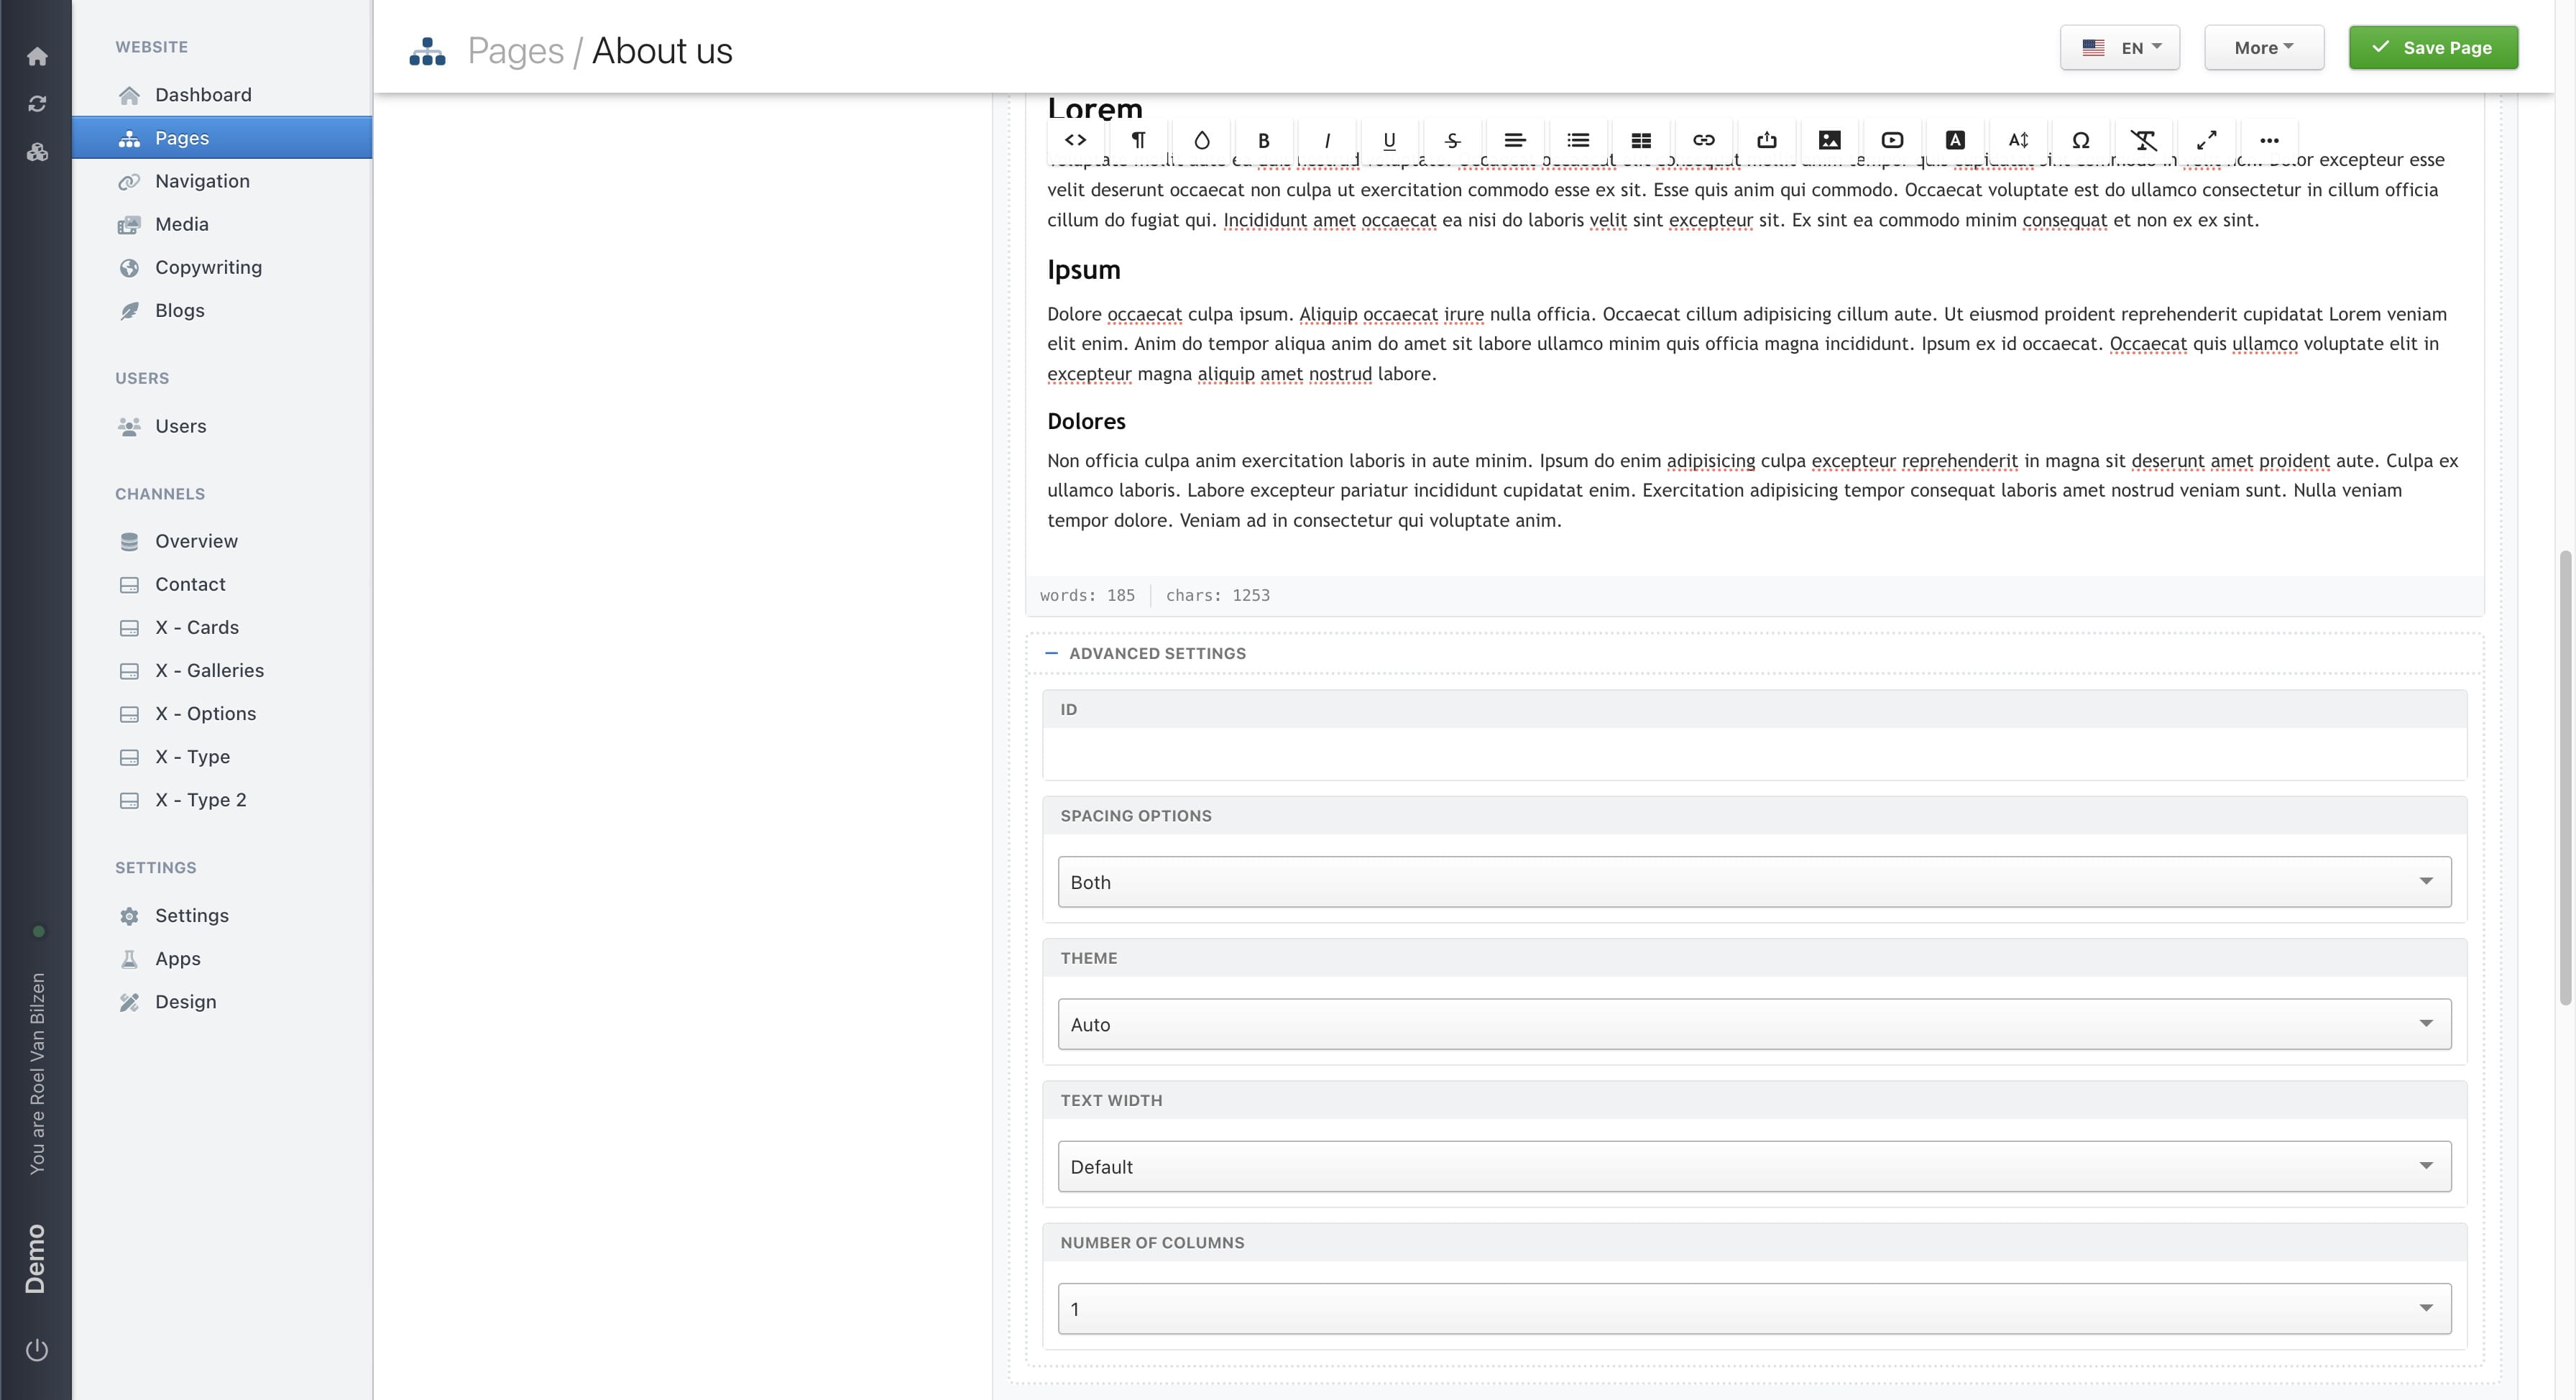
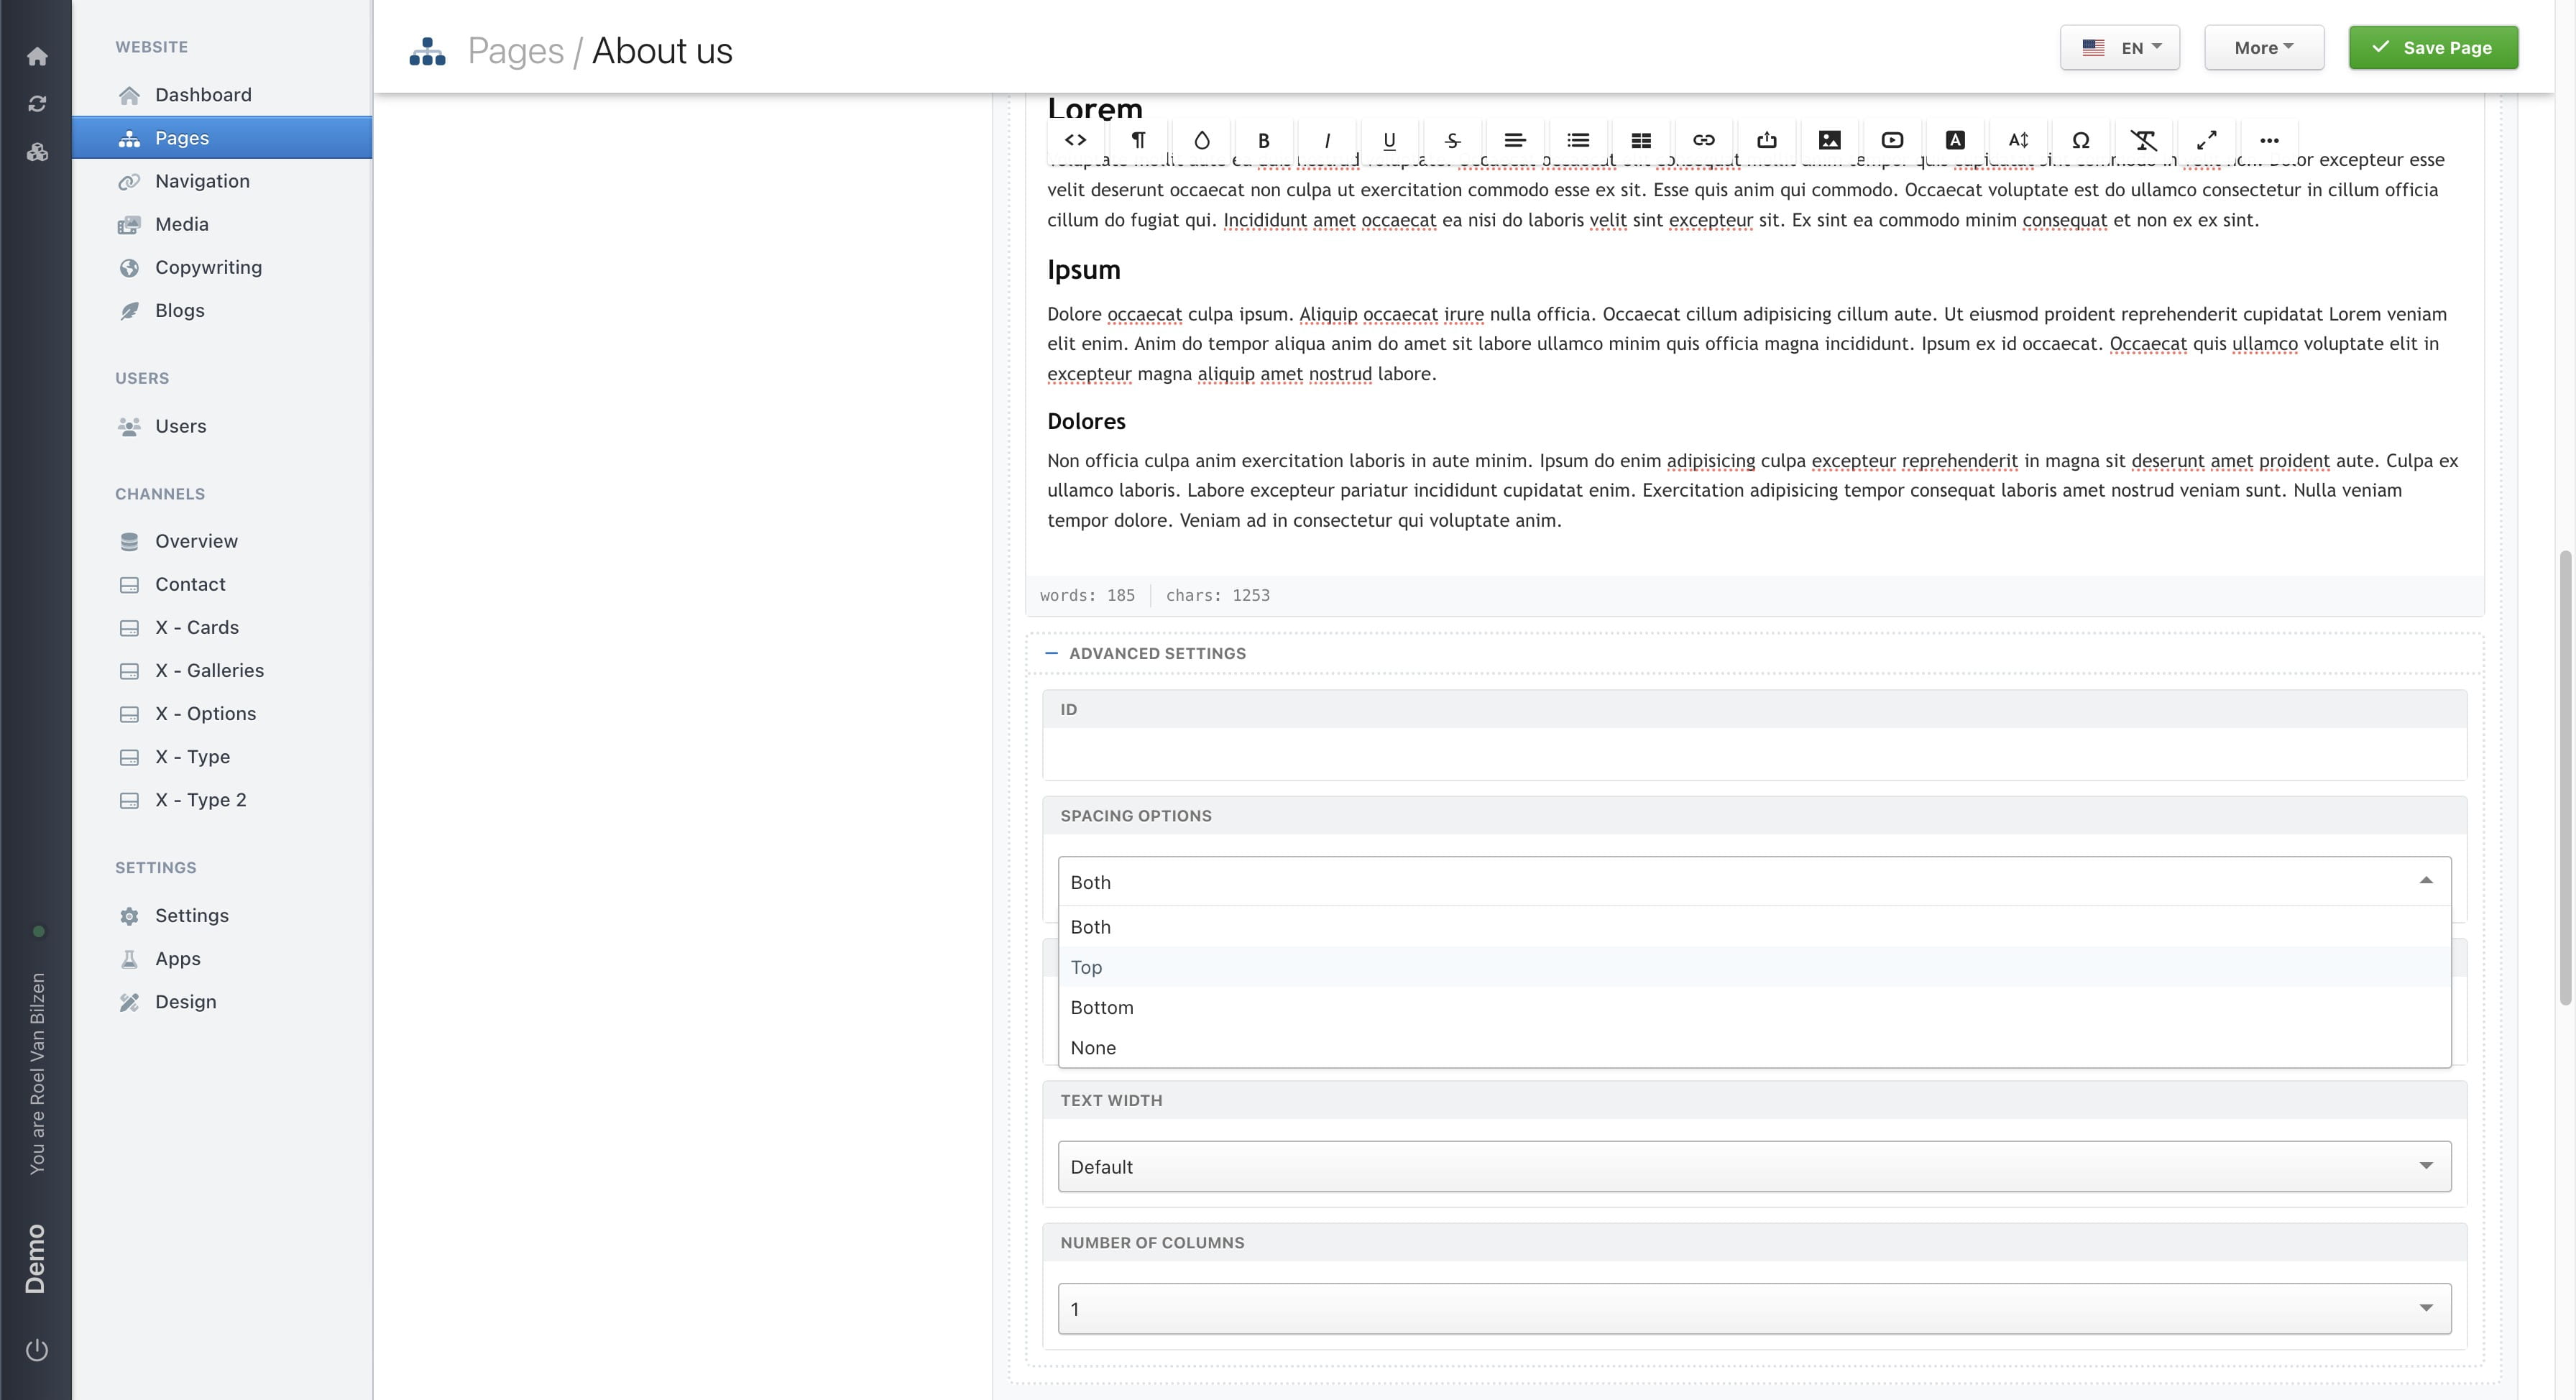
"Spacing options" determines where whitespace is added. Standard is above and below the block (both). This can change to only above or below or none.
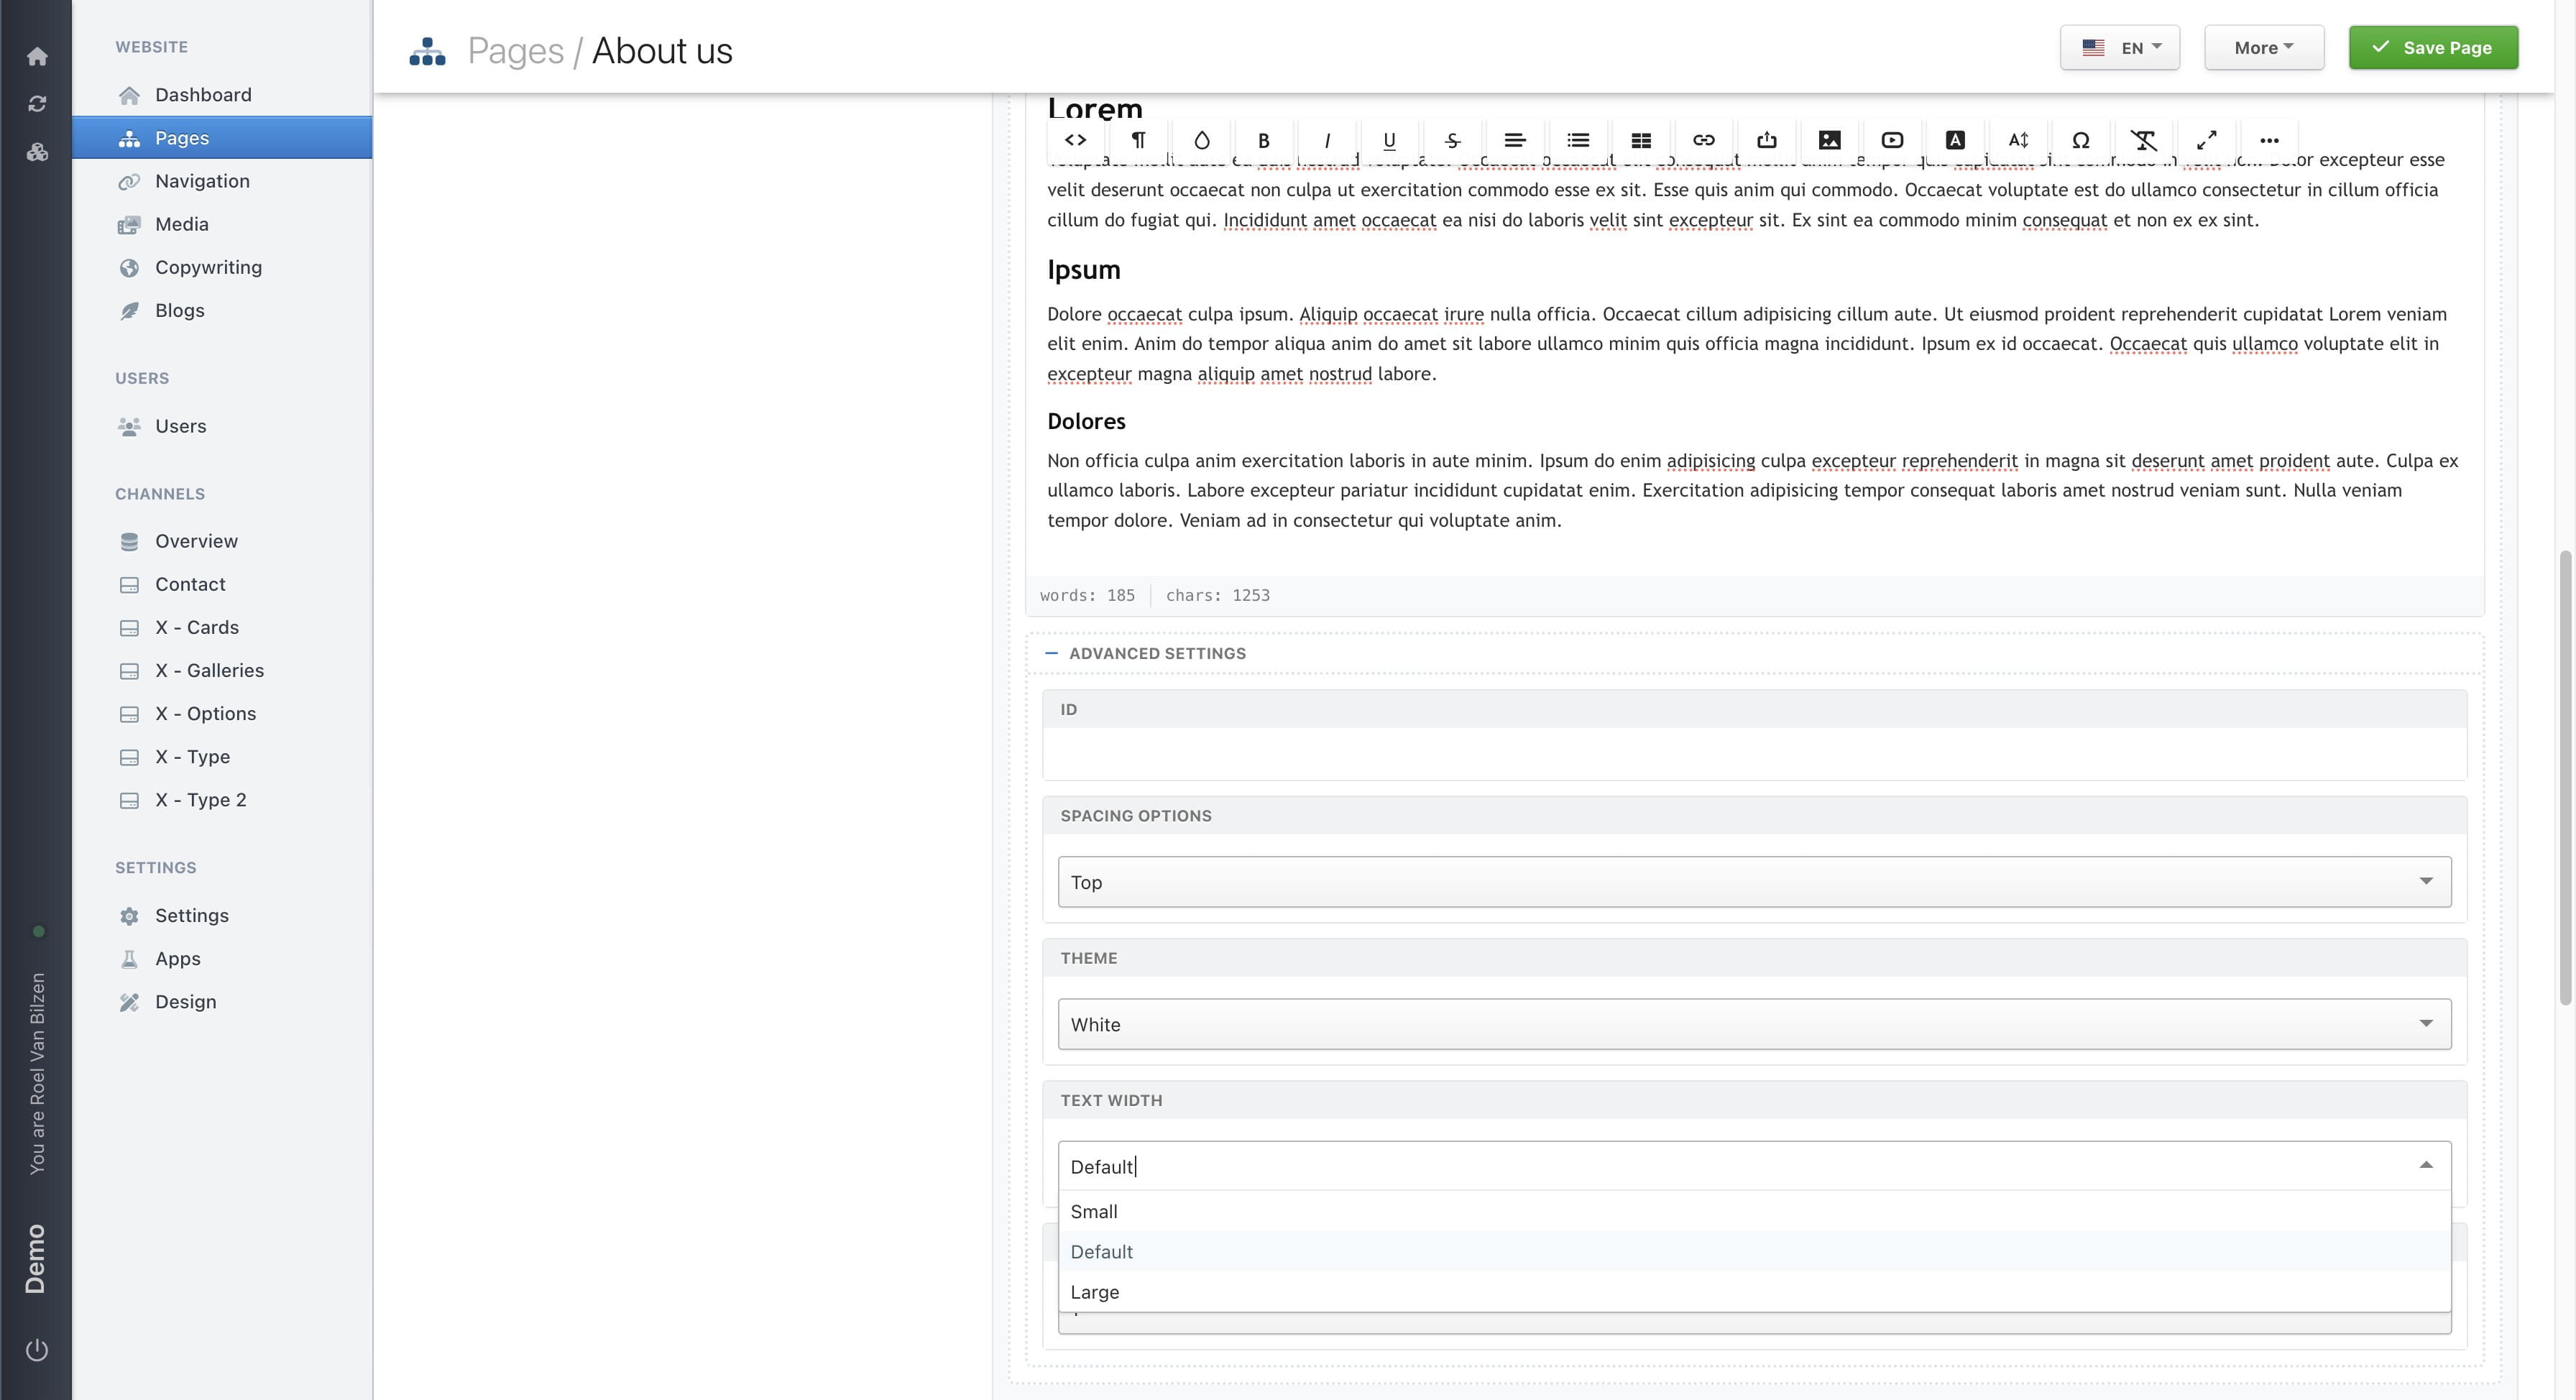
Blocks can have their own theme color. This in order to differentiate the different parts of a page. The color options are based on the design.

Some blocks have custom options that are specific to that block. Text has two of these options. "Text width" determines how wide the text is on the page. And "column count" will split the text in the selected amount of columns.
Important: when making a page, do not forget to save all the changes. Closing the tab or opening another page in Nimbu will result in discarding all the changes. To prevent this click on "Save page"
Click on "Save page" to save your changes.
Click on "Insert new content" to insert a block between two exsitsing ones, instead of at the bottom of the page.
Click on "-" or the gray box of the block will collapse the block for a better overview. Clicking the "+" or the bock when collapsed will open the block.
Click on "-" or "+" will collapse or open all blocks on the page.
Blocks can be reordered by dragging the symbol up or down.
Move a block one place up or down with the up and down chevron.

When it is needed to add multiple blocks with the same settings, it is best to duplicate a block. This will add an exact copy of the block below it.
With the trash bin you can remove a block from the page.
All the changes that were made, are not yet saved. Only after clicking "Save page" will all changes be saved. This includes reordening blocks, changing settings and textual changes.
Do not forget to save the page after any change is made.
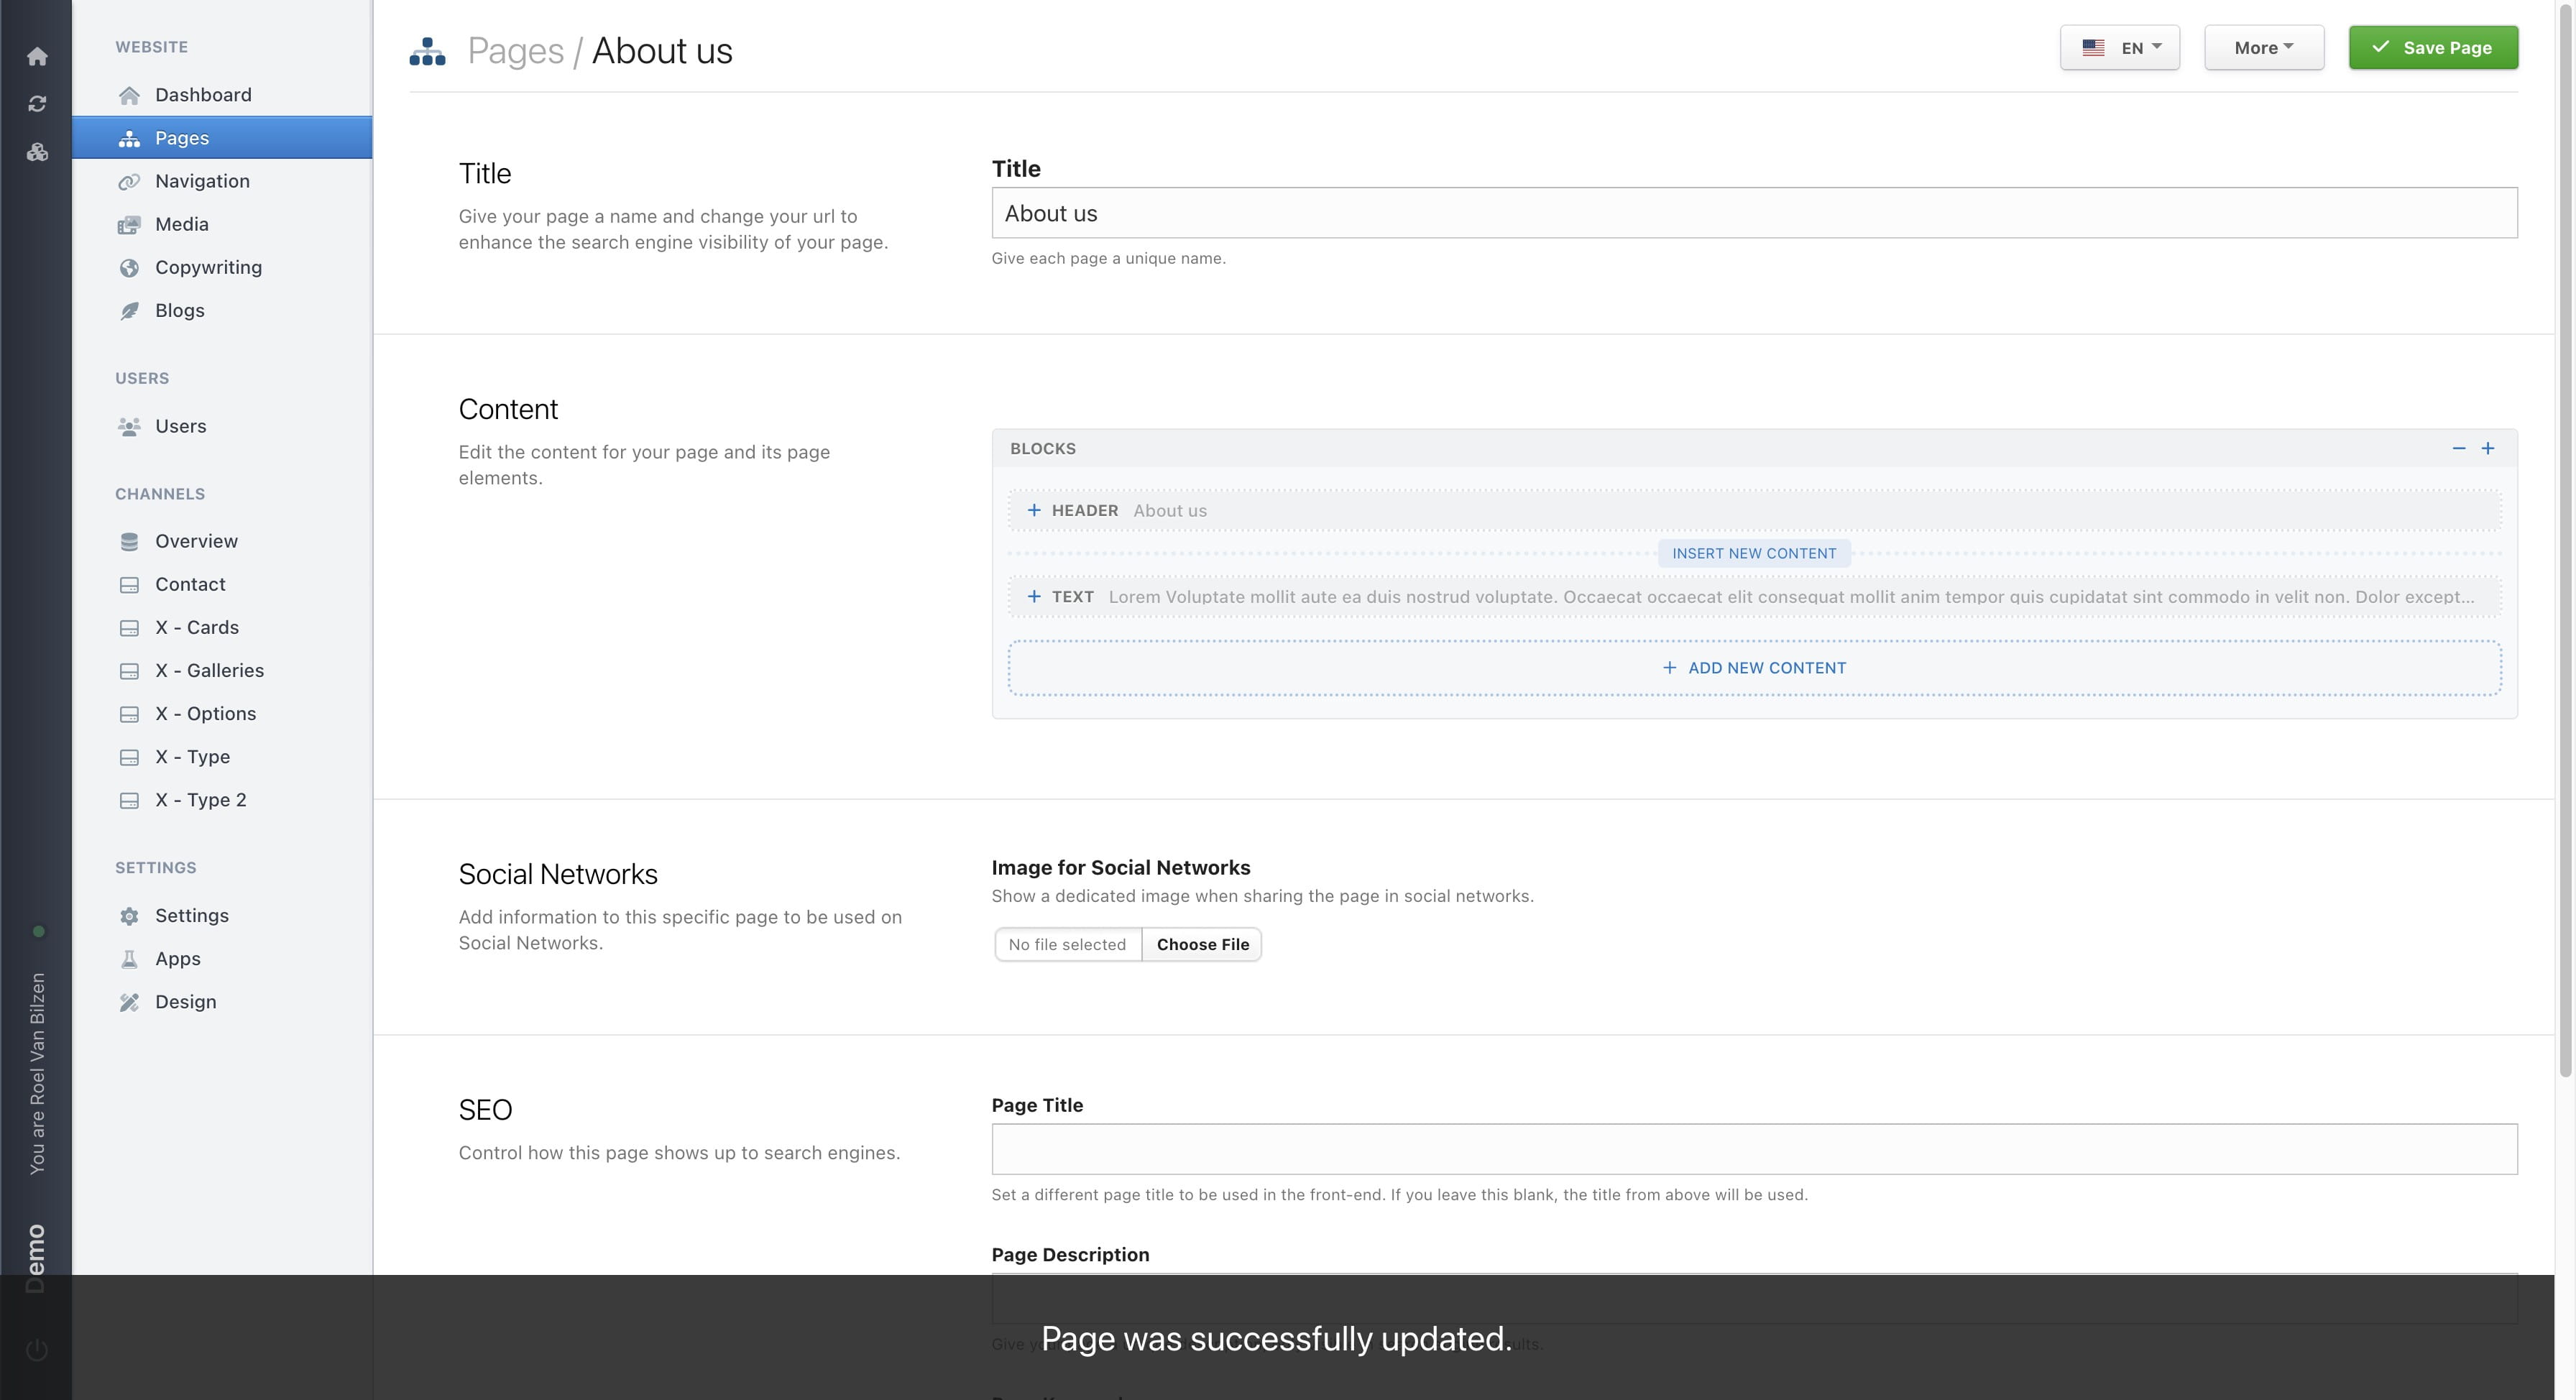
Your page was successfulle updated and can be viewed onine.